Seeding a Core Data persistent store with hard-coded seed data is fast and easy. The application we'll be seeding with data in this episode is Notes, the application we build in Core Data Fundamentals. Download the starter project of this episode if you'd like to follow along.
KISS (Keep It Simple Stupid)
In the previous episode, I emphasized the importance of keeping your implementation as simple as possible. There's no need to add complexity if there's currently no need for it. With this mindset, we're going to put the Core Data manager in charge of seeding the persistent store. We can refactor the implementation later if we don't want to burden the Core Data manager with this task.
To safeguard the reusability of the CoreDataManager class, we define an extension for the class in a file named CoreDataManager+Seed.swift. In this extension, we add an import statement for the Core Data framework and we define a method named seed().
import CoreData

extension CoreDataManager {

    // MARK: - Public API

    func seed() {

    }

}
Adding Tags
I'd like to start by seeding the persistent store with a few tag records. Remember that the Tag entity defines one attribute, name of type String. Adding a few tags to the persistent store is easy and straightforward.
We start by defining a private computed property, tags, of type [String]. The tags property returns the names of the tags we plan to seed the persistent store with. By defining a computed property, we keep the implementation of the seed() method focused on seeding the persistent store. We don't want to litter the seed() method with object literals.
// MARK: - Seed Data

private var tags: [String] {
    return [
        "Tips and Tricks",
        "Libraries",
        "Programming",
        "Patterns",
        "Apple",
        "WWDC",
        "News"
    ]
}
In the seed() method, we iterate through the items of the tags array. For each item, we create a Tag instance, insert it into the main managed object context of the Core Data manager, and set the tag's name property.
func seed() {
    for name in tags {
        // Initialize Tag
        let tag = Tag(context: mainManagedObjectContext)

        // Configure Tag
        tag.name = name
    }
}
That was easy. Right? Adding categories is very similar and almost as easy.
Adding Categories
The Category entity defines two attributes, name of type String and colorAsHex of type String. That means the seed data is a bit more complex. Many developers intuitively reach for an array of dictionaries and that's a logical choice if you're coming from Objective-C. Swift, however, has a better solution. Tuples.
We could use an array of dictionaries for the seed data of the categories since both attributes are of the same type. For the notes, which we'll add in a few minutes, this isn't a solution I recommend.
We could use an array of dictionaries for the seed data of the notes if the dictionaries are of type [String:Any]. But I don't like that approach because it involves type casting. Type casting isn't bad or wrong, but we can avoid it if we use tuples.
Type casting isn't something I enjoy doing. It makes code vulnerable, difficult to maintain, and hard to read. Tuples make these problems disappear.
This is what the categories computed property looks like. Notice that the categories computed property is of type [(name: String, colorAsHex: String)].
private var categories: [(name: String, colorAsHex: String)] {
    return [
        (name: "Core Data",     colorAsHex: "F6D14E"),
        (name: "Swift",         colorAsHex: "5A76B5"),
        (name: "iOS",           colorAsHex: "292B34"),
        (name: "tvOS",          colorAsHex: "F2F2F2"),
        (name: "macOS",         colorAsHex: "CD3227"),
        (name: "watchOS",       colorAsHex: "E99057"),
        (name: "Xcode",         colorAsHex: "101410"),
        (name: "Objective-C",   colorAsHex: "4483F3")
    ]
}
Inserting the categories into the main managed object context of the Core Data manager is trivial. We iterate through the items of the categories array, create a Category instance, insert it into the main managed object context of the Core Data manager, and set the category's name and colorAsHex properties. Because we named the values stored in the tuples, accessing them is easy and elegant.
func seed() {
    for name in tags {
        // Initialize Tag
        let tag = Tag(context: mainManagedObjectContext)

        // Configure Tag
        tag.name = name
    }

    for data in categories {
        // Initialize Category
        let category = Category(context: mainManagedObjectContext)

        // Configure Category
        category.name = data.name
        category.colorAsHex = data.colorAsHex
    }
}
Adding Notes
Adding notes is a bit more challenging. The Note entity defines four attributes, title and contents of type String and createdAt and updatedAt of type Date. The relationships of the Note entity make inserting notes into the main managed object context of the Core Data manager a bit more complex. A note can be linked to a category and it can have several tags.
There are several solutions to add a note to the persistent store. The solution I use in this example is easy to implement. We start by defining another computed property, notes. The notes computed property is an array of tuples. The category and tags values are of special interest to us. The category value is of type String and the tags value is of type [String].
private var notes: [(title: String, createdAt: Double, updatedAt: Double, category: String, tags: [String])] {
    return [
        (title: "Getting Started With Core Data",                               createdAt: 1518011139, updatedAt: 1518011139, category: "Swift",       tags: ["Tips and Tricks"]),
        (title: "Welcome to Cocoacasts",                                        createdAt: 1517987097, updatedAt: 1517987097, category: "iOS",         tags: ["Libraries"]),
        (title: "Five Tips to Become a Better Swift Developer",                 createdAt: 1517963055, updatedAt: 1517963055, category: "Xcode",       tags: ["Libraries"]),
        (title: "Three Podcasts for Developers",                                createdAt: 1517939013, updatedAt: 1517939013, category: "Xcode",       tags: ["Tips and Tricks", "Libraries", "Programming", "Apple"]),
        (title: "What Is a Singleton and How To Create One In Swift",           createdAt: 1517914971, updatedAt: 1517914971, category: "Swift",       tags: ["Programming"]),
        (title: "Managing View Controllers With Container View Controllers",    createdAt: 1517890929, updatedAt: 1517890929, category: "watchOS",     tags: ["Programming"]),
        (title: "Reading and Updating Managed Objects With Core Data",          createdAt: 1517866887, updatedAt: 1517866887, category: "Objective-C", tags: ["Apple"]),
        (title: "Nuts and Bolts of Dependency Injection in Swift",              createdAt: 1517842845, updatedAt: 1517842845, category: "tvOS",        tags: ["Tips and Tricks", "Programming", "Patterns"]),
        (title: "Mastering MVVM With Swift",                                    createdAt: 1517818803, updatedAt: 1517818803, category: "Swift",       tags: ["Patterns"]),
        (title: "Core Data Fundamentals",                                       createdAt: 1517794761, updatedAt: 1517794761, category: "Swift",       tags: ["News"])
    ]
}
You may have noticed that there's no value for the contents property of the note. The contents of a note can be pretty long and I've created a separate computed property for the contents of each note. The contents computed property is an array of String instances.
private var contents: [String] {
    return [
        "Lorem ipsum dolor sit amet ...",
        ...
        "Aliquam sagittis magna felis ..."
    ]
}
Let's start by creating a note record for each item of the notes computed property. We iterate through the items of the notes array, create a Note instance, insert it into the main managed object context of the Core Data manager, and set the note's properties.
func seed() {
    for name in tags {
        // Initialize Tag
        let tag = Tag(context: mainManagedObjectContext)

        // Configure Tag
        tag.name = name
    }

    for data in categories {
        // Initialize Category
        let category = Category(context: mainManagedObjectContext)

        // Configure Category
        category.name = data.name
        category.colorAsHex = data.colorAsHex
    }

    for (index, data) in notes.enumerated() {
        // Initialize Note
        let note = Note(context: mainManagedObjectContext)

        // Configure Note
        note.title = data.title
        note.contents = contents[index]
        note.createdAt = Date(timeIntervalSince1970: data.createdAt)
        note.updatedAt = Date(timeIntervalSince1970: data.updatedAt)
    }
}
Notice that we call enumerated() on notes. The enumerated() method returns a sequence of tuples. Each tuple stores two values, the index of the item and the item itself. We use the index to fetch the contents for the note. Using subscript syntax, we ask the contents computed property for the value of the note at a particular index.
Seeding Relationships
We've successfully seeded the persistent store with data. What's missing are relationships. This is easier than you might think. Remember that each item of the notes array includes a category and an array of tags. Those values correspond with categories and tags we seeded the persistent store with.
All we need to do is fetch the category and tags of the note and update its relationships. We could use a fetch request to accomplish this, but let's keep it simple. It's easier to temporarily store the tags and categories in an array, ask the array for the records we need, and update the note's relationships. Let me show you that this isn't rocket science.
We define two arrays, tagsBuffer and categoriesBuffer, that act as temporary containers for the tags and categories.
func seed() {
    var tagsBuffer: [Tag] = []
    var categoriesBuffer: [Category] = []

    ...
}
We add the tags and categories to these temporary containers.
func seed() {
    var tagsBuffer: [Tag] = []
    var categoriesBuffer: [Category] = []

    for name in tags {
        // Initialize Tag
        let tag = Tag(context: mainManagedObjectContext)

        // Configure Tag
        tag.name = name

        // Append to Buffer
        tagsBuffer.append(tag)
    }

    for data in categories {
        // Initialize Category
        let category = Category(context: mainManagedObjectContext)

        // Configure Category
        category.name = data.name
        category.colorAsHex = data.colorAsHex

        // Append to Buffer
        categoriesBuffer.append(category)
    }

    ...
}
Adding a Category
Let's start with the category of a note. We invoke first(where:) on the array of categories to fetch the category for the note. In the trailing closure of the first(where:) method, we check the names of the categories for equality. Because the first(where:) method returns one item of the array, if it can find one, we can assign the return value of the first(where:) method directly to the category property of the Note instance.
func seed() {
    ...

    for (index, data) in notes.enumerated() {
        // Initialize Note
        let note = Note(context: mainManagedObjectContext)

        // Configure Note
        note.title = data.title
        note.contents = contents[index]
        note.createdAt = Date(timeIntervalSince1970: data.createdAt)
        note.updatedAt = Date(timeIntervalSince1970: data.updatedAt)

        // Add Category
        note.category = categoriesBuffer.first {
            return $0.name == data.category
        }
    }
}
The first(where:) method returns an optional. The category property of the Note class is of type Category?, which means we don't need to unwrap the value returned by the first(where:) method.
Adding Tags
Tags are a bit more complex, but it's easier than you might think. We first create a set of String instances from the array of tags of the note. A set is more performant and it gives us access to a few convenient methods as you'll see in a moment.
// Helpers
let tagsAsSet = Set(data.tags)
We iterate through the items stored in tagsBuffer and safely unwrap the value of the tag's name property. If tagsAsSet contains the value stored in name, we add the Tag instance to the Note instance by passing it to its addToTags(_:) method.
// Helpers
let tagsAsSet = Set(data.tags)

// Add Tags
for tag in tagsBuffer {
    guard let name = tag.name else {
        continue
    }

    if tagsAsSet.contains(name) {
        note.addToTags(tag)
    }
}
That's it. This is one possible implementation. We could also filter the items of the tagsBuffer array, but I feel this implementation is easier to read and understand.
Don't Forget to Save
The managed objects we created are only known to the main managed object context of the Core Data manager. We need to push the changes of the main managed object context to the persistent store to make sure they're not lost when the application is terminated.
Because the save() method is throwing, we invoke the save() method of the NSManagedObjectContext class in a do-catch statement.
do {
    // Save Changes
    try mainManagedObjectContext.save()
} catch {
    print("Unable to Save Main Managed Object Context After Seeding Persistent Store (\(error))")
}
How you handle any errors that are thrown depends on the project. If you only seed your application with data in development, then printing a message to the console is sufficient. That may not be true if you also seed your application with data in production.
Build and Run
Before we build and run the application, we need to invoke the seed() method in the viewDidLoad() method of the NotesViewController class.
override func viewDidLoad() {
    super.viewDidLoad()

    title = "Notes"

    setupView()
    fetchNotes()
    updateView()

    // Seed Persistent Store
    coreDataManager.seed()
}
Performance and Duplicates
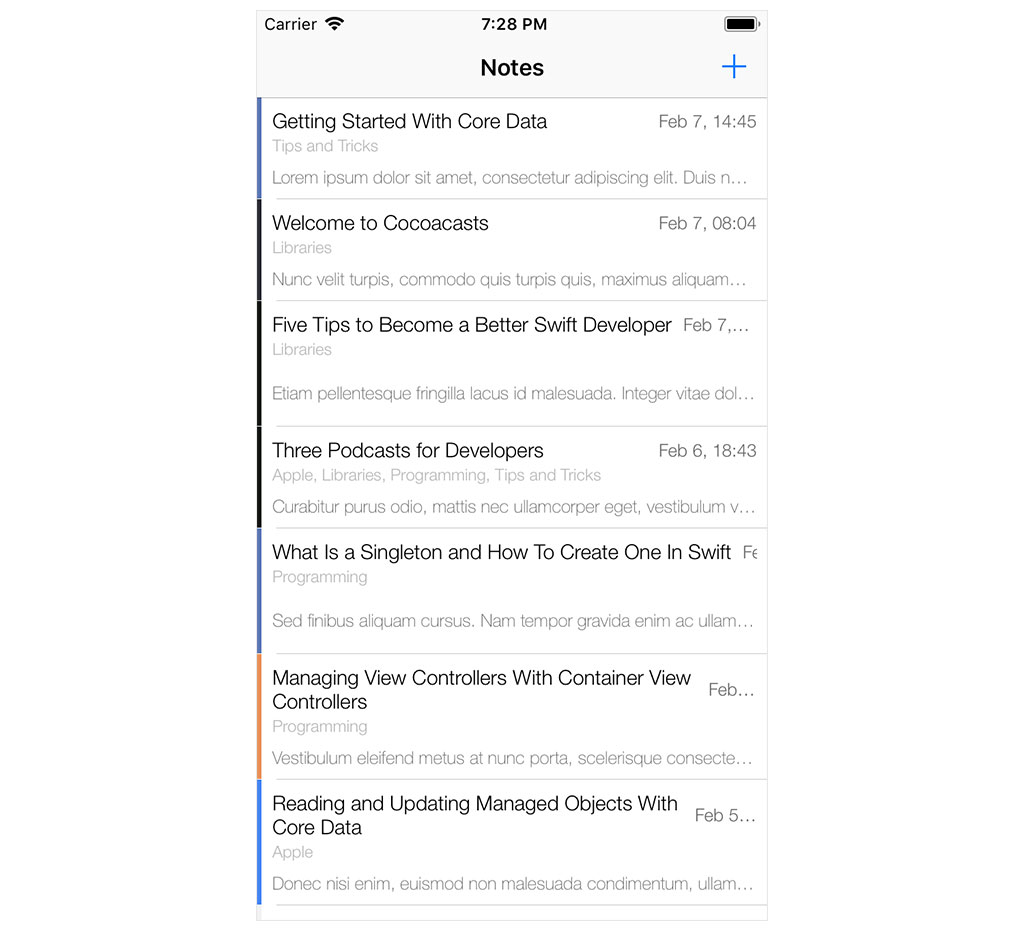
Run the application to see if everything is working as expected. You should see a bunch of notes in the notes view controller. Each note has a category and one or more tags.
I hope you agree that seeding the persistent store was fairly easy. You may be wondering how the size of the data set impacts performance. We're seeding the persistent store in the viewDidLoad() method and we use the main managed object context of the Core Data manager for the heavy lifting. In other words, the main thread of the application is burdened with seeding the persistent store. Can you guess what happens if we seed the persistent store with hundreds or thousands of records?
In the next episode, we add some safety to the current implementation to avoid that seeding the persistent store blocks the main thread, freezing up the application.