Before we can populate the day and week view controllers, we need to create a view model for each view controller. The view models transform the weather data into values the view controllers can present to the user. This is straightforward if you've watched the previous episodes. There are a few details that are worth pointing out, though.
Day View Controller
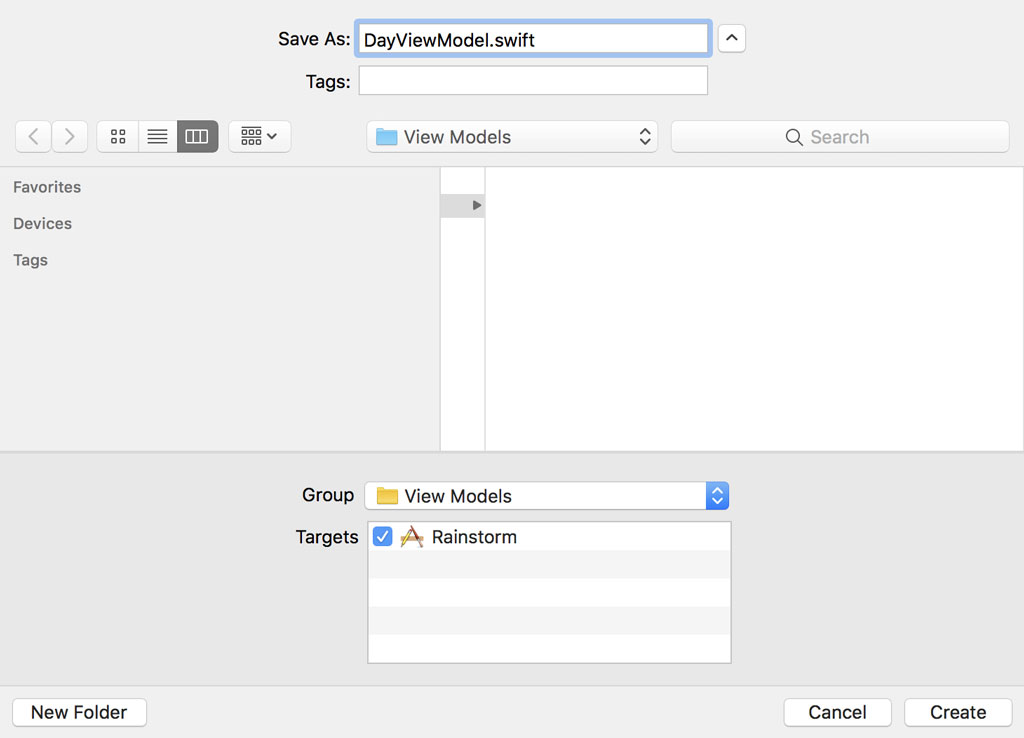
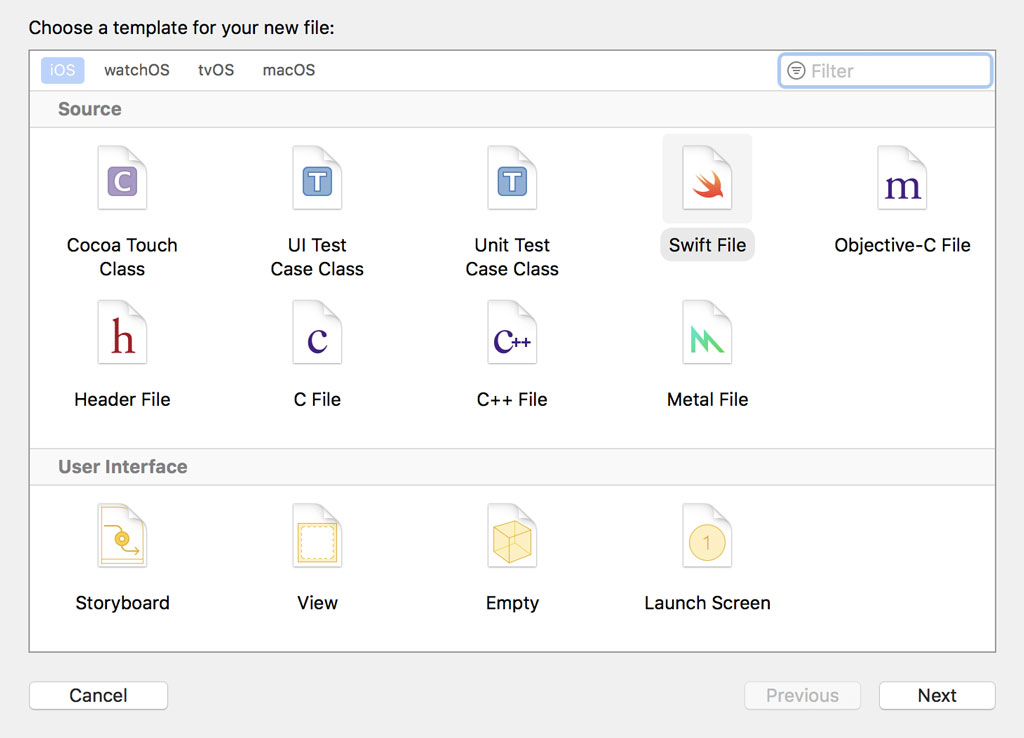
The day view controller shows the user the current weather conditions. This implies that the view model for the day view controller needs access to the value stored in the current property of the WeatherData instance. Create a new group in the Day View Controller group and name it View Models. Create a new Swift file and name it DayViewModel.swift.

The view model of the DayViewController class has one task, transforming the weather data it manages into values the user understands. Because the view model is only responsible for managing and transforming immutable data, we define it as a structure, a value type. Define a struct and name it DayViewModel.
import Foundation

struct DayViewModel {

}
The DayViewModel struct manages the current weather conditions. For that purpose, we define a property, weatherData, of type CurrentWeatherConditions.
import Foundation

struct DayViewModel {

    // MARK: - Properties

    let weatherData: CurrentWeatherConditions

}
Week View Controller
We repeat these steps for the week view controller. The week view controller shows the user the forecast for the next few days. This implies that the view model for the week view controller needs access to the value stored in the forecast property of the WeatherData instance. Create a new group in the Week View Controller group and name it View Models. Create a new Swift file and name it WeekViewModel.swift.

Define a struct and name it WeekViewModel.
import Foundation

struct WeekViewModel {

}
We define a property, weatherData, of type [ForecastWeatherConditions].
import Foundation

struct WeekViewModel {

    // MARK: - Properties

    let weatherData: [ForecastWeatherConditions]

}
Instantiating the View Models
The most important question we need to address is "Which object is responsible for instantiating the day and week view models?" Earlier in this series, I listed a few rules for implementing the MVVM pattern in a project. Remember that the view controller shouldn't have direct access to the model. It's the view model that manages the model.
With this rule in mind, it appears the RootViewModel class is the object that should be responsible for instantiating the day and week view models. While that makes sense, I'm going to break the aforementioned rule for practical reasons. Let me explain why.
If the DayViewModel and WeekViewModel structs are passed to root view controller via the didFetchWeatherData handler of the RootViewModel class, they need to be passed as optionals. Passing three optionals to the didFetchWeatherData handler starts to smell and it feels inelegant. Moreover, it shouldn't be possible for only one of the view models to be equal to nil. We could resolve this by wrapping them in a tuple that has an optional type, but that isn't a solution I'm happy with.
We have a few other options. We can pass only an optional error to the didFetchWeatherData handler to indicate if the application was successful at fetching weather data. If there's weather data available, then the RootViewController class can ask its view model for instances of the DayViewModel and WeekViewModel structs. This isn't great either. We still need to handle the optional view models and, even worse, it would mean the RootViewModel class would need to hold onto the WeatherData instance to create the day and week view models. Managing state should be kept to a minimum.
Another option that crossed my mind is a bit more elegant. We can pass the weather data as well as the error to the day and week view models. It's up to the day and week view models to decide what to display in the user interface of their view controllers based on the weather data and the error. This is a viable option, but I prefer to keep things as simple as possible for the time being. I'd like to keep the RootViewController class responsible for handling the weather data error.
A more elegant solution is putting the RootViewController class in charge of instantiating the day and week view models. This isn't a terrible option. Remember that the RootViewController class receives a WeatherData instance via the didFetchWeatherData handler. It isn't aware of the DarkSkyResponse class. We only hand it a block of immutable data.
As I mentioned earlier in this series, it isn't forbidden to break the rules I listed earlier. When you do, you need to know why you're breaking them and what the consequences are. We know why we want to break them. The consequences are limited. The RootViewController class has access to the model. This isn't a big issue since it's a block of immutable data.
By listing these options, I want to illustrate that there are often several possible solutions to a problem. It's up to the developer to validate each option and decide which option makes the most sense in the context of the project.
The changes we need to make are small. Open DayViewController.swift and define a property, viewModel, of type DayViewModel?. We define a didSet property observer in which we safely unwrap the optional and pass it to a helper method, setupViewModel(with:).
import UIKit

final class DayViewController: UIViewController {

    // MARK: - Properties

    var viewModel: DayViewModel? {
        didSet {
            guard let viewModel = viewModel else {
                return
            }

            // Setup View Model
            setupViewModel(with: viewModel)
        }
    }

    ...

}
In the setupViewModel(with:) method, we print the value of the viewModel property.
import UIKit

final class DayViewController: UIViewController {

    ...

    // MARK: - Helper Methods

    private func setupViewModel(with viewModel: DayViewModel) {
        print(viewModel)
    }

}
We repeat these steps for the WeekViewController class. Open WeekViewController.swift and define a property, viewModel, of type WeekViewModel?. We define a didSet property observer in which we safely unwrap the optional and pass it to a helper method, setupViewModel(with:).
import UIKit

final class WeekViewController: UIViewController {

    // MARK: - Properties

    var viewModel: WeekViewModel? {
        didSet {
            guard let viewModel = viewModel else {
                return
            }

            // Setup View Model
            setupViewModel(with: viewModel)
        }
    }

    ...

}
In the setupViewModel(with:) method, we print the value of the viewModel property.
import UIKit

final class WeekViewController: UIViewController {

    ...

    // MARK: - Helper Methods

    private func setupViewModel(with viewModel: WeekViewModel) {
        print(viewModel)
    }

}
Open RootViewController.swift and navigate to the setupViewModel(with:) method. For clarity, we rename the first argument of the didFetchWeatherData handler to weatherData.
private func setupViewModel(with viewModel: RootViewModel) {
    // Configure View Model
    viewModel.didFetchWeatherData = { [weak self] (weatherData, error) in
        if let _ = error {
            // Notify User
            self?.presentAlert(of: .noWeatherDataAvailable)
        } else if let weatherData = weatherData {
            print(weatherData)
        } else {
            // Notify User
            self?.presentAlert(of: .noWeatherDataAvailable)
        }
    }
}
We use the WeatherData instance to instantiate a DayViewModel instance, passing in the current weather conditions as an argument. The view model is assigned to the viewModel property of the DayViewController class.
private func setupViewModel(with viewModel: RootViewModel) {
    // Configure View Model
    viewModel.didFetchWeatherData = { [weak self] (weatherData, error) in
        if let _ = error {
            // Notify User
            self?.presentAlert(of: .noWeatherDataAvailable)
        } else if let weatherData = weatherData {
            // Initialize Day View Model
            let dayViewModel = DayViewModel(weatherData: weatherData.current)

            // Update Day View Controller
            self?.dayViewController.viewModel = dayViewModel
        } else {
            // Notify User
            self?.presentAlert(of: .noWeatherDataAvailable)
        }
    }
}
We also instantiate an instance of the WeekViewModel struct by passing the value stored in the forecast property of the WeatherData instance to the initializer of the WeekViewModel struct. The view model is assigned to the viewModel property of the WeekViewController class.
private func setupViewModel(with viewModel: RootViewModel) {
    // Configure View Model
    viewModel.didFetchWeatherData = { [weak self] (weatherData, error) in
        if let _ = error {
            // Notify User
            self?.presentAlert(of: .noWeatherDataAvailable)
        } else if let weatherData = weatherData {
            // Initialize Day View Model
            let dayViewModel = DayViewModel(weatherData: weatherData.current)

            // Update Day View Controller
            self?.dayViewController.viewModel = dayViewModel

            // Initialize Week View Model
            let weekViewModel = WeekViewModel(weatherData: weatherData.forecast)

            // Update Week View Controller
            self?.weekViewController.viewModel = weekViewModel
        } else {
            // Notify User
            self?.presentAlert(of: .noWeatherDataAvailable)
        }
    }
}
Run the application to make sure the DayViewModel and WeekViewModel instances are printed to the console.
What's Next?
With the day and week view models in place, we can populate the user interface. In the next episode, we focus on the user interface of the DayViewController class.