Setting Up the Project
Few things are more enjoyable than setting up a brand new project. Fire up Xcode and choose New > Project from Xcode's File menu. Select the Single View App template from the iOS section and click Next.

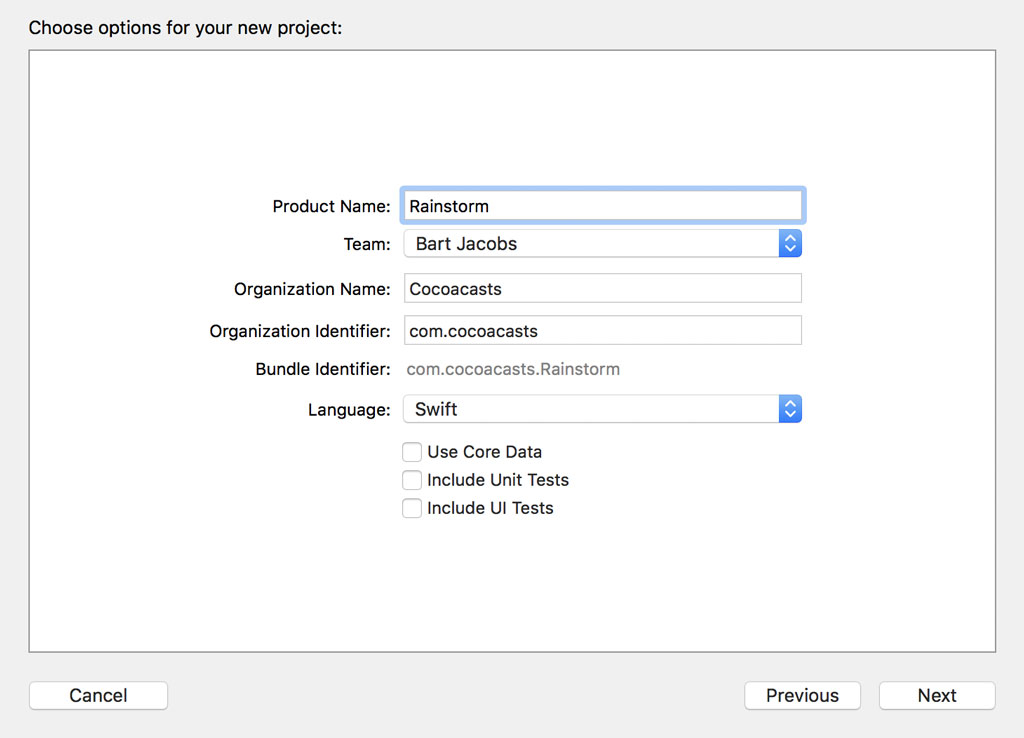
Set Product Name to Rainstorm, enter an organization name and identifier, and make sure Language is set to Swift. There's no need to check any of the checkboxes at the bottom. We add a target for unit tests later in this series.
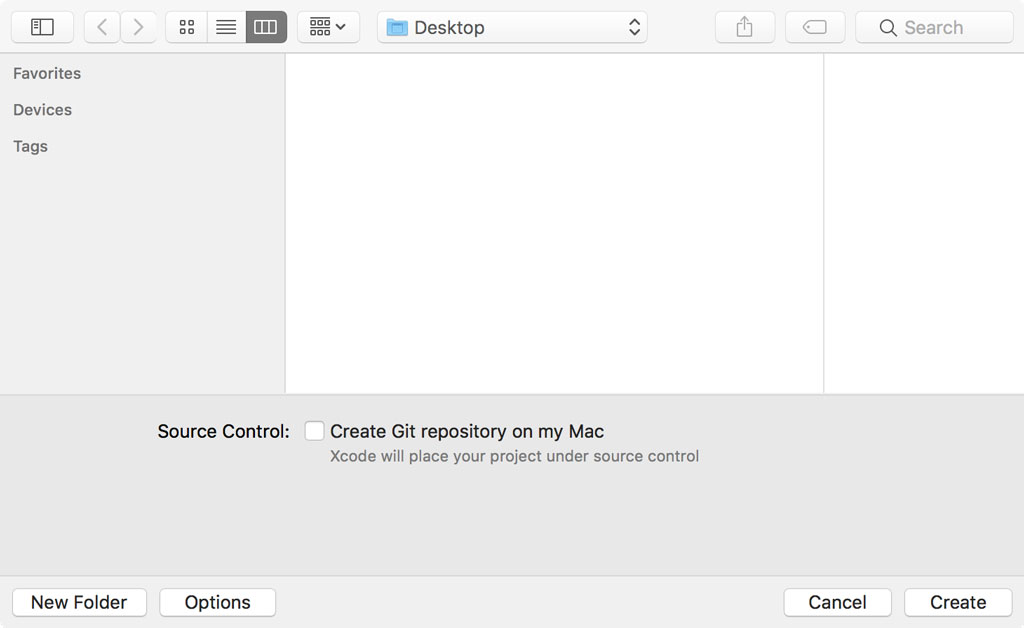
Click Next, tell Xcode where you'd like to save the project, and make sure Create Git repository on my Mac is unchecked. I always tweak the project before I put it under source control. Click Create to create the project.
Updating the Project Structure
Before we put the project under source control, we need to update the project structure. Having a project structure that makes sense is very important if the project has even a little bit of complexity to it. If you're working in a team, then make sure you define a set of guidelines to avoid having a project structure that makes no sense.
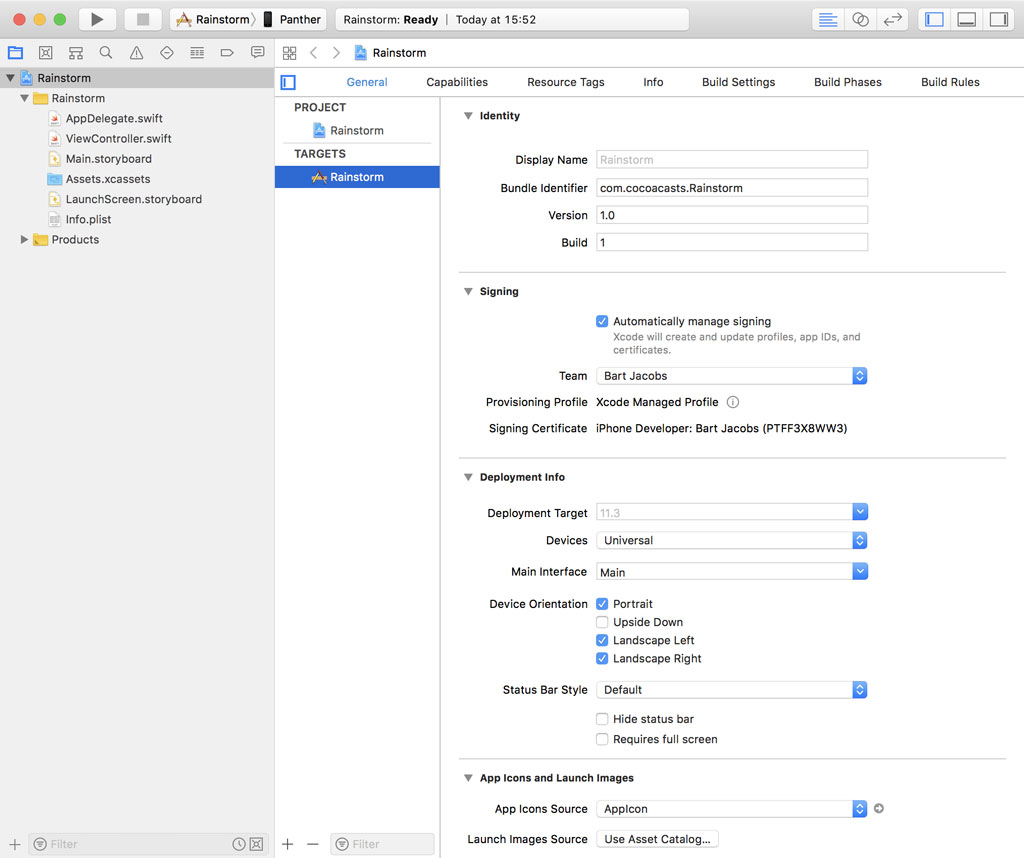
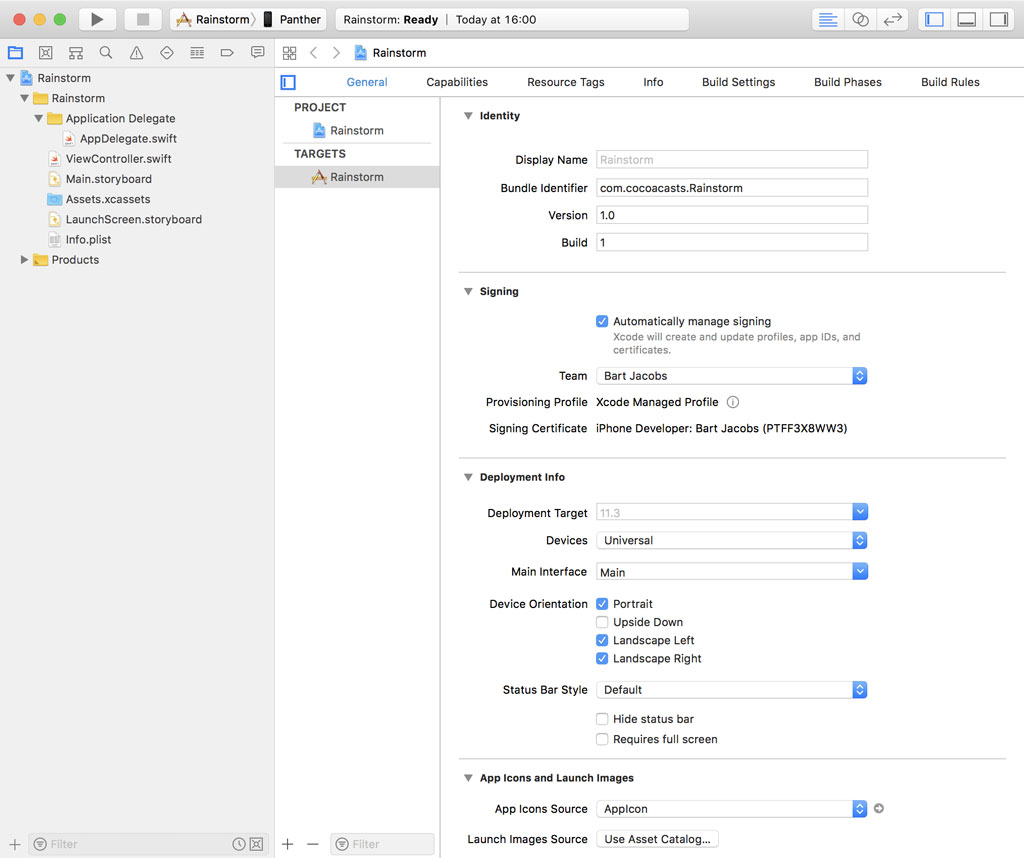
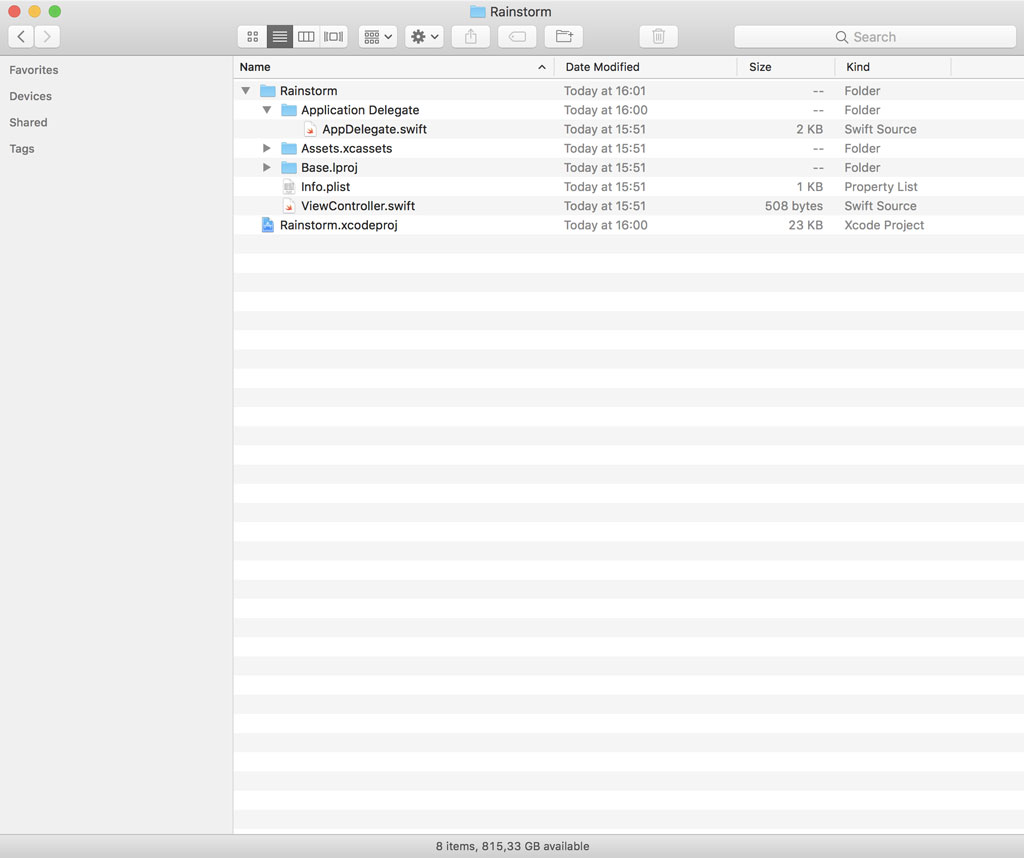
We start out simple. Create a new group and name it Application Delegate. Move AppDelegate.swift from the root of the project to the Application Delegate group. I don't like having files floating around in the project root.
As of Xcode 9, a group corresponds by default with a folder on disk, which means the project is also neatly organized on disk.
How you organize views, view controllers, models, and view models is up to you. Even though there's no right or wrong, it's important to be consistent. As long as you can find files and folders in the project without having to rely on Xcode's search you're fine. The project structure I use has changed several times over the years and that isn't a problem. Apple's SDKs have also changed quite a bit over the years.
The approach that works best for me is simple. Create a new group and name it View Controllers. This group contains a group for each of the view controllers of the project. This approach is a good fit for smaller projects. For larger, more complex projects, I usually work with modules. A module is nothing more than a collection of related view controllers and their dependencies. If you're building an application with a tab bar, for example, each tab could represent a module.
Create a group in the View Controllers group and name it Root View Controller. Every project I create has a root view controller. Having a root view controller makes it easy to carefully control the application life cycle. This will make more sense later in the series.
Add ViewController.swift to the Root View Controller group.
Assigning sensible names to types, properties, and functions is an important skill to have as a developer. I always carefully consider the name of the entities I define in a project.
The UIViewController subclass Xcode created for us is named ViewController. That needs to change. Let's rename ViewController.swift to RootViewController.swift.
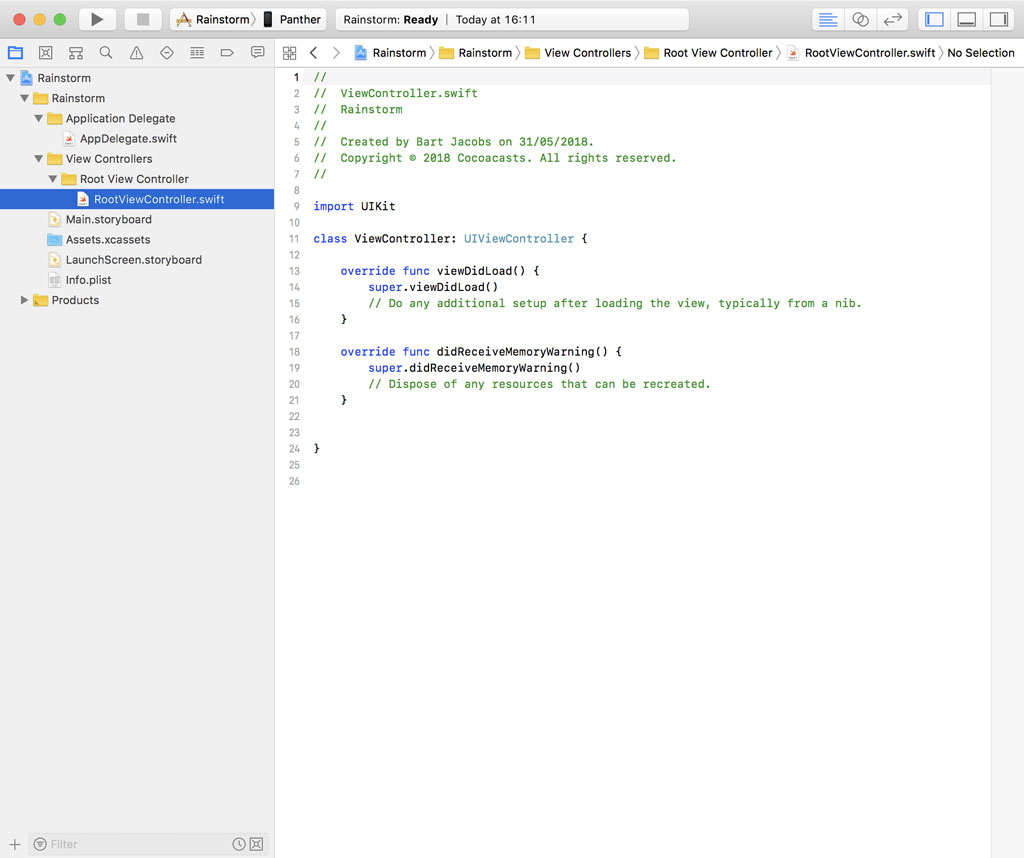
Rename the ViewController class to RootViewController class by right-clicking the name of the class and choosing Refactor > Rename…. Rename the ViewController class and click Rename in the top right. Xcode also renames the reference in Main.storyboard. Don't forget to update the comment at the top of RootViewController.swift. Details are important.
Properly annotating code is another detail that's often overlooked. To prevent the RootViewController class from being subclassed and to improve performance, we mark the RootViewController class as final.
import UIKit

final class RootViewController: UIViewController {

    override func viewDidLoad() {
        super.viewDidLoad()
        // Do any additional setup after loading the view, typically from a nib.
    }

    override func didReceiveMemoryWarning() {
        super.didReceiveMemoryWarning()
        // Dispose of any resources that can be recreated.
    }

}
Remove the implementation of the RootViewController class with the exception of the viewDidLoad() method. As you can see, I add plenty of comments and MARK annotations to the code I write.
import UIKit

final class RootViewController: UIViewController {

    // MARK: - View Life Cycle

    override func viewDidLoad() {
        super.viewDidLoad()
    }

}
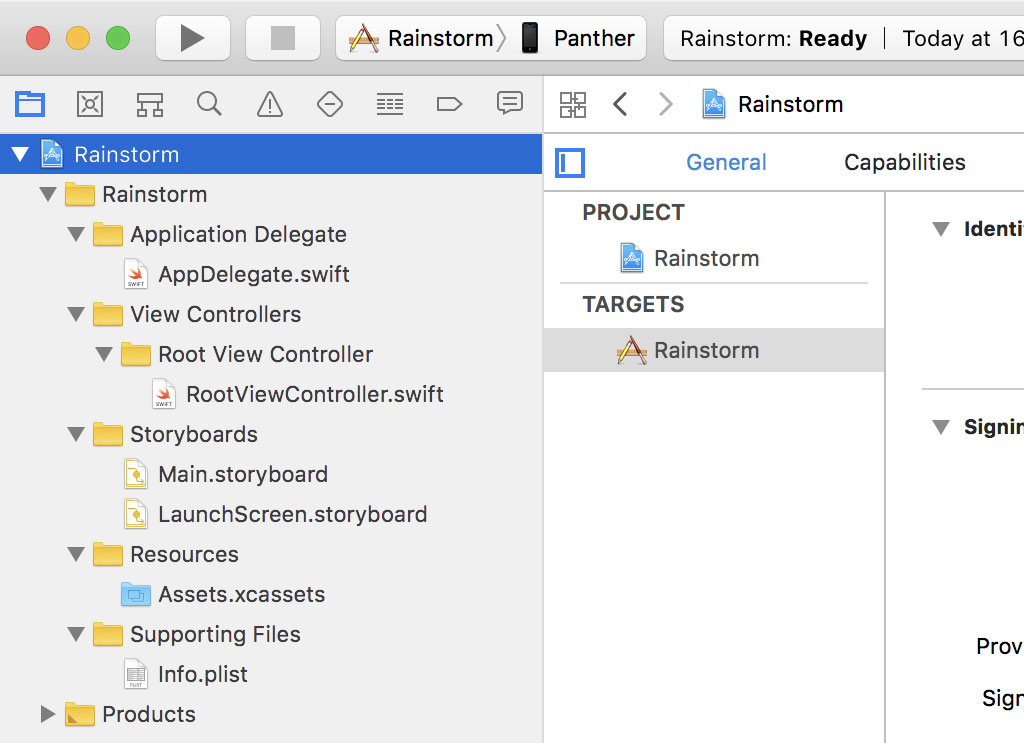
Create a new group and name it Storyboards. This group accommodates the storyboards of the project, Main.storyboard and LaunchScreen.storyboard. We put Assets.xcassets in a group named Resources. We also put Info.plist in a separate group, Supporting Files.
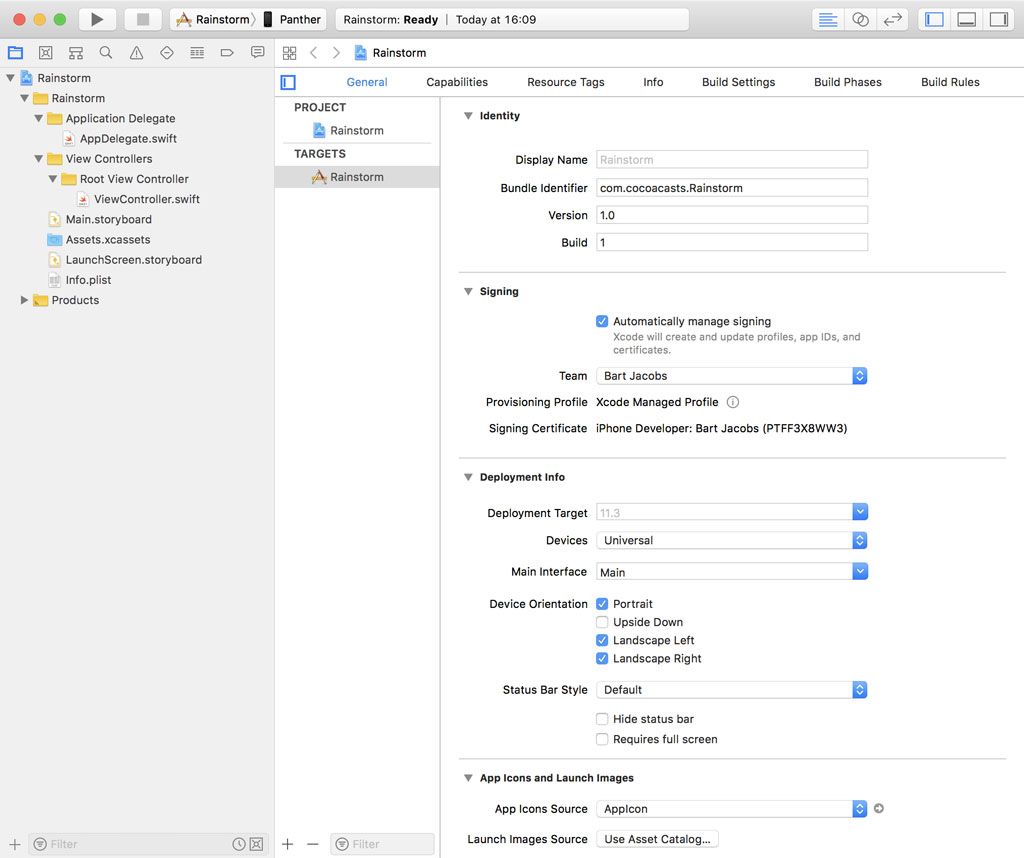
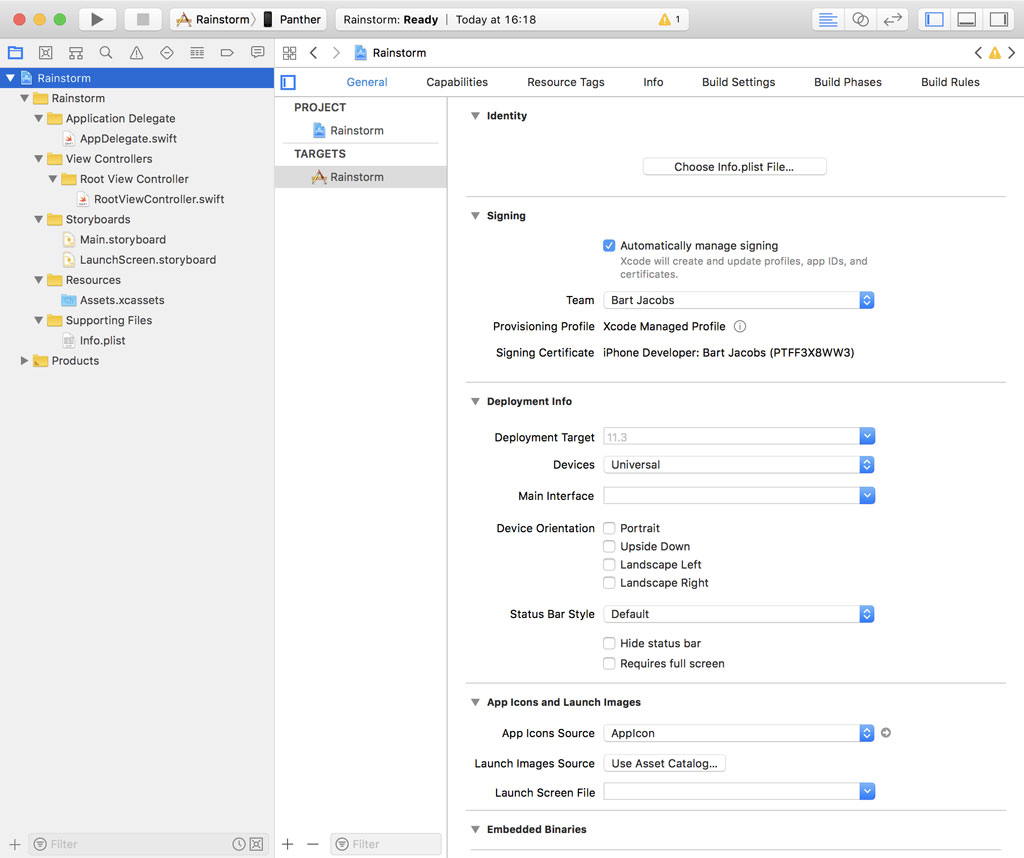
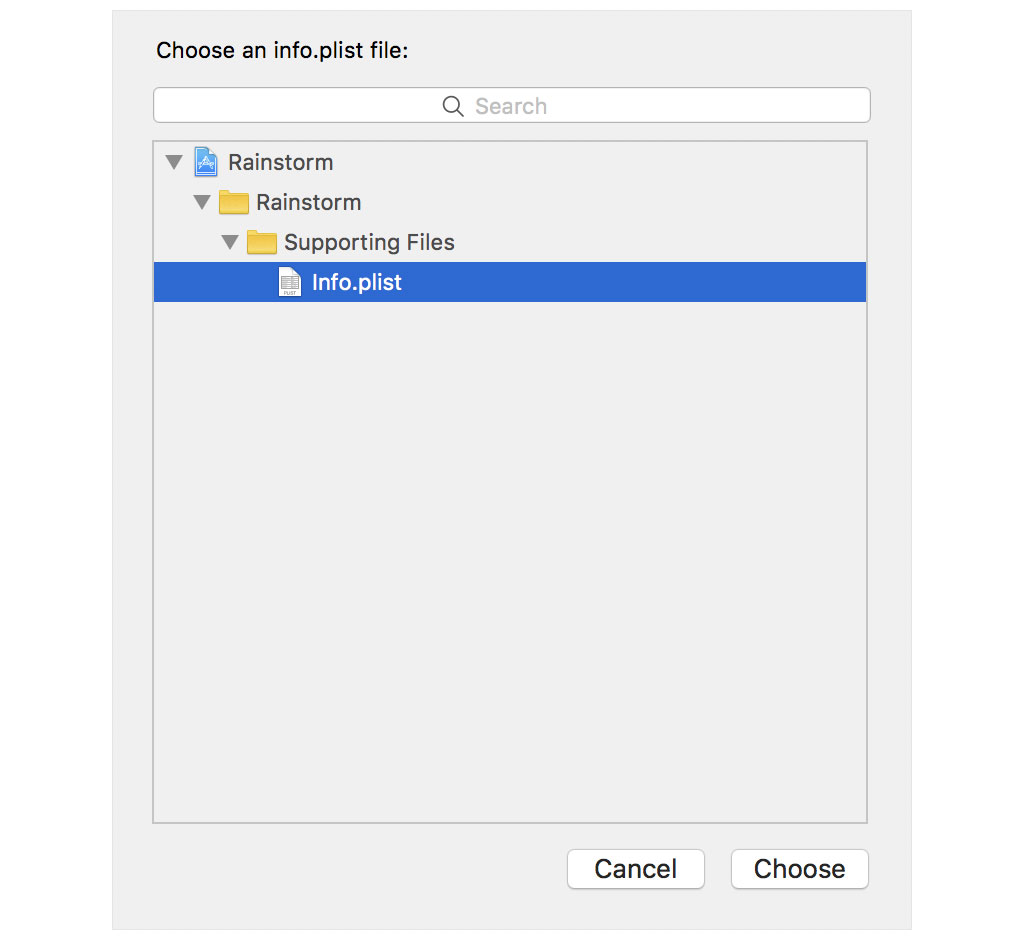
Moving Info.plist has a few consequences, though. By moving Info.plist to a separate group, Xcode can no longer locate it. Select the project at the top of the Project Navigator and choose the Rainstorm target from the list of Targets. In the Identity section, click Choose Info.plist File... and select the Info.plist file we moved to the Supporting Files group.
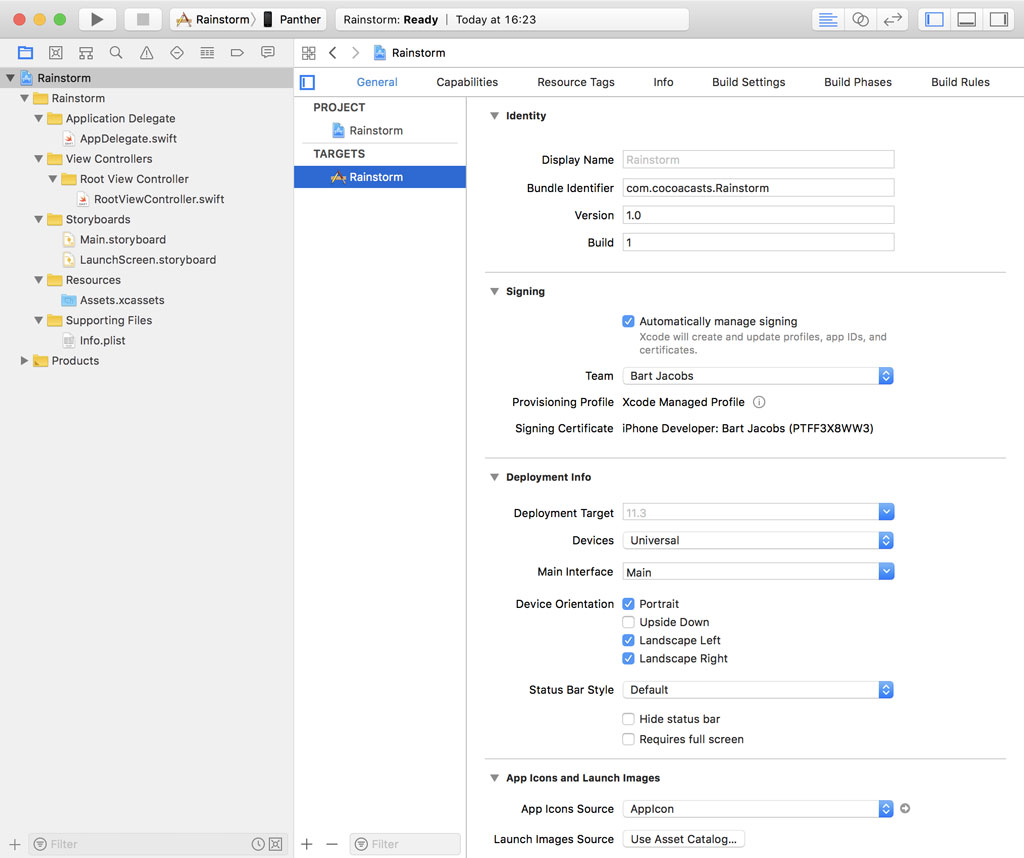
Xcode doesn't immediately update its user interface after this change. You can resolve this by clicking the Rainstorm project at the top and selecting the Rainstorm target once more.
Updating the Target's Settings
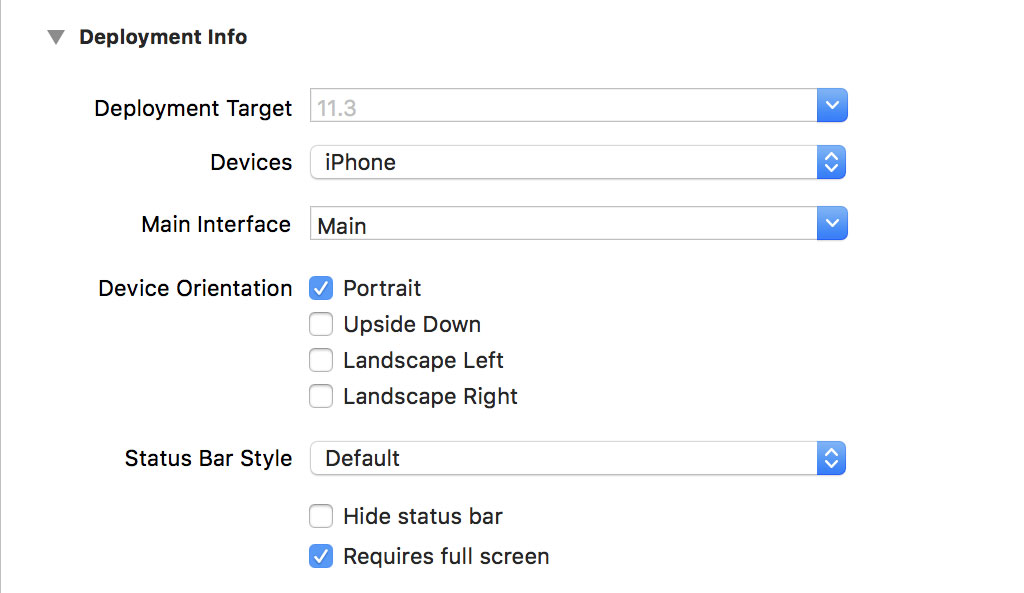
We won't be building a universal application in this series and the application only supports portrait orientation. Set Devices to iPhone and only check the Portrait checkbox next to Device Orientation. To avoid compiler warnings, we also check Requires full screen.
That looks good for now. Choose a destination and run the application for the first time. You should see a white screen and no warnings or errors in Xcode's Issue Navigator.
Source Control
We're not done yet. Every software project, large and small, needs to be put under source control. That's easy, though. The most popular version control system for Swift and Cocoa projects is Git. It's easy to work with and it comes preinstalled on every Mac.
Launch Terminal and navigate to the root of the project. Before we make the first commit, we create a .gitignore file. Open a text editor and create a file named .gitignore at the root of the project. I've been using the same template for several years and it still works fine for me. It looks like this.
#########################
# .gitignore file for Xcode4 / OS X Source projects
#
# NB: if you are storing "built" products, this WILL NOT WORK,
#   and you should use a different .gitignore (or none at all)
# This file is for SOURCE projects, where there are many extra
#   files that we want to exclude
#
# For updates, see: http://stackoverflow.com/questions/49478/git-ignore-file-for-xcode-projects
#########################

#####
# OS X temporary files that should never be committed

.DS_Store
*.swp
profile


####
# Xcode temporary files that should never be committed
#
# NB: NIB/XIB files still exist even on Storyboard projects, so we want this...

*~.nib


####
# Xcode build files -
#
# NB: slash on the end, so we only remove the FOLDER, not any files that were badly named "DerivedData"

DerivedData/

# NB: slash on the end, so we only remove the FOLDER, not any files that were badly named "build"

build/


#####
# Xcode private settings (window sizes, bookmarks, breakpoints, custom executables, smart groups)
#
# This is complicated:
#
# SOMETIMES you need to put this file in version control.
# Apple designed it poorly - if you use "custom executables", they are
#  saved in this file.
# 99% of projects do NOT use those, so they do NOT want to version control this file.
#  ..but if you're in the 1%, comment out the line "*.pbxuser"

*.pbxuser
*.mode1v3
*.mode2v3
*.perspectivev3
#    NB: also, whitelist the default ones, some projects need to use these
!default.pbxuser
!default.mode1v3
!default.mode2v3
!default.perspectivev3


####
# Xcode 4 - semi-personal settings, often included in workspaces
#
# You can safely ignore the xcuserdata files - but do NOT ignore the files next to them
#

xcuserdata

####
# XCode 4 workspaces - more detailed
#
# Workspaces are important! They are a core feature of Xcode - don't exclude them :)
#
# Workspace layout is quite spammy. For reference:
#
# (root)/
#   (project-name).xcodeproj/
#     project.pbxproj
#     project.xcworkspace/
#       contents.xcworkspacedata
#       xcuserdata/
#         (your name)/xcuserdatad/
#     xcuserdata/
#       (your name)/xcuserdatad/
#
#
#
# Xcode 4 workspaces - SHARED
#
# This is UNDOCUMENTED (google: "developer.apple.com xcshareddata" - 0 results
# But if you're going to kill personal workspaces, at least keep the shared ones...
#
#
!xcshareddata

####
# XCode 4 build-schemes
#
# PRIVATE ones are stored inside xcuserdata
!xcschemes

####
# Xcode 4 - Deprecated classes
#
# Allegedly, if you manually "deprecate" your classes, they get moved here.
#
# We're using source-control, so this is a "feature" that we do not want!

*.moved-aside

# CocoaPods
/Pods
Save the file and head back to the command line. Initialize an empty Git repository by executing the git init command.
git init
Add every file and folder that isn't ignored to the staging area by executing the following command.
git add .
Committing everything is as simple as executing the git commit command. We supply a commit message by using the -m option.
git commit -m “Project setup”
I always set the message of the first commit to Project setup. That's a personal choice. The working tree should be clean at this point. You can check this by executing the git status command.
git status
In the next episode, we zoom in on view controller containment and we lay the foundation of the user interface of the application.