In the next episodes, we add the ability to create, read, update, and delete notes. Before we start, we need to make some preparations.
Target Configuration
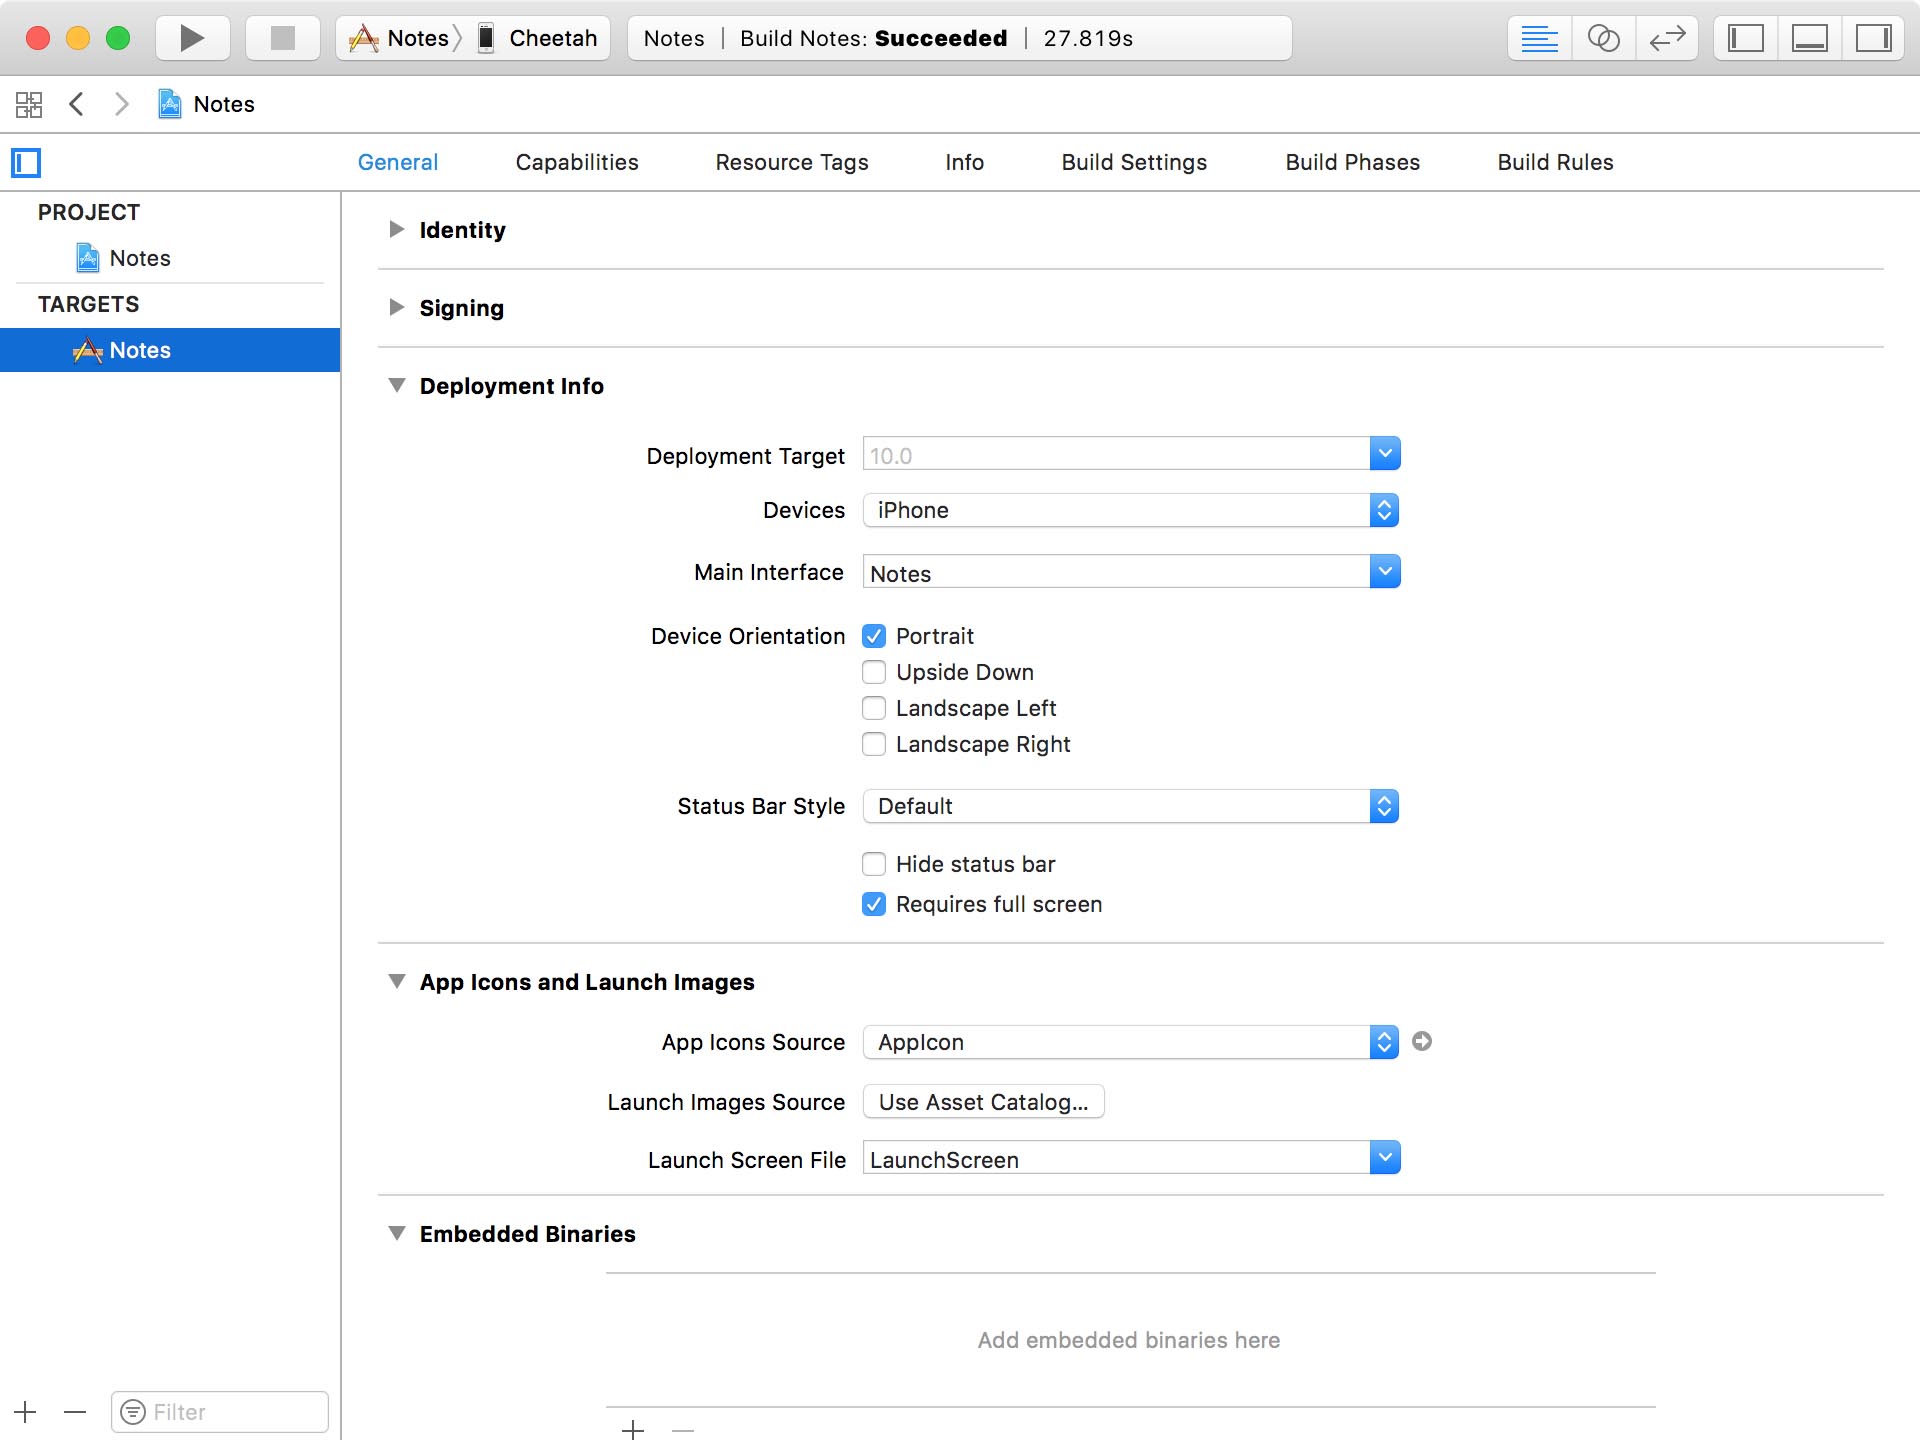
Open the project in the Project Navigator, choose the Notes target, and select the General tab at the top. Set Devices to iPhone, Device Orientation to Portrait, and check Requires full screen.
View Controllers
I'm not going to bother you with the implementation of the user interface and the view controllers we need. We're going to focus on the details that relate to the Core Data implementation. Open the starter project of this episode if you'd like to follow along with me.
The project includes several changes. First, I renamed ViewController to NotesViewController. This makes more sense since the NotesViewController class will display the user's notes. I also renamed Main.storyboard to Notes.storyboard.
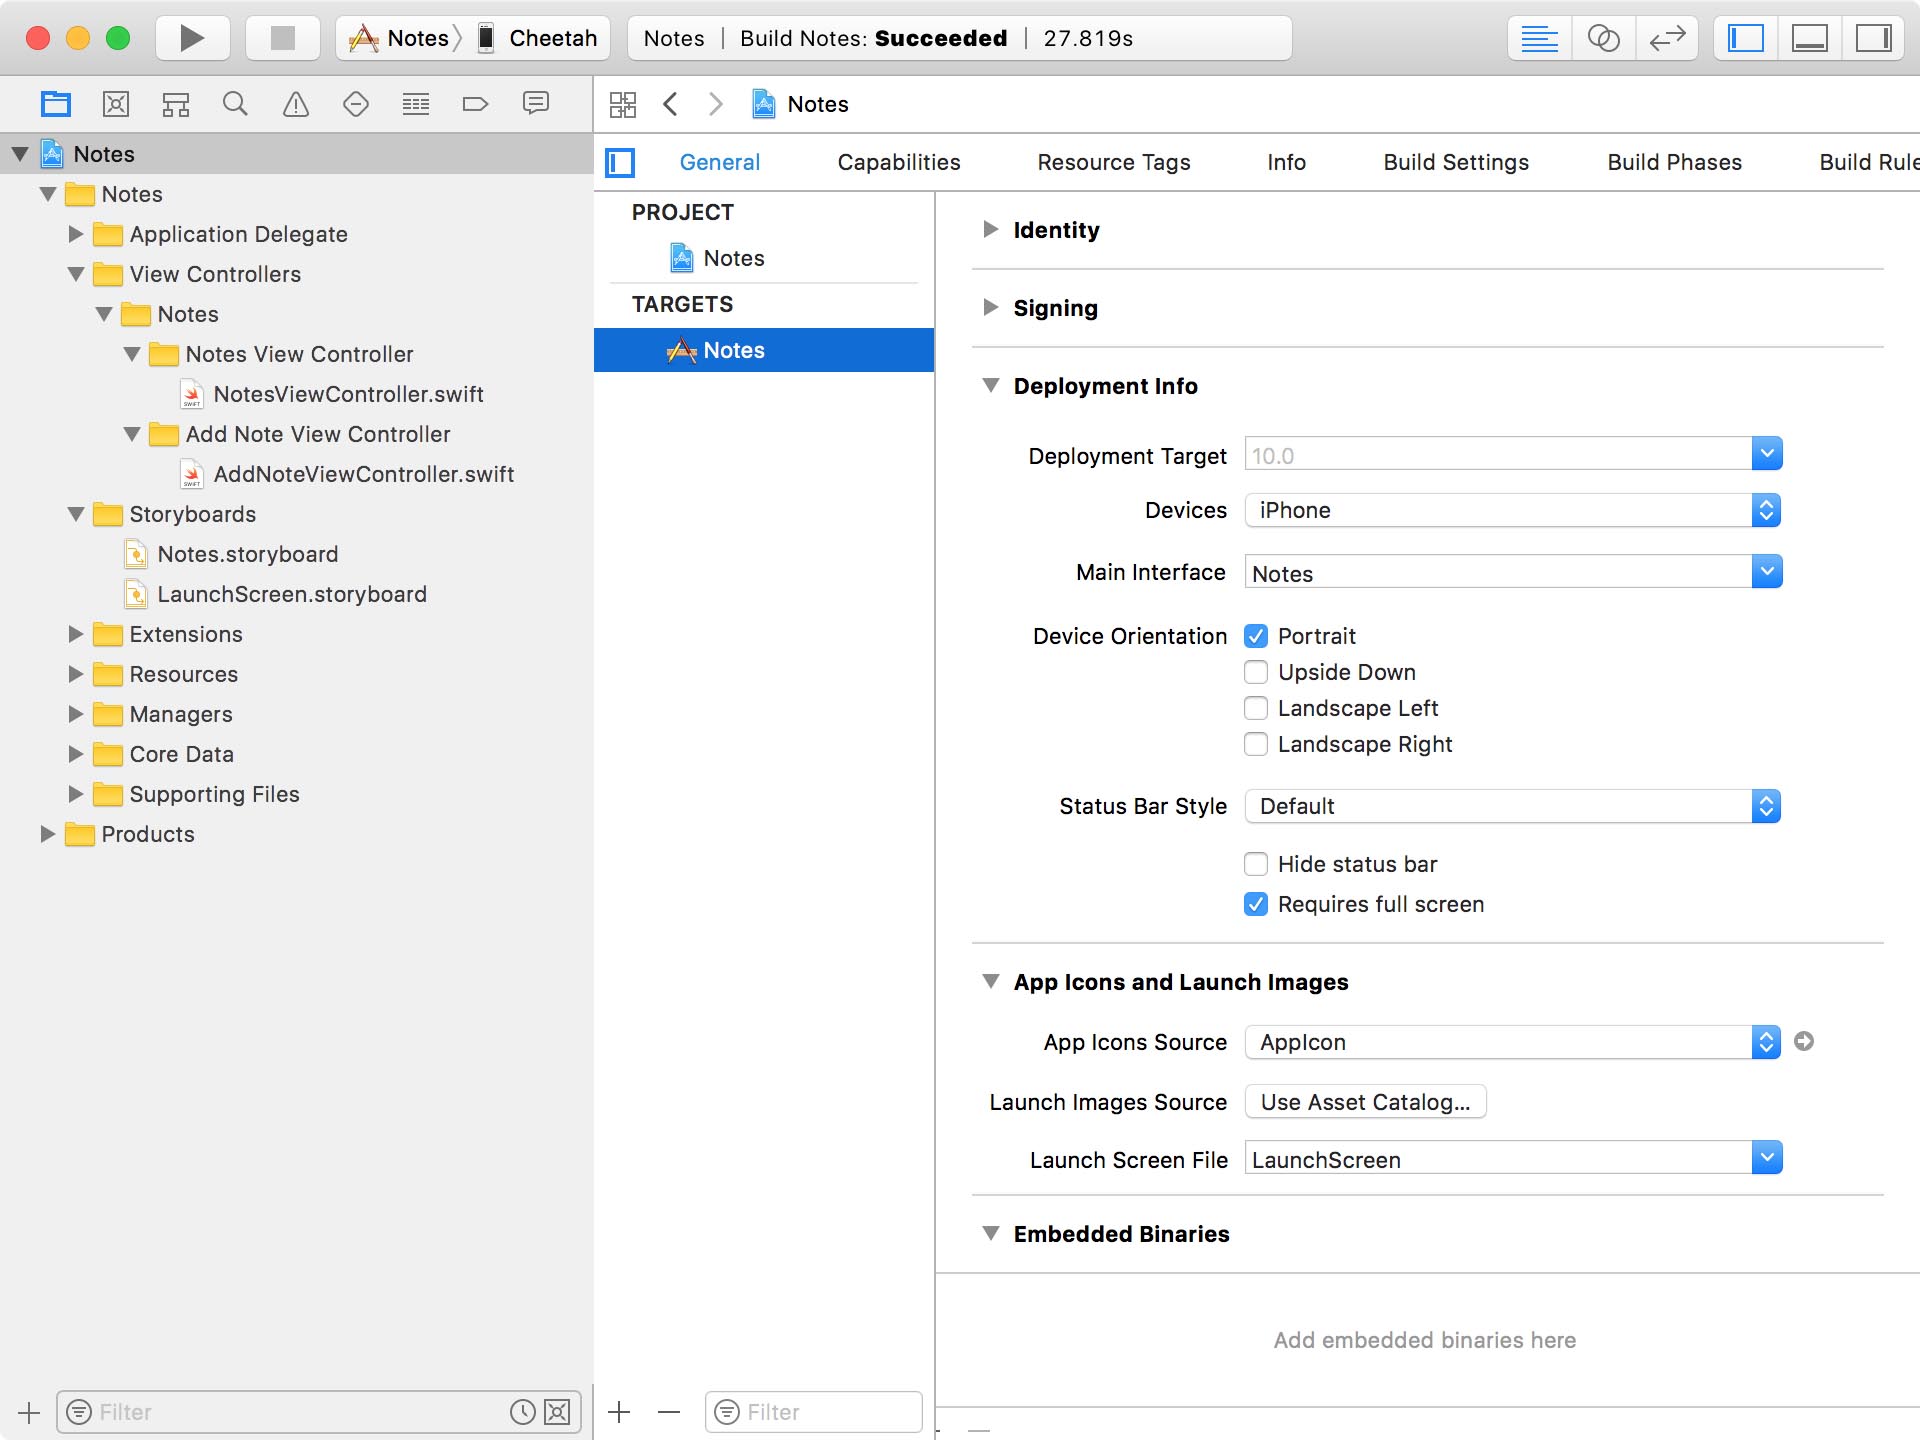
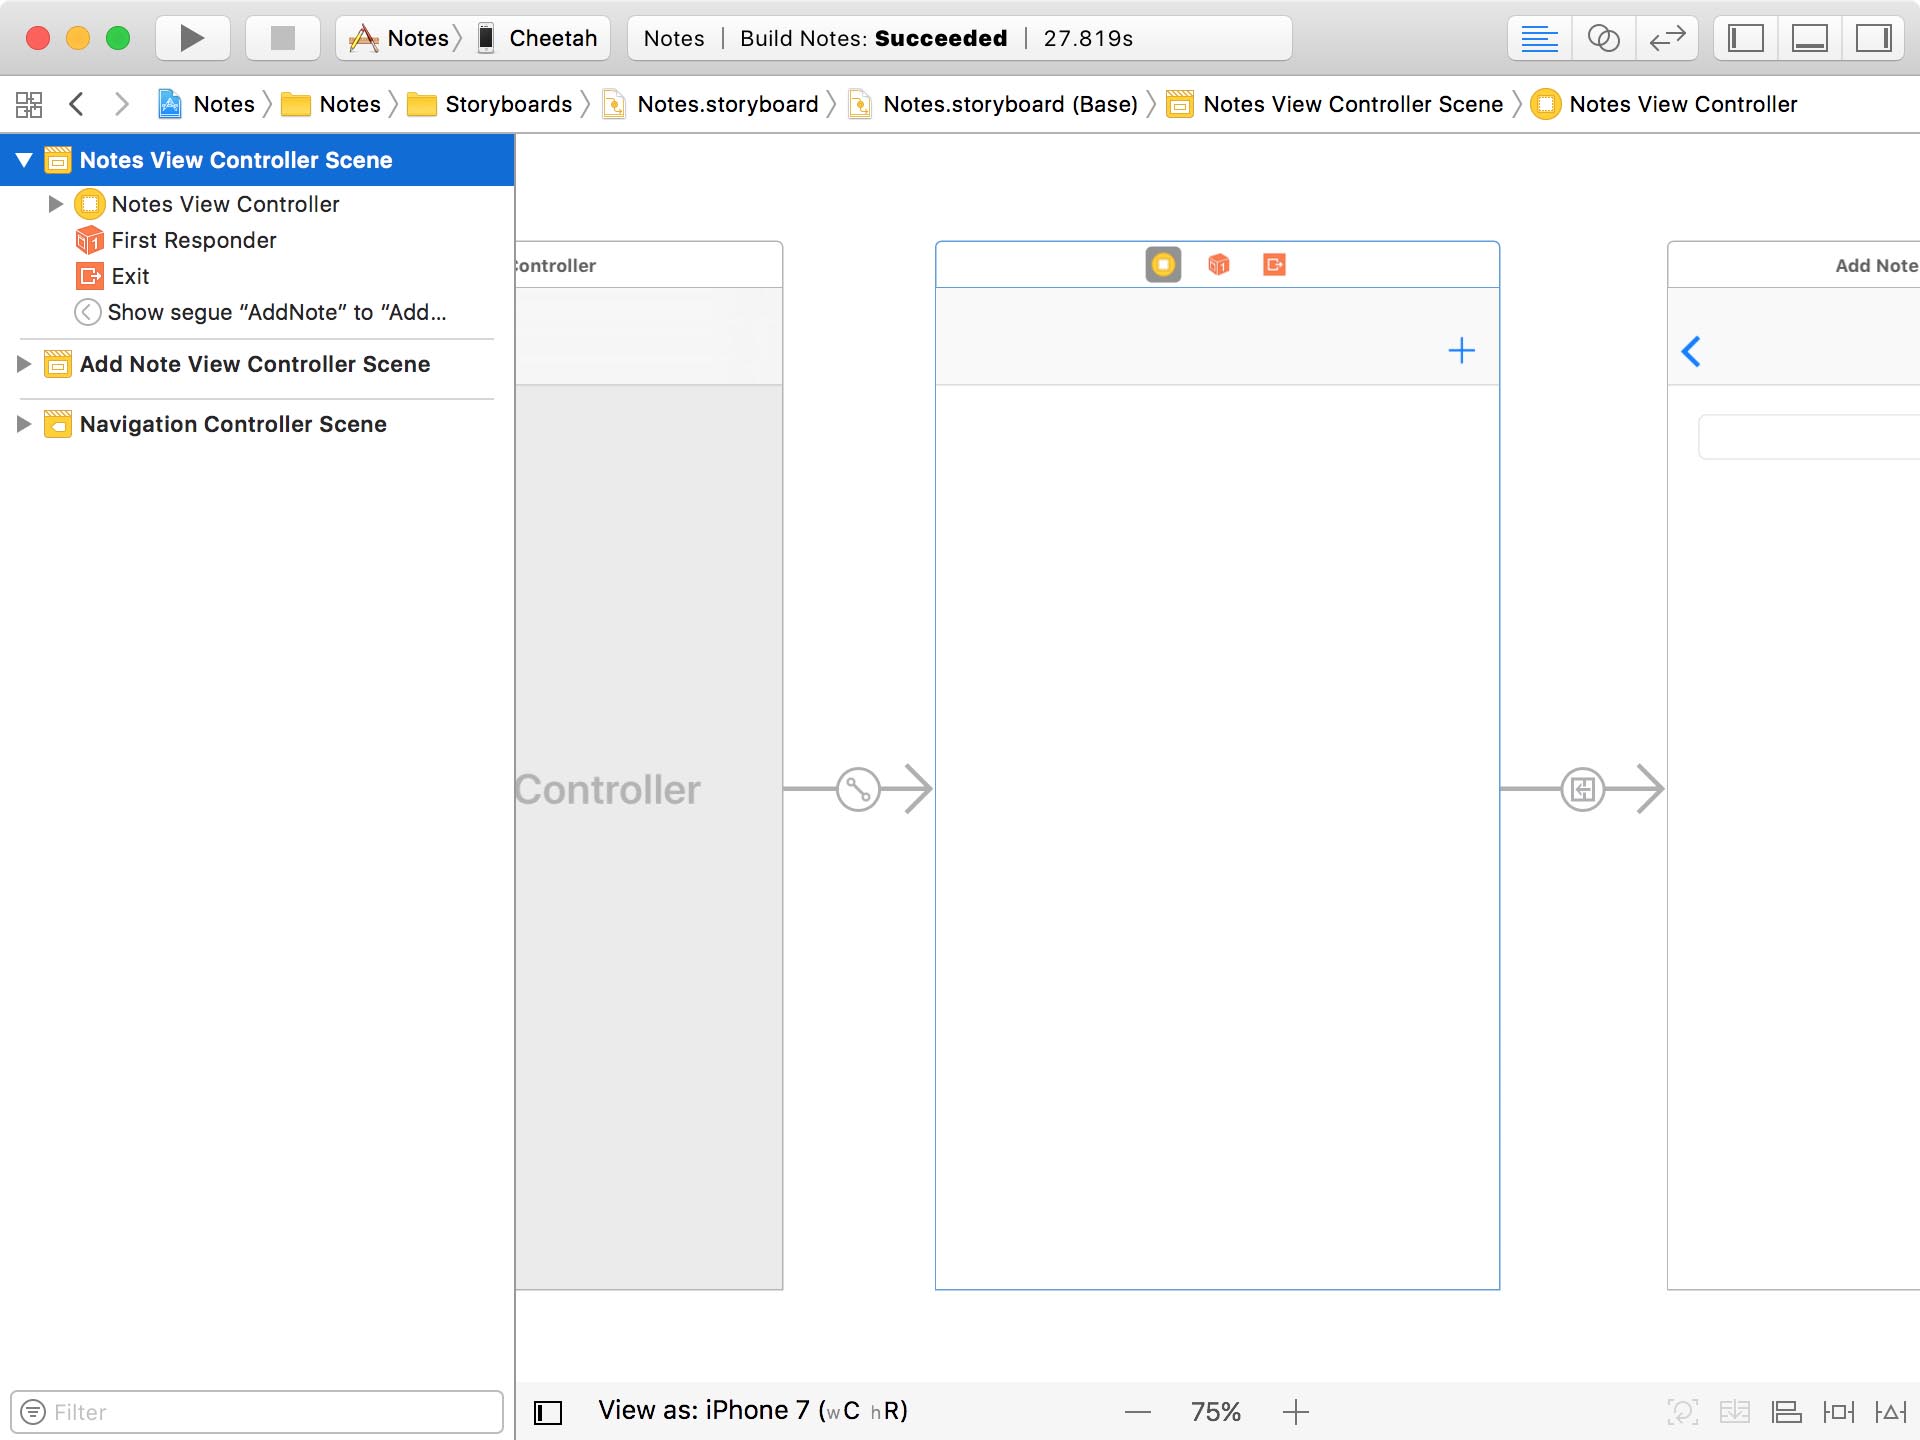
Second, I embedded the NotesViewController class in a navigation controller and added a bar button item in the top right. Tapping the bar button item takes the user to the Add Note View Controller Scene.
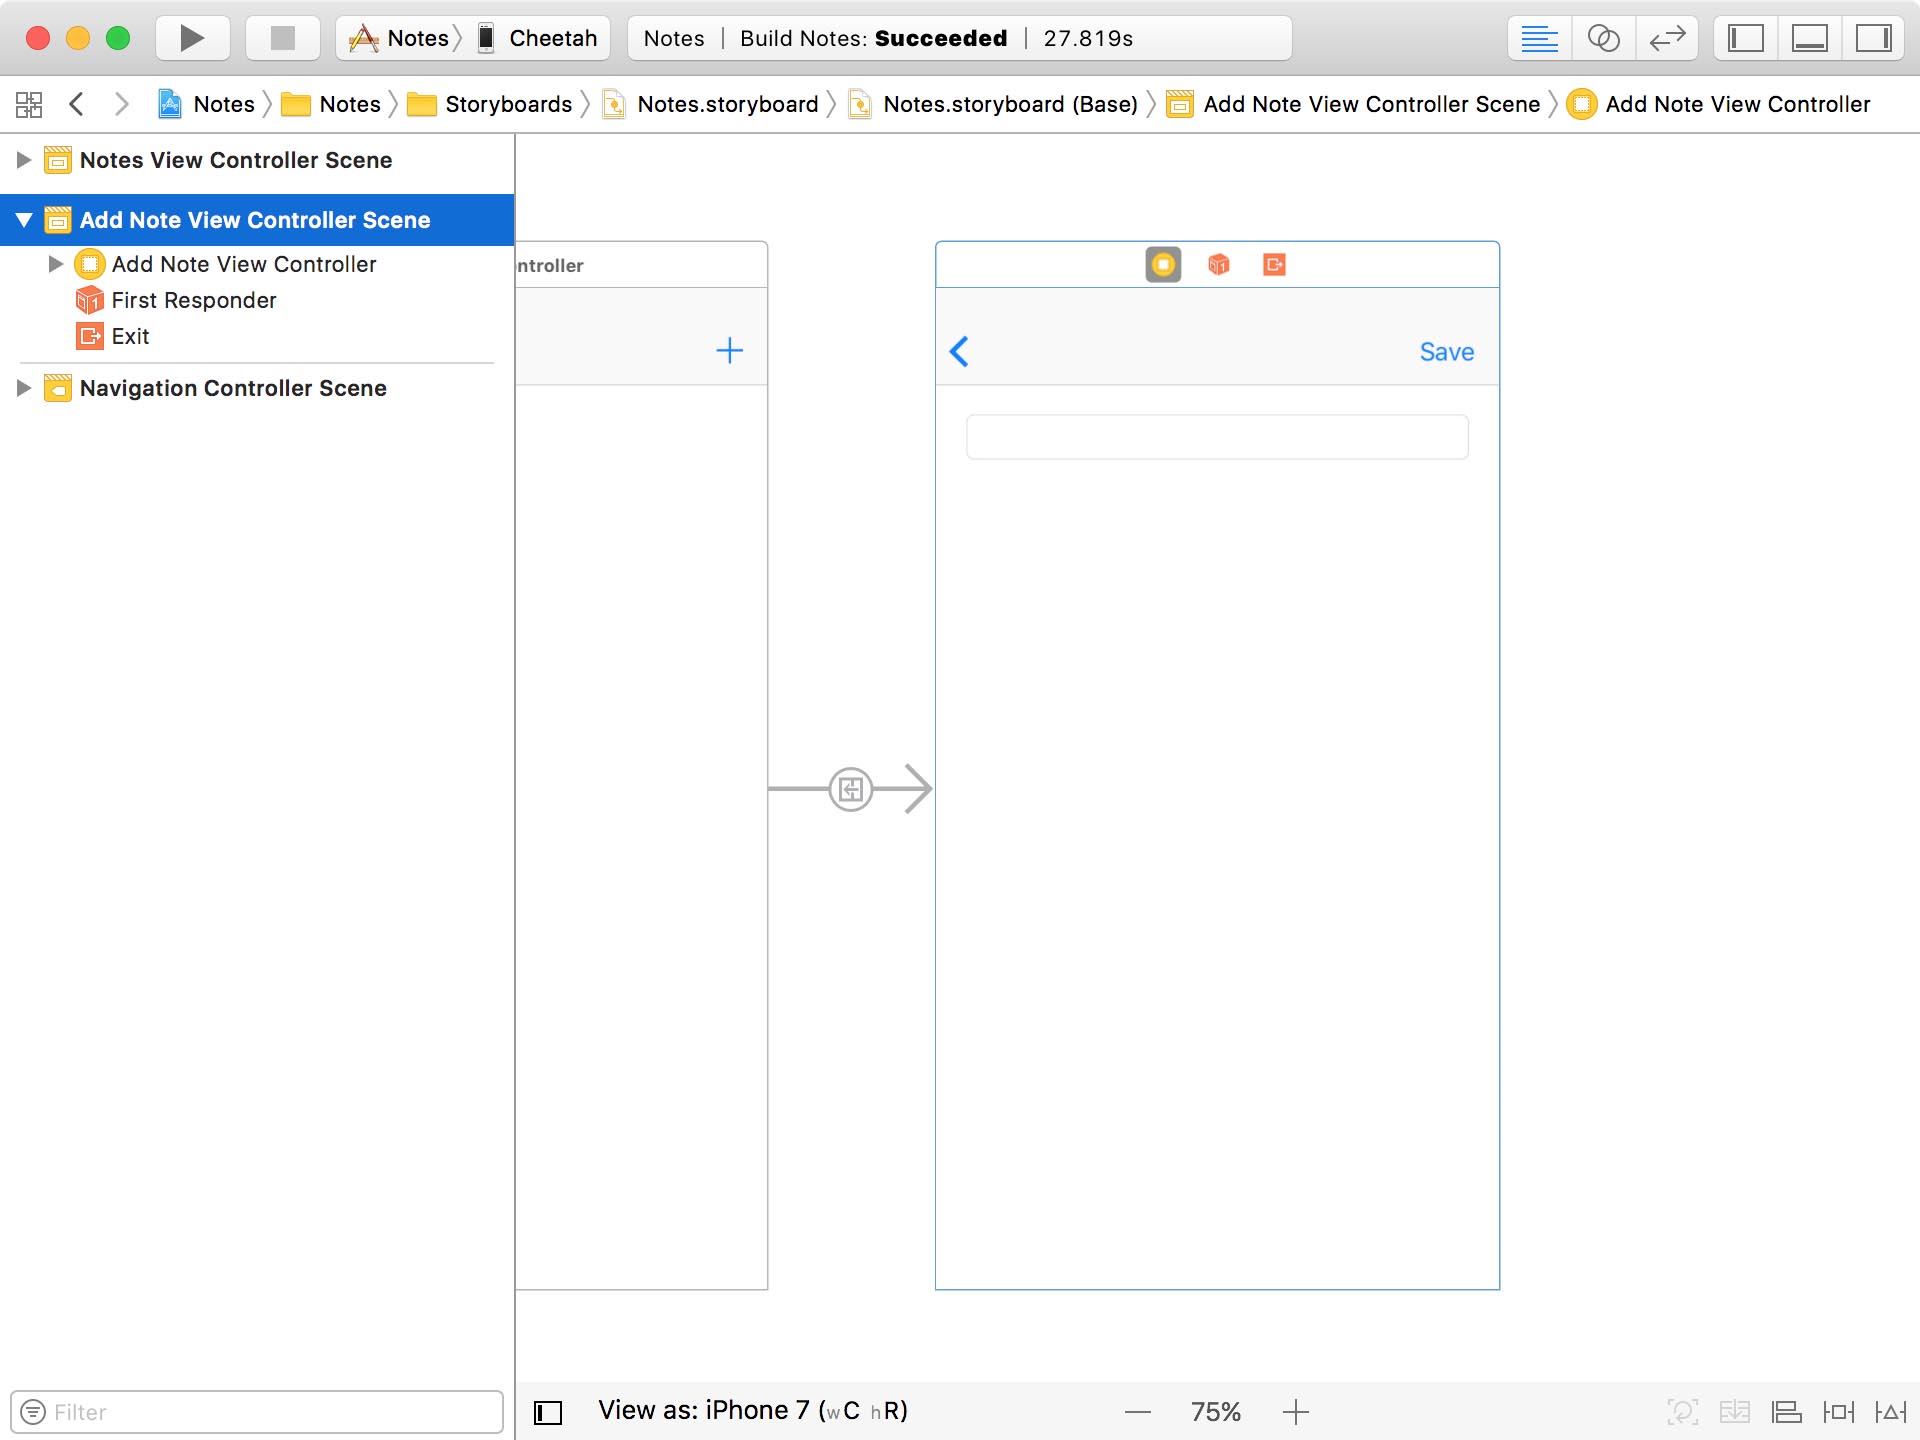
Third, the AddNoteViewController class is responsible for adding notes and handling the user's input. It contains a text field for the title of the note and a text view for the note's contents.
With this in place, what changes do we need to make to add the ability to create notes?
Adding Notes
The AddNoteViewController class can only create a note if it has access to a managed object context. This means we need to pass it a reference to the Core Data manager's managed object context.
Open AddNoteViewController.swift, add an import statement for the Core Data framework, and declare a property, managedObjectContext, of type NSManagedObjectContext?.
AddNoteViewController.swift
import UIKit
import CoreData

class AddNoteViewController: UIViewController {

    // MARK: - Properties

    @IBOutlet var titleTextField: UITextField!
    @IBOutlet var contentsTextView: UITextView!

    // MARK: -

    var managedObjectContext: NSManagedObjectContext?

    ...

}
In ViewController.swift, we implement the prepare(for:sender:) method. When the segue that leads to the add note view controller is about to be performed, we set the managedObjectContext property of the add note view controller.
NotesViewController.swift
override func prepare(for segue: UIStoryboardSegue, sender: Any?) {
    guard let identifier = segue.identifier else { return }

    switch identifier {
    case Segue.AddNote:
        guard let destination = segue.destination as? AddNoteViewController else {
            return
        }

        // Configure Destination
        destination.managedObjectContext = coreDataManager.managedObjectContext
    default:
        break
    }
}
The next step we need to take is creating and populating a note when the user taps the Save button. We create a note in the save(sender:) action.
AddNoteViewController.swift
@IBAction func save(sender: UIBarButtonItem) {

}
We first safely unwrap the value of the managedObjectContext property and we also make sure the title text field isn't empty. Remember that the title property of the Note entity is a required property. It shouldn't be empty.
AddNoteViewController.swift
guard let managedObjectContext = managedObjectContext else { return }
guard let title = titleTextField.text, !title.isEmpty else {
    showAlert(with: "Title Missing", and: "Your note doesn't have a title.")
    return
}
If the title text field is empty we show an alert to the user by invoking a helper method, showAlert(with:and:). This method is implemented in an extension for UIViewController.
UIViewController.swift
import UIKit

extension UIViewController {

    // MARK: - Alerts

    func showAlert(with title: String, and message: String) {
        // Initialize Alert Controller
        let alertController = UIAlertController(title: title, message: message, preferredStyle: .alert)

        // Configure Alert Controller
        alertController.addAction(UIAlertAction(title: "OK", style: .default, handler: nil))

        // Present Alert Controller
        present(alertController, animated: true, completion: nil)
    }

}
Using the managed object context, we create a Note instance and populate it with the data the user has entered.
AddNoteViewController.swift
// Create Note
let note = Note(context: managedObjectContext)

// Configure Note
note.createdAt = Date()
note.updatedAt = Date()
note.title = titleTextField.text
note.contents = contentsTextView.text
We pop the add note view controller from the navigation stack to return to the notes view controller.
AddNoteViewController.swift
// Pop View Controller
_ = navigationController?.popViewController(animated: true)
That's it. That's all it takes to create a note. This is the implementation of the save(sender:) method.
AddNoteViewController.swift
@IBAction func save(sender: UIBarButtonItem) {
    guard let managedObjectContext = managedObjectContext else { return }
    guard let title = titleTextField.text, !title.isEmpty else {
        showAlert(with: "Title Missing", and: "Your note doesn't have a title.")
        return
    }

    // Create Note
    let note = Note(context: managedObjectContext)

    // Configure Note
    note.createdAt = Date()
    note.updatedAt = Date()
    note.title = titleTextField.text
    note.contents = contentsTextView.text

    // Pop View Controller
    _ = navigationController?.popViewController(animated: true)
}
Before you run the application, make sure you delete the application first. We want to start with a clean slate. Tap the bar button item, fill out the title text field and the contents text view, and tap Save.
Because the notes view controller doesn't display the list of notes yet, we can't verify that everything is working. We'll fix that later.
But we have another problem. If we terminate the application, the note we created is lost because we haven't pushed it to the persistent store. In other words, we haven't saved the changes of the managed object context. We resolve this issue in the next episode.