Core Data is great at managing relationships. In this episode, we continue our exploration of the data model by taking a close look at relationships.
Adding More Entities
Later in this series, we add the ability to tag and categorize notes. To implement these features, we need to define relationships between notes, tags, and categories.
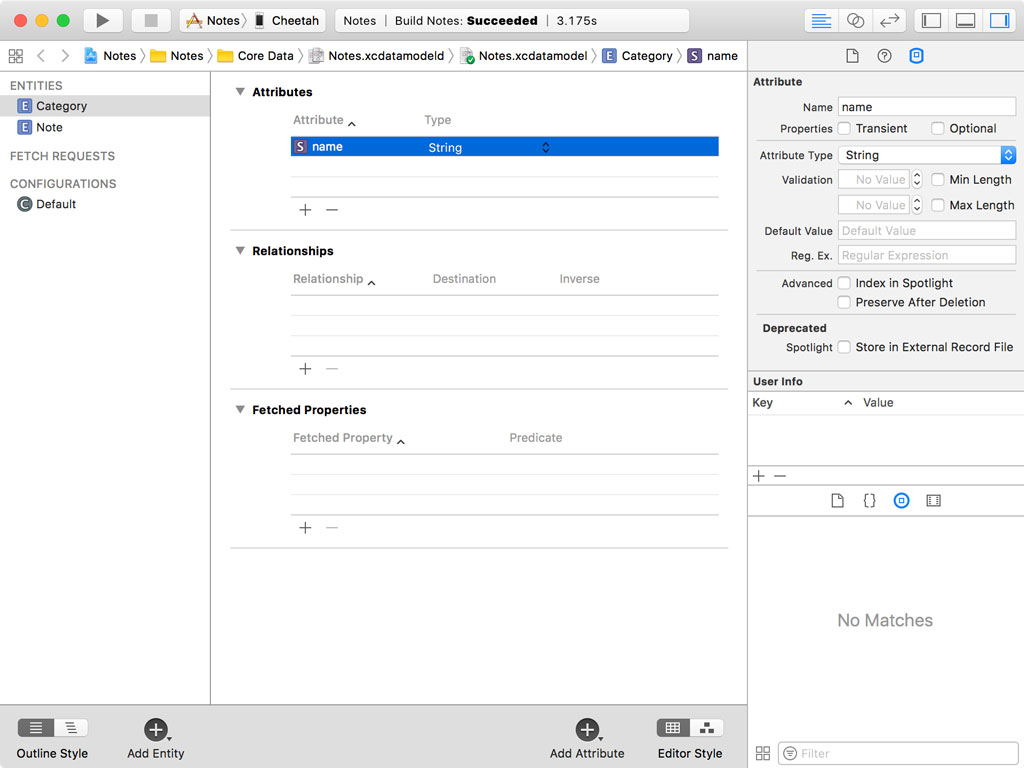
Before we can define relationships, we need to create a few more entities. Create a new entity and name it Category. The entity has one attribute, name of type String. Select the name attribute and uncheck Optional in the Data Model Inspector on the right. You learned how to do this in the previous episode.
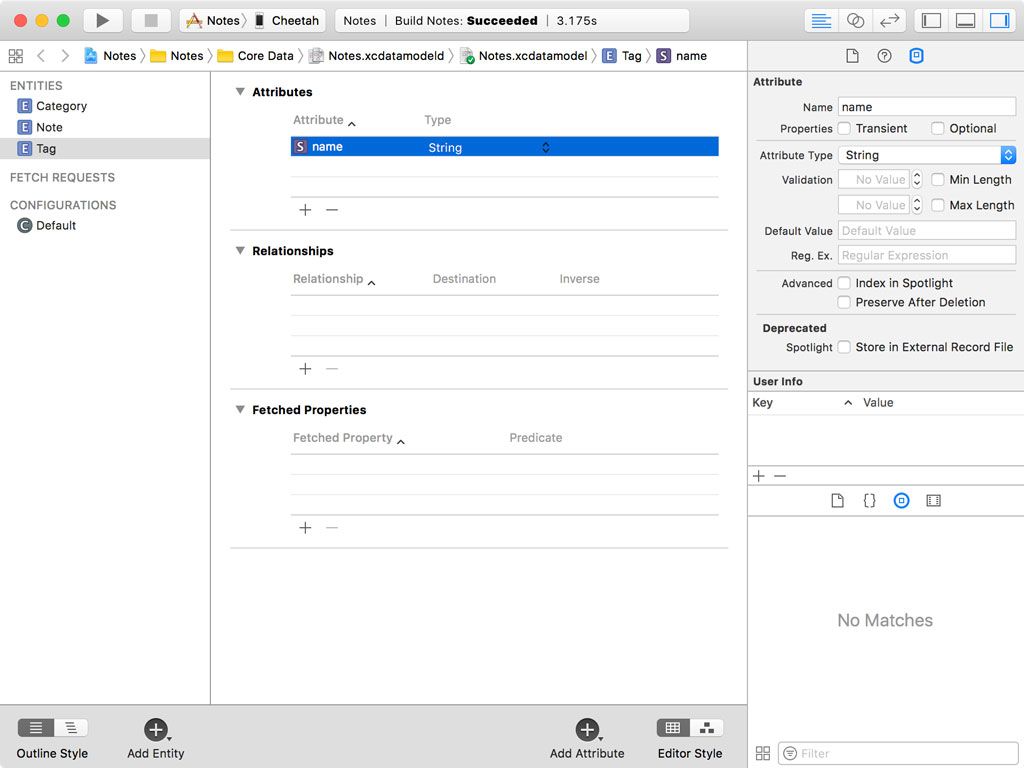
Create another entity and name it Tag. This entity also has one attribute, name of type String. Select the name attribute and uncheck Optional in the Data Model Inspector on the right.
Defining Relationships
Before we define relationships, we need to take a moment to talk about the relationships between the entities we defined. A note can only belong to one category. But a category can have multiple notes. A note can have multiple tags and a tag can belong to multiple notes.
When working with data models, it's important to spend some time planning and reflecting what the data model should look like. I cannot emphasize this enough. Once you've decided on the data model, it's often expensive to make drastic changes to the data model. We'll learn more about what that means for Core Data when we discuss data model migrations later in this series.
In the previous episode, you learned that an entity has properties. The properties of an entity are its attributes and relationships. We now create the relationships we defined earlier in this episode.
Creating a To-One Relationship
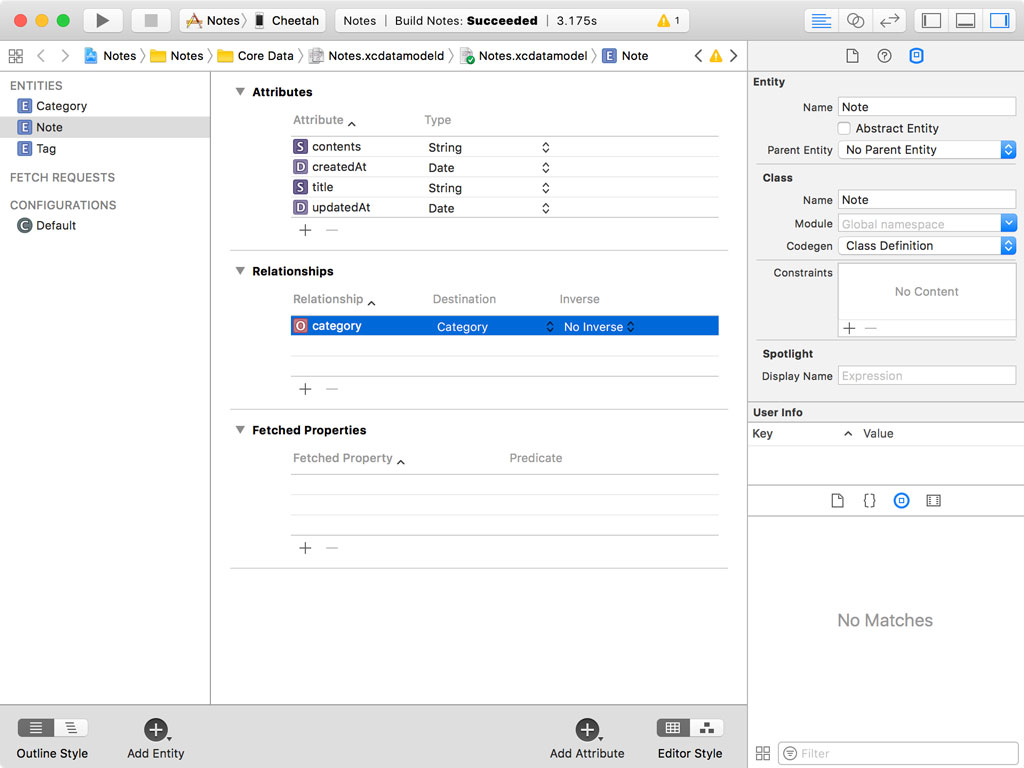
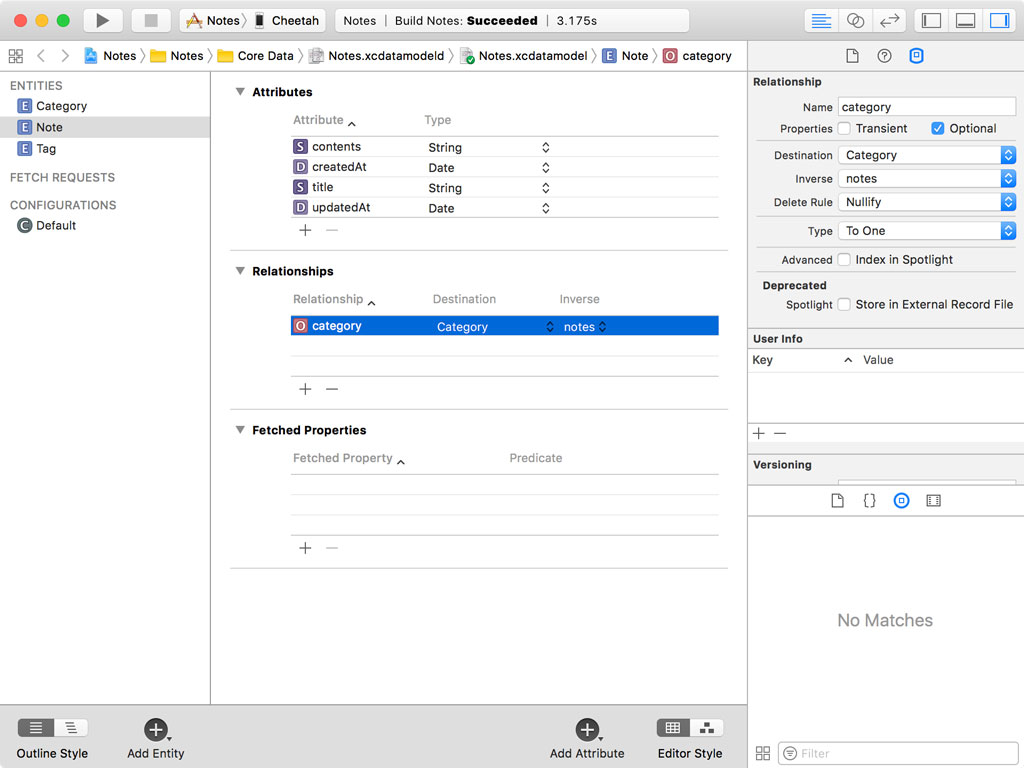
A note belongs to a category. This means that we need to create a relationship that links a note to a category. Open Notes.xcdatamodeld and switch to the editor's table style. Select the Note entity and click the plus button at the bottom of the Relationships table to add a relationship to the entity. Set Relationship to category and Destination to the Category entity. Leave Inverse empty for now.
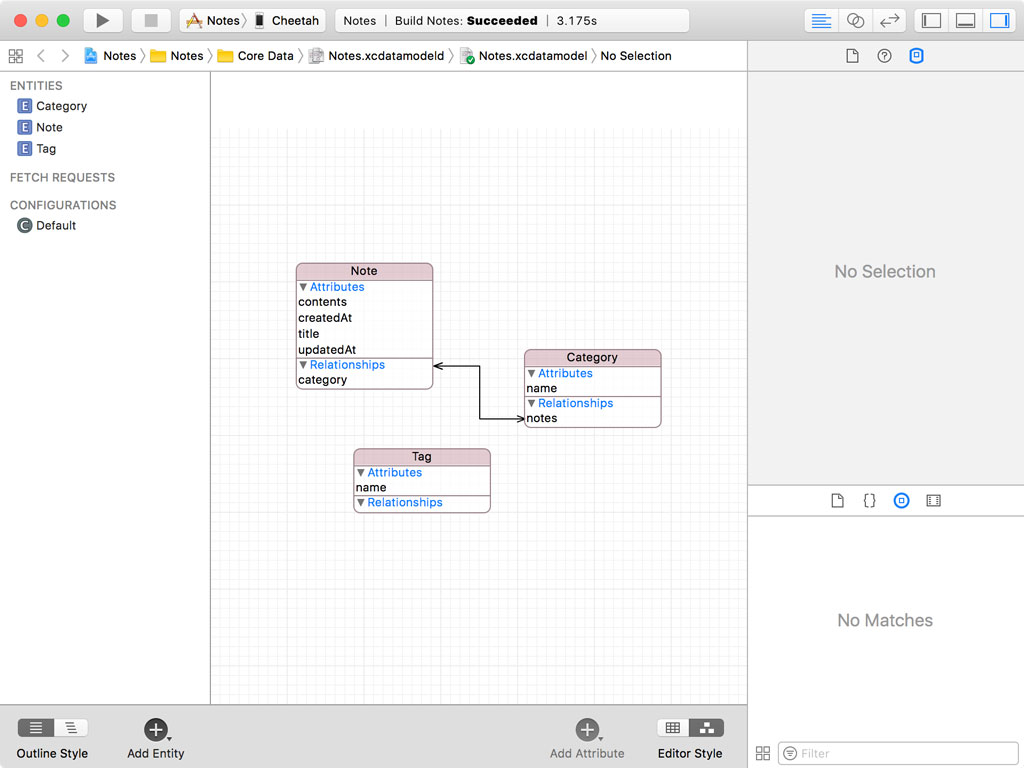
Switch to the editor's graph style to see the visual representation of the relationship we defined.
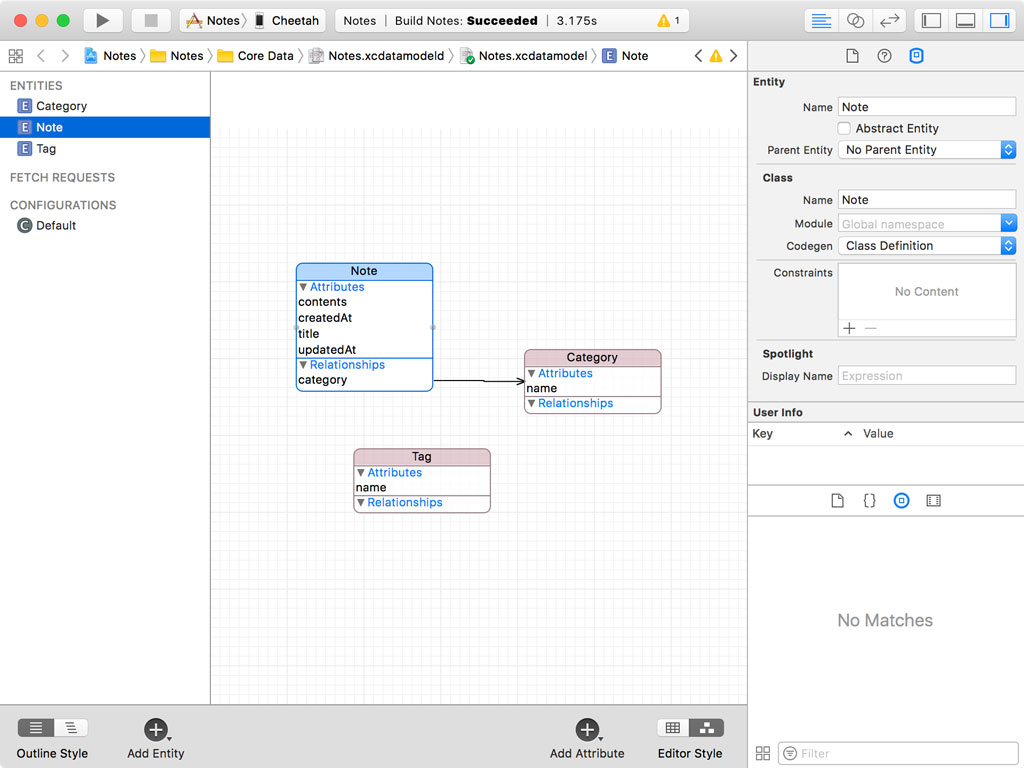
Before we move on, there are a number of details we need to discuss. The relationship we added is a to-one relationship, a note can belong to only one category. This is visualized in the data model graph by the single arrow pointing from the Note entity to the Category entity.
Notice that the arrow points from Note to Category. There is no arrow pointing back from Category to Note. There is no inverse relationship because we haven't defined one yet. This implies that the category the note belongs to doesn't know that the note belongs to the category. That's not what we want, though. A category should know what notes it contains. Right?
Creating an Inverse Relationship
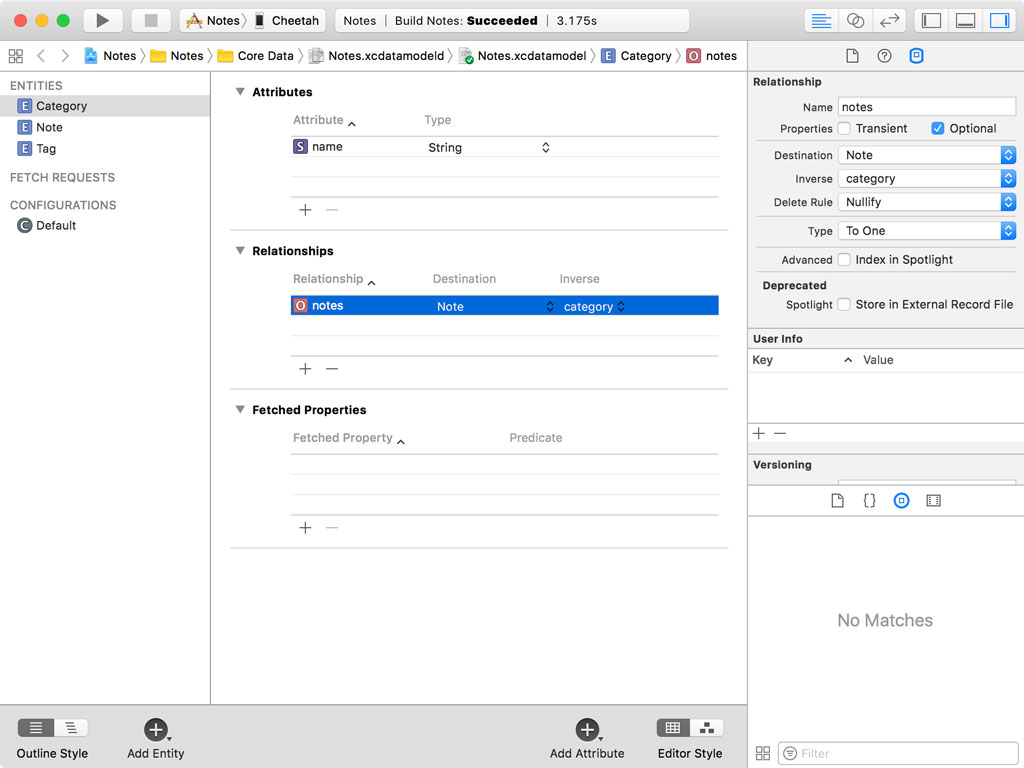
Switch to the data model editor's table style and select the Category entity. Add a relationship and name it notes, plural. Set Destination to Note and set Inverse to category. By setting the inverse relationship to category, the inverse relationship of the notes relationship, which we left blank, is automatically set to the category relationship of the Note entity.

Switch to the data model editor's graph style to see what that looks like. The connection between Category and Note has arrows pointing to and from each entity.
Switch back to the data model editor's table style and select the Note entity. Notice that the inverse relationship of the category relationship is automatically set to notes because we set the inverse relationship of the notes relationship to category. Core Data is clever enough to take care of this small but important detail for us.
Creating a To-Many Relationship
Both category and notes are to-one relationships. This severely limits the data model. A category with only one note isn't much of a category. It's time to fix that.
Select the notes relationship of the Category entity in the data model editor's table style. Open the Data Model Inspector in the Utilities pane on the right to see the details of the relationship.
In the Data Model Inspector, you can modify the relationship's destination and inverse relationship. You can also modify the relationship's type or cardinality. Core Data supports To-One and To-Many relationships. Set Type to To-Many.
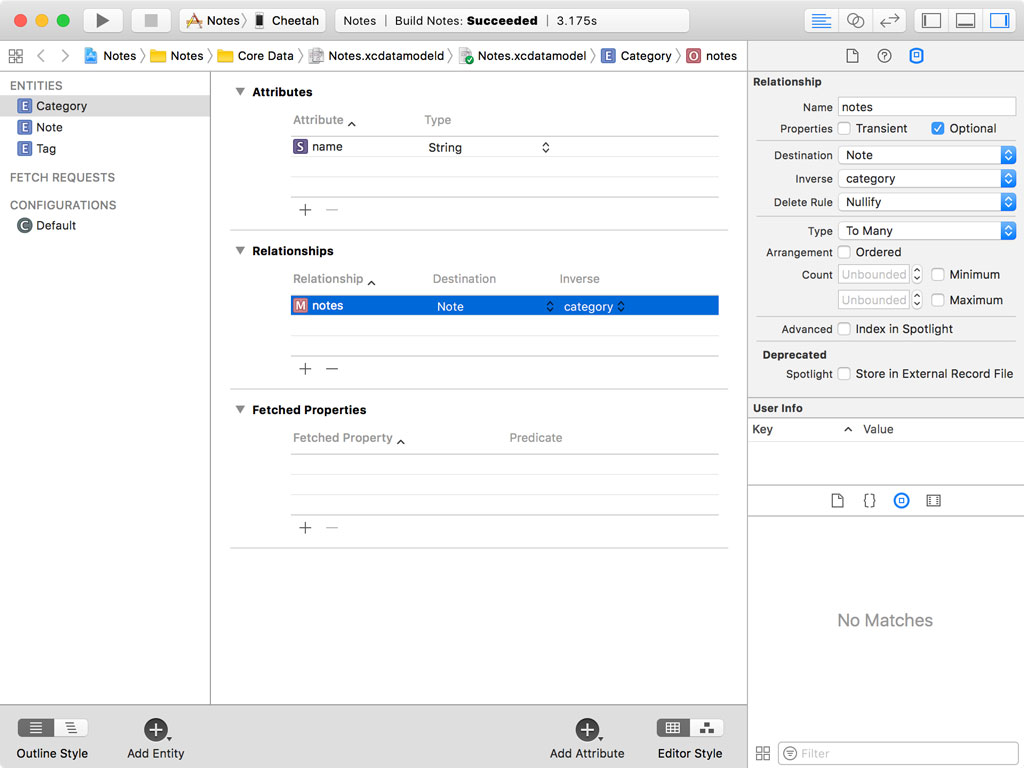
Switch back to the data model editor's graph style to see what has changed. The relationship from Category to Note now has two arrows, indicating that notes is a To-Many relationship.

Creating a Many-To-Many Relationship
We can now focus on the relationship the Note entity has with the Tag entity. We already defined the relationships earlier in this episode. A tag can be linked to multiple notes and a note can have multiple tags. This means we need to add a To-Many relationship to the Note entity and name it tags and we need to add a To-Many relationship to the Tag entity and name it notes.
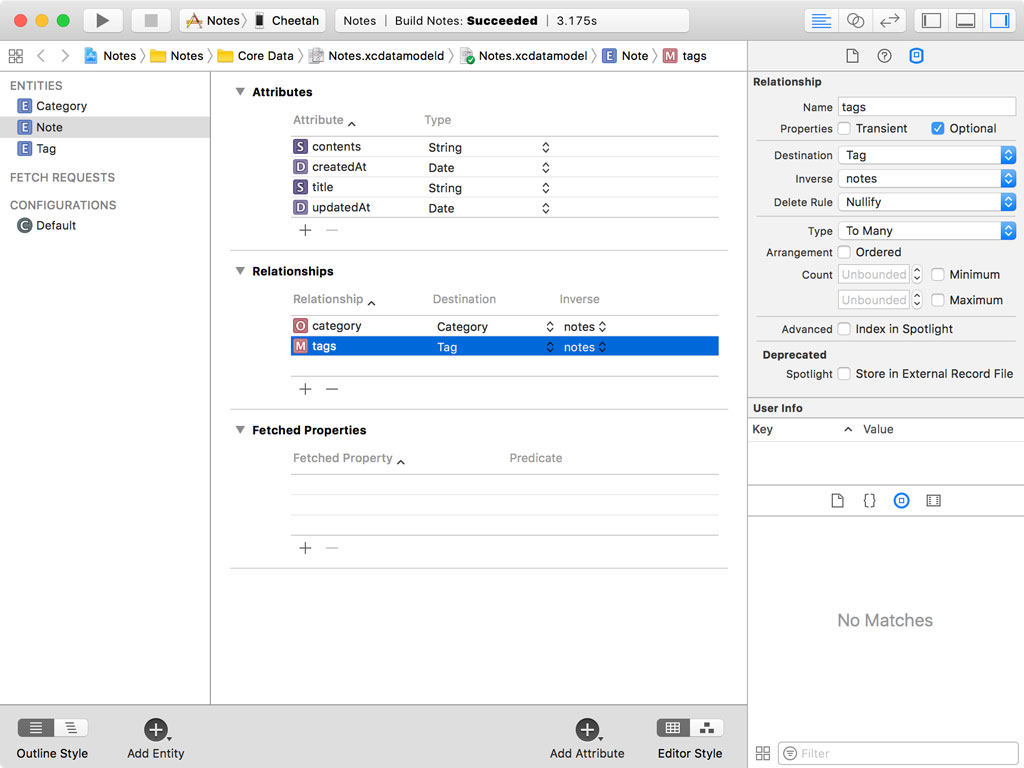
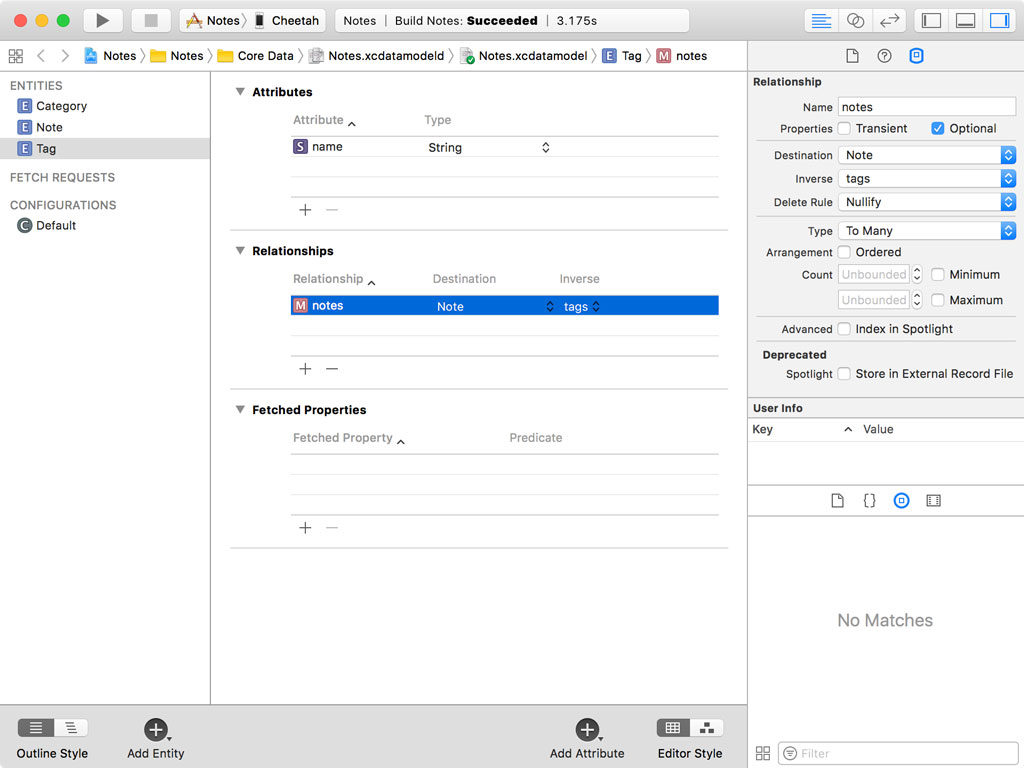
Naming conventions are very important, especially if you're working in a team. By pluralizing the relationship name of a To-Many relationship, the cardinality of the relationship is immediately obvious.
This is what the data model graph now looks like. The relationship that links the Note and Tag entities is a Many-To-Many relationship.

In the next episode, we further discuss relationships and how we can configure them in the data model editor.