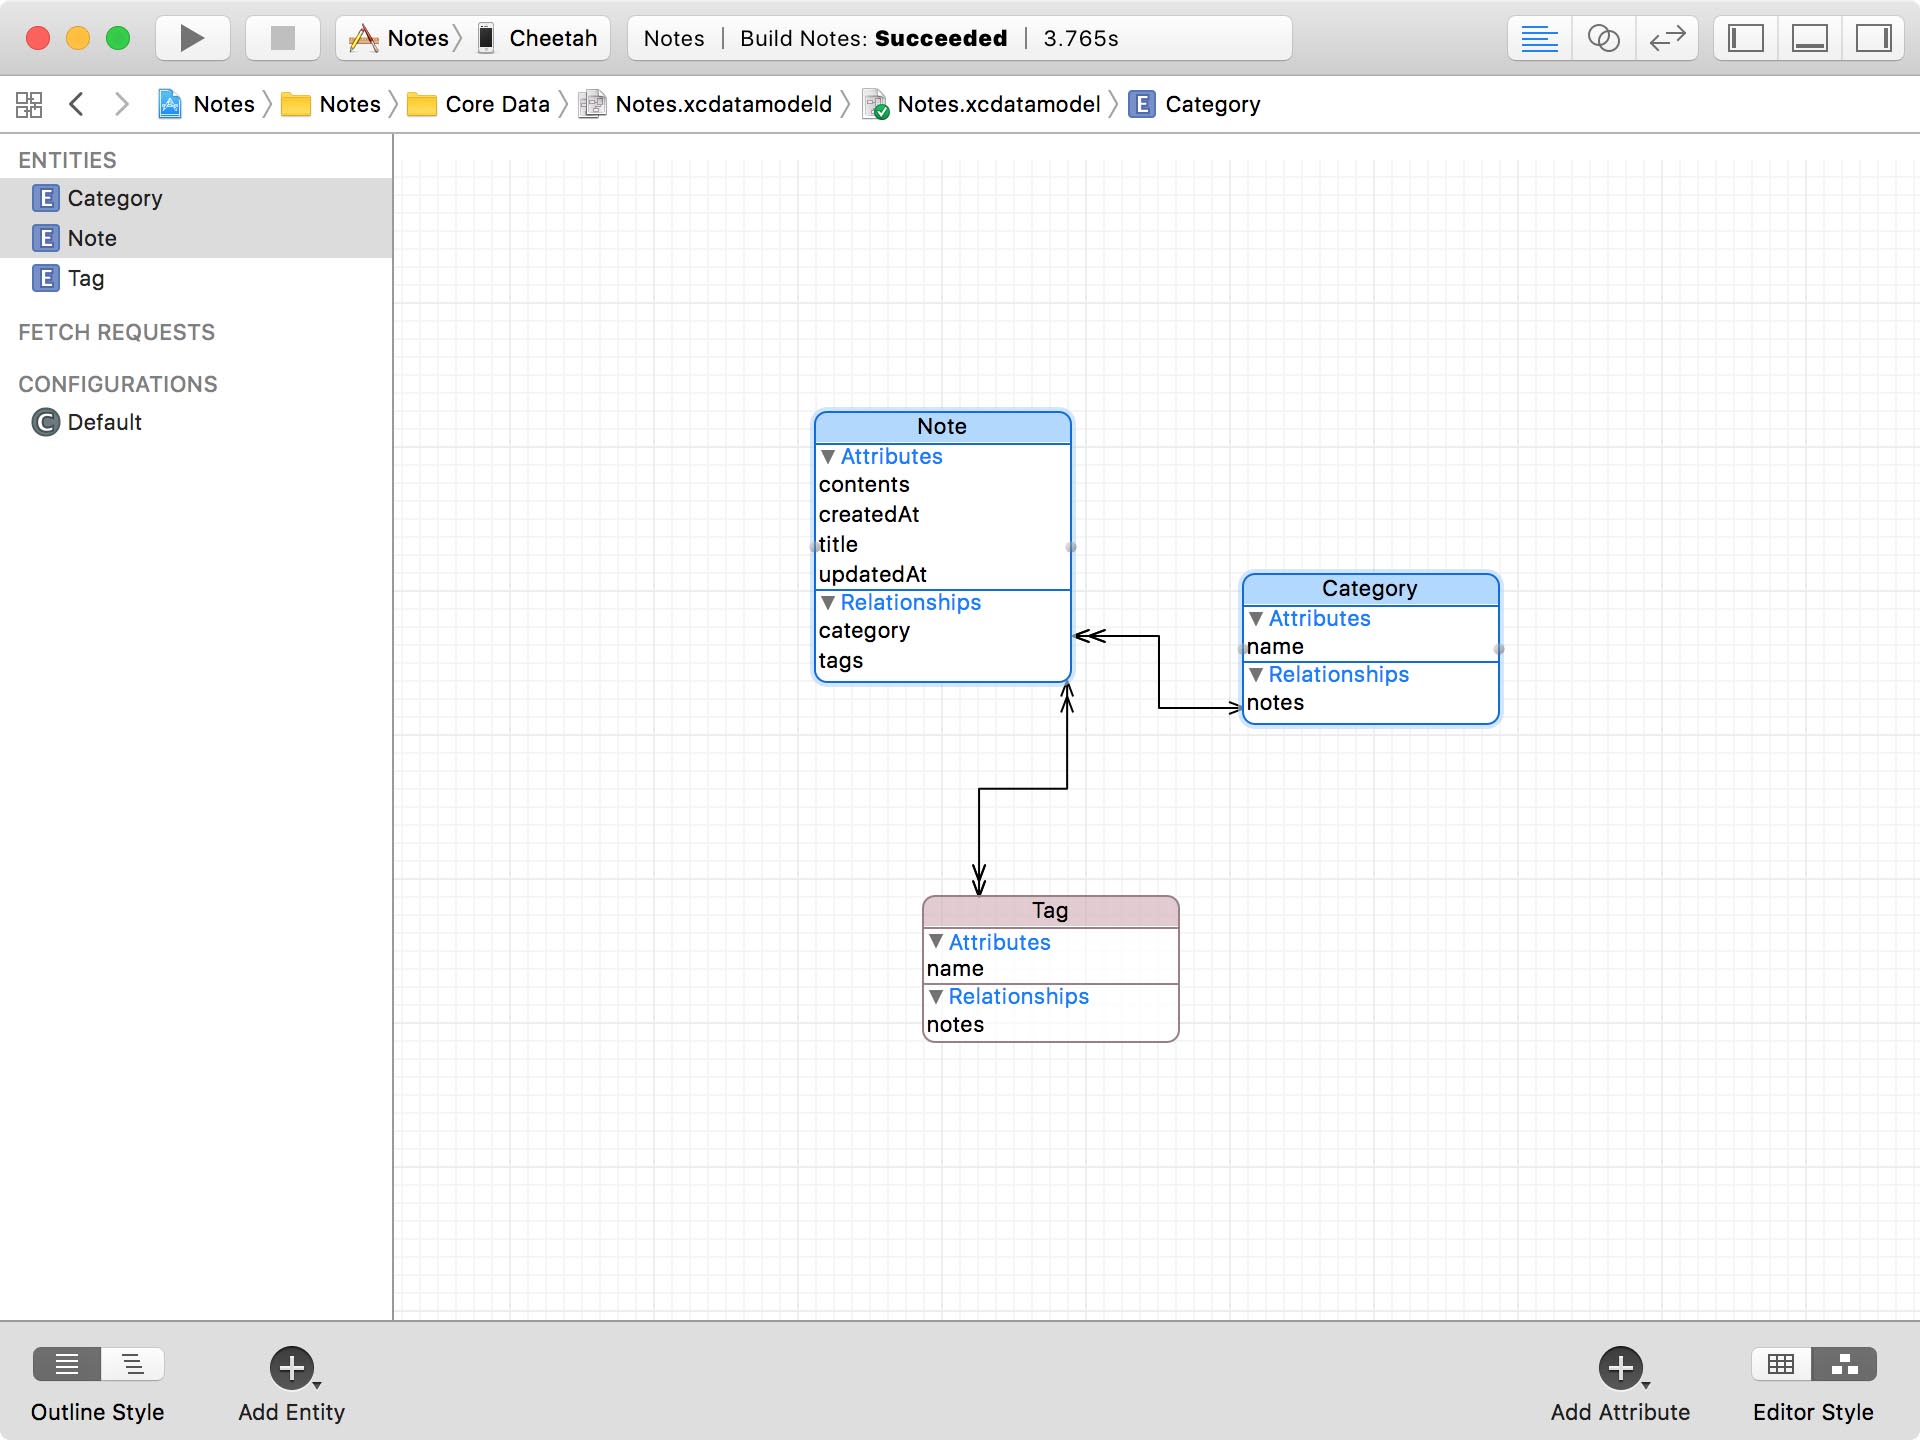
To help users manage their notes, it's helpful to allow them to categorize their notes. Earlier in this series, we added the Category entity to the data model. Remember that a note can belong to only one category, but a category can have many notes. In other words, the Note and Category entities have a One-To-Many relationship. The data model editor visualizes this.
Before We Start
In this episode, I show you how to assign a category to a note. I've already created view controllers for creating, updating, and deleting categories. You should by now know how that works.
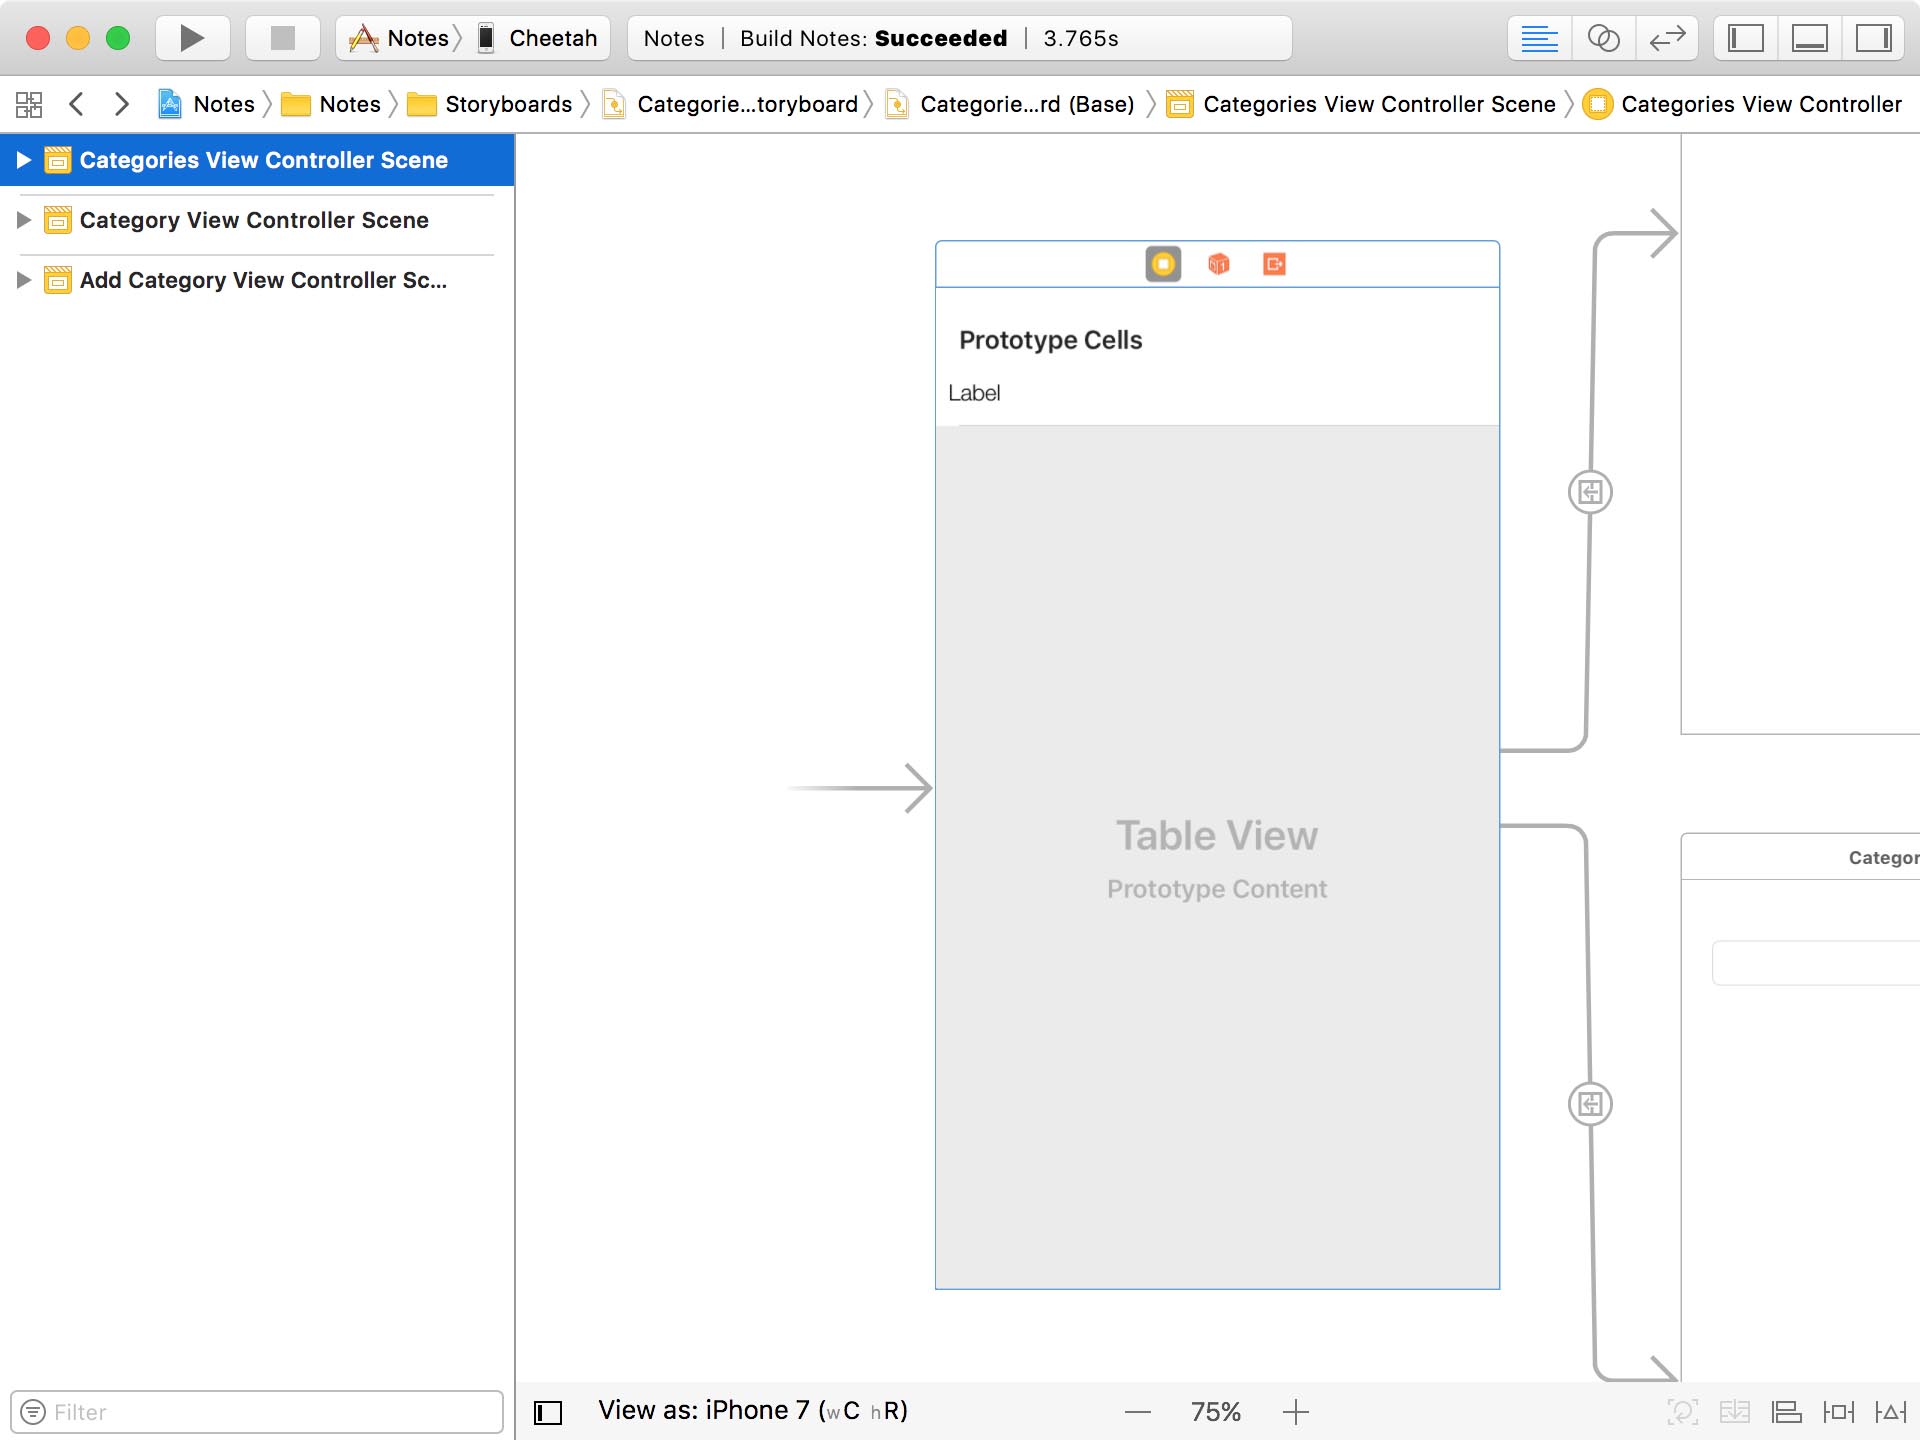
The CategoriesViewController class displays the categories in a table view. It uses a fetched results controller under the hood.
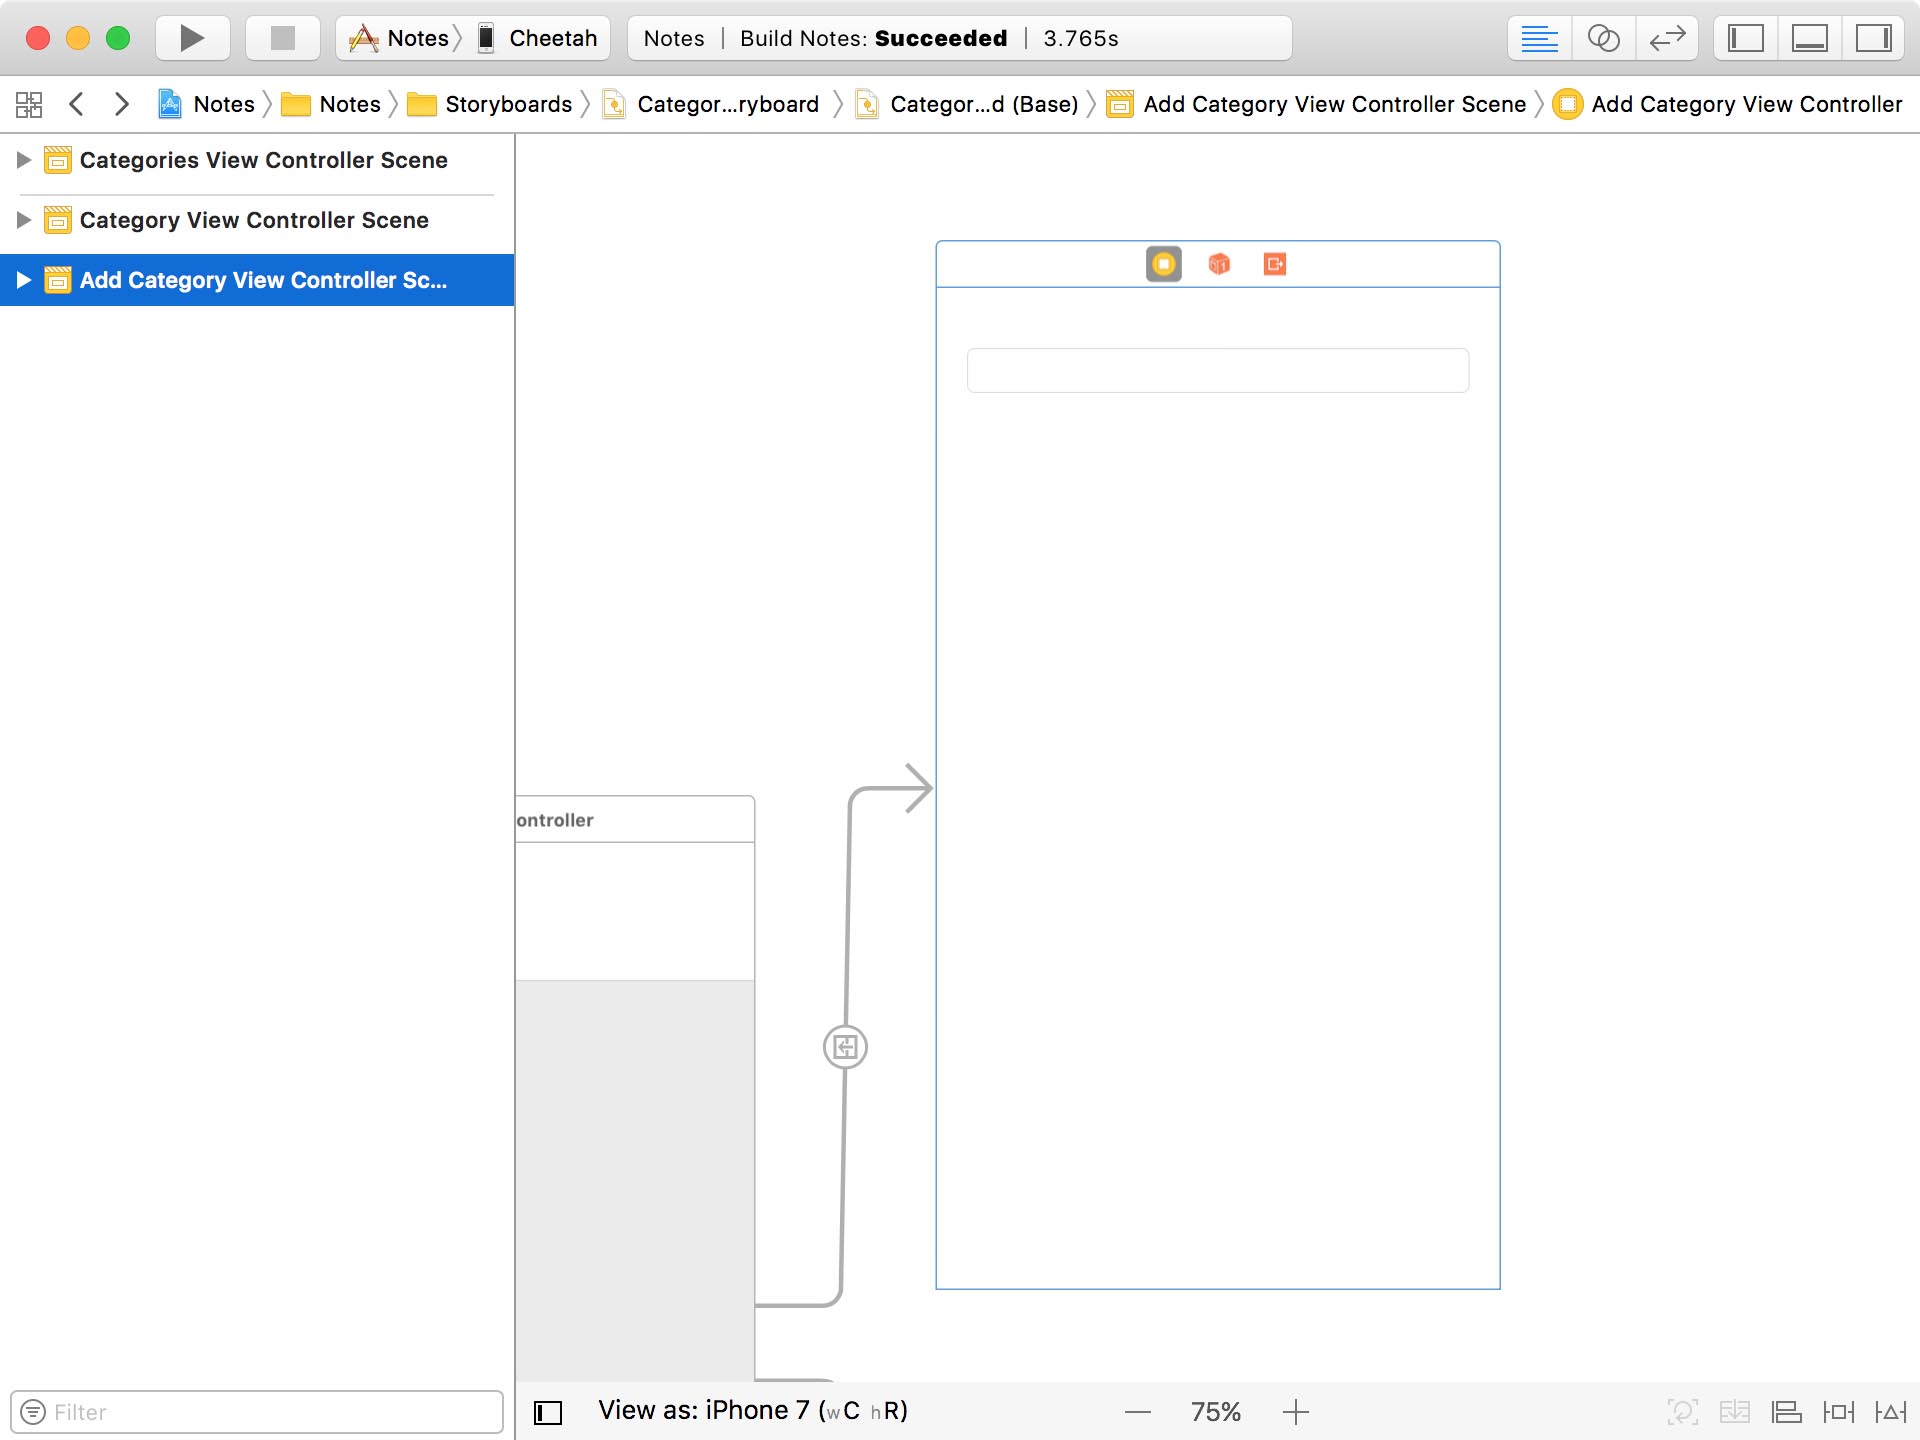
The AddCategoryViewController class is responsible for creating new categories.
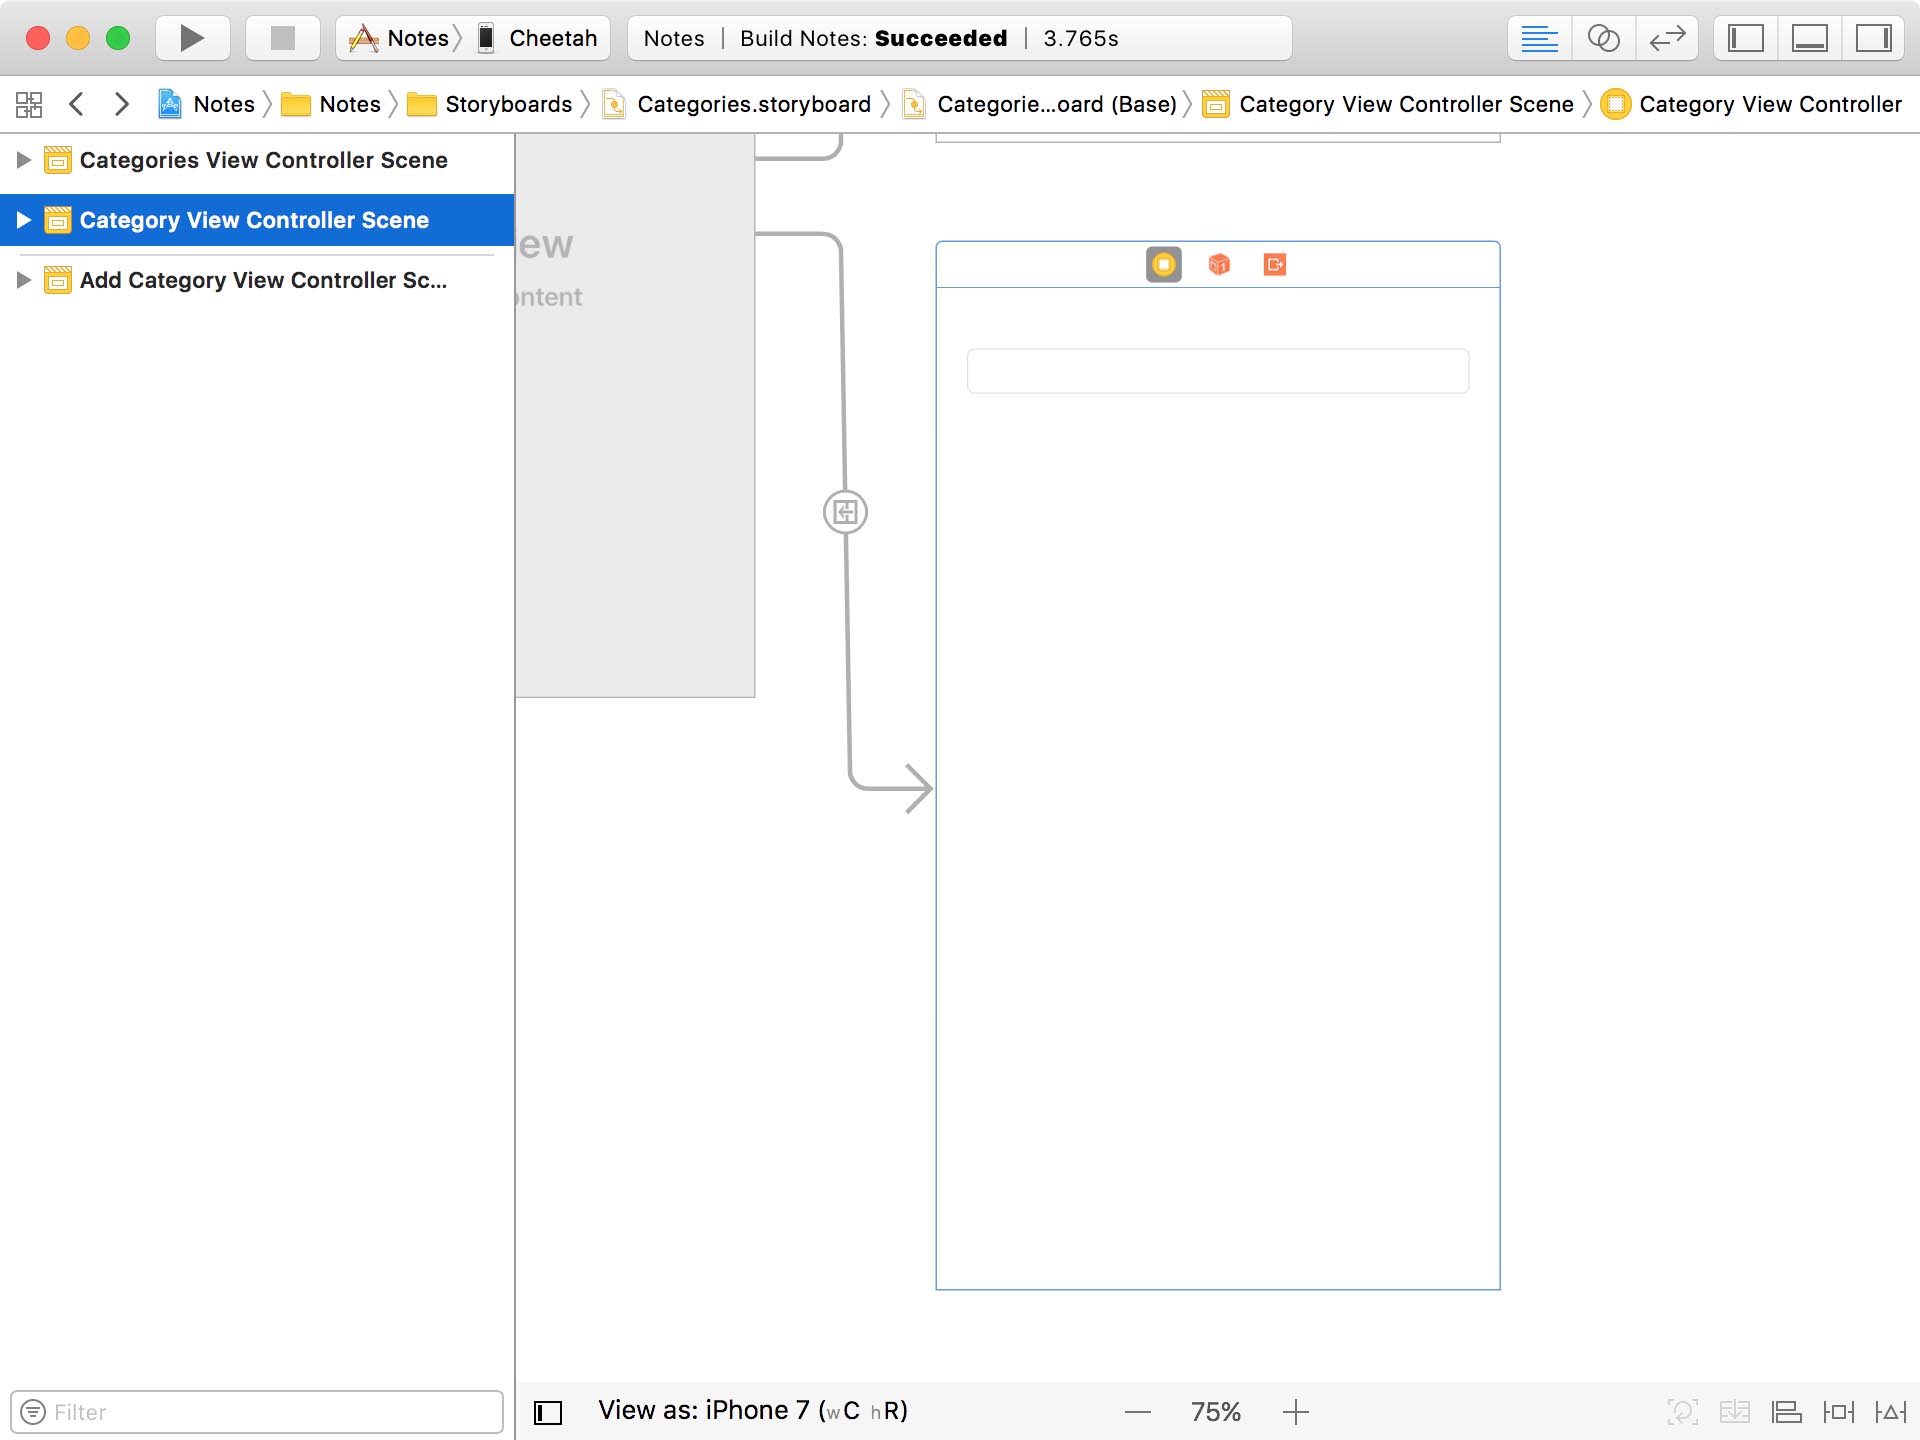
The CategoryViewController class is in charge of updating existing categories.
The scenes for these view controllers are located in the Categories storyboard. We use a storyboard reference to navigate from the Notes storyboard to the Categories storyboard. Storyboard references are a very nice addition to UIKit and make storyboards more manageable and more appealing for complex projects and larger teams.
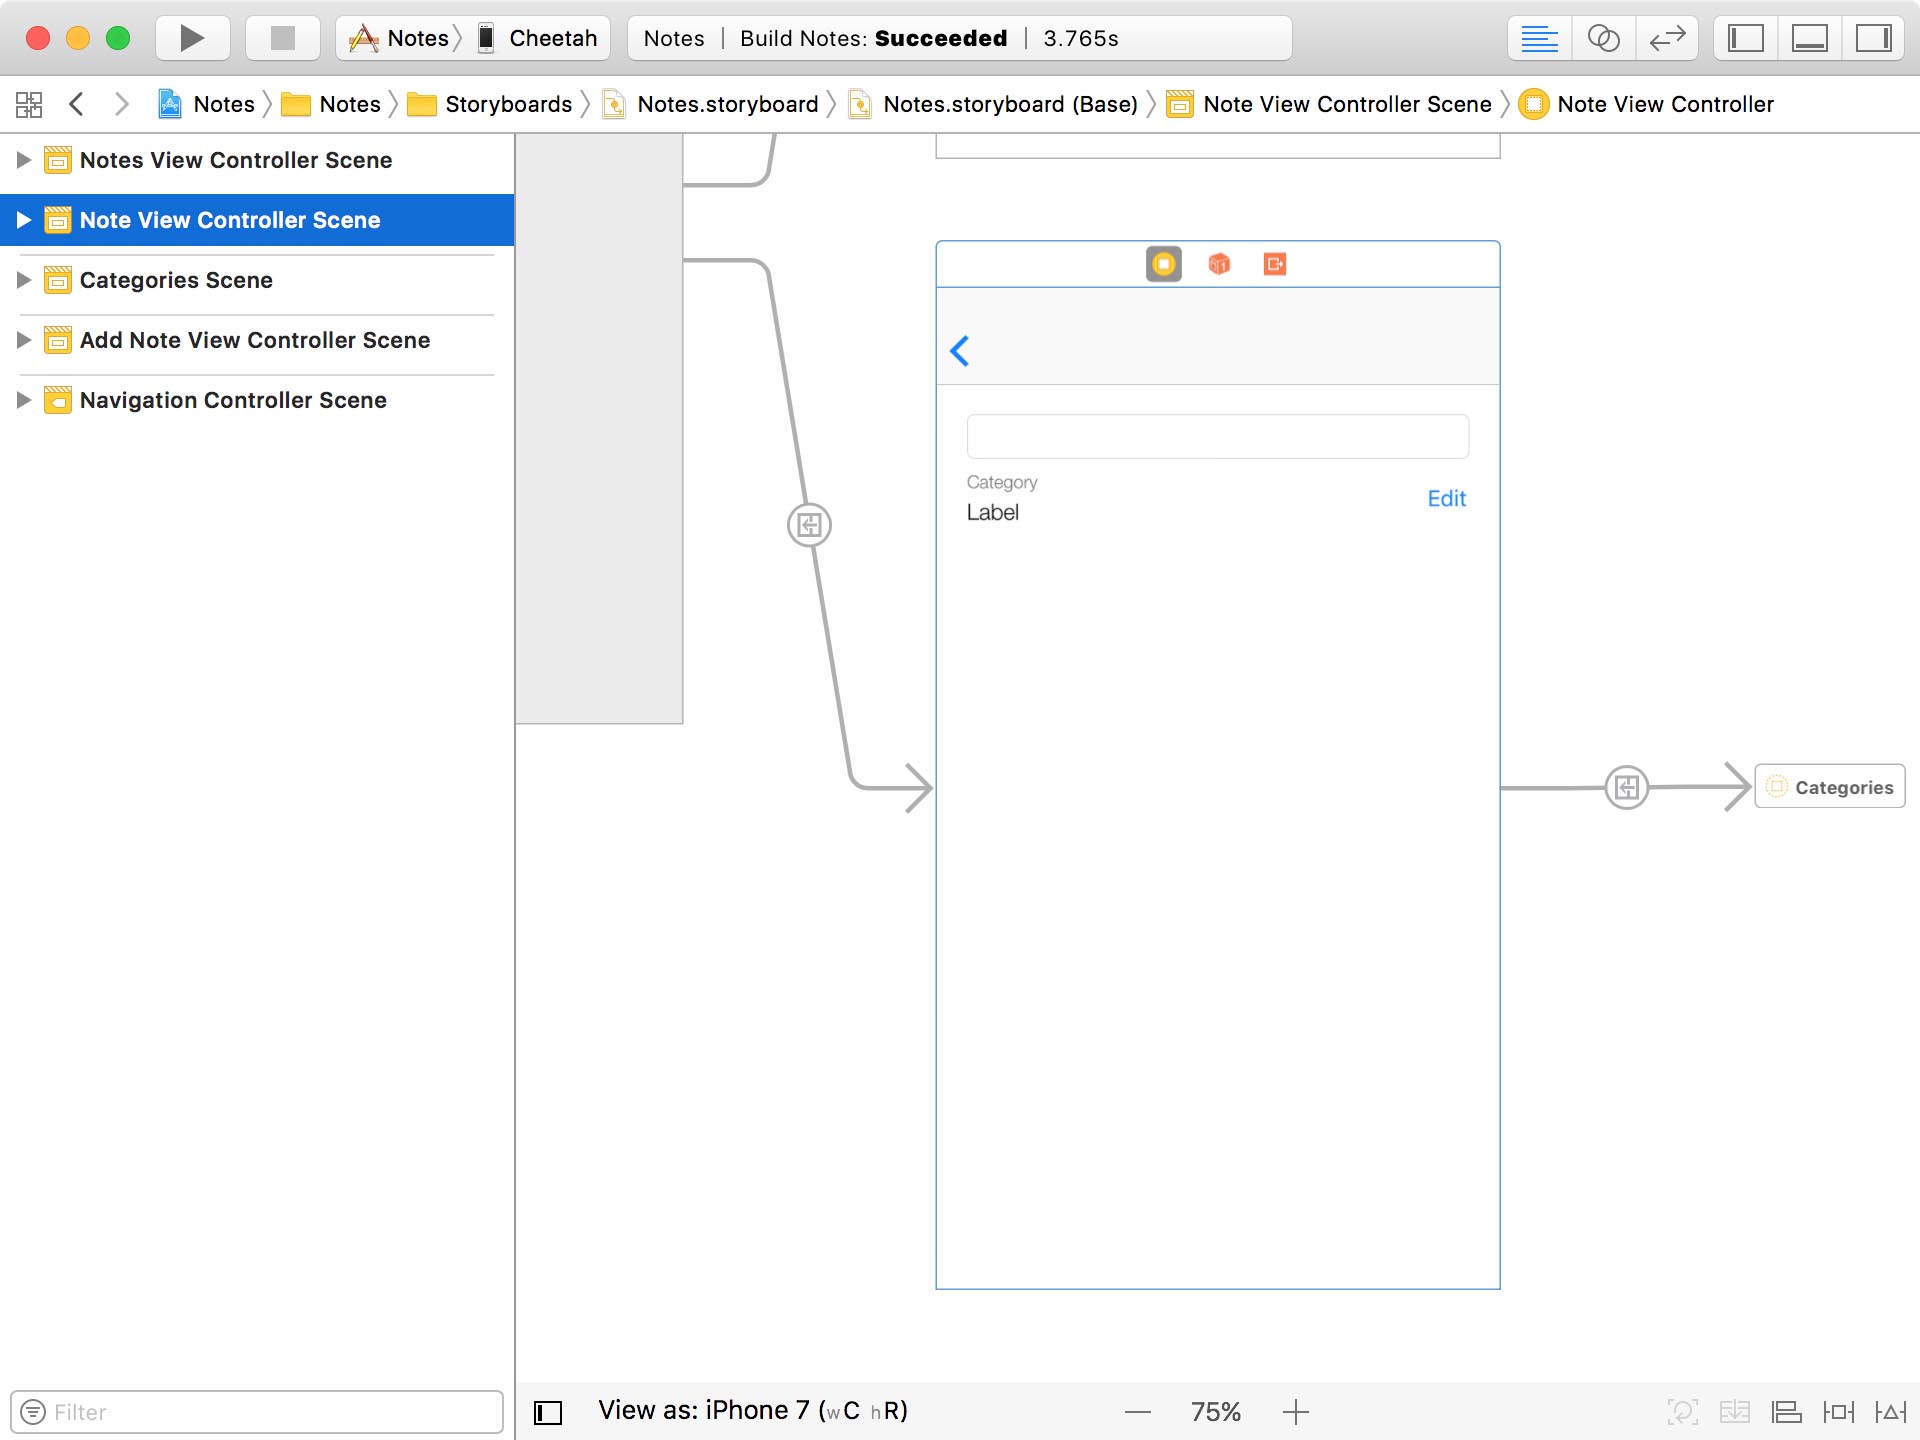
I also updated the user interface of the note view controller. It displays the category to which the note belongs. If a note doesn't have a category, we show that it doesn't belong to a category yet. The Edit button on the right takes the user to the categories view controller.
Assigning a Category to a Note
Adding the ability to assign a category to a note is almost identical to updating an attribute of a note. Remember that attributes and relationships are both properties. Core Data doesn't make much of a distinction from a developer's perspective.
The first step we need to take is passing the Note instance to the categories view controller. Open CategoriesViewController.swift, remove the managedObjectContext property, and declare a property, note, of type Note?.
CategoriesViewController.swift
import UIKit
import CoreData

class CategoriesViewController: UIViewController {

    ...

    // MARK: - Properties

    @IBOutlet var messageLabel: UILabel!
    @IBOutlet var tableView: UITableView!

    // MARK: -

    var note: Note?

    ...

}
We no longer need a property for the managed object context because we can access the managed object context through the note property. It means we need to make three small changes in the CategoriesViewController class.
In the implementation of the fetchedResultsController property, we access the managed object context through the note property.
CategoriesViewController.swift
fileprivate lazy var fetchedResultsController: NSFetchedResultsController<Category> = {
    guard let managedObjectContext = self.note?.managedObjectContext else {
        fatalError("No Managed Object Context Found")
    }

    ...
}()
And we repeat this change in the prepare(for:sender:) method.
CategoriesViewController.swift
override func prepare(for segue: UIStoryboardSegue, sender: Any?) {
    guard let identifier = segue.identifier else { return }

    switch identifier {
    case Segue.AddCategory:
        ...

        // Configure Destination
        destination.managedObjectContext = note?.managedObjectContext
    case Segue.Category:
        ...
    default:
        break
    }
}
We do the same in the tableView(_:commit:forRowAt:) method of the UITableviewDataSource protocol.
CategoriesViewController.swift
func tableView(_ tableView: UITableView, commit editingStyle: UITableViewCellEditingStyle, forRowAt indexPath: IndexPath) {
    ...

    // Delete Category
    note?.managedObjectContext?.delete(category)
}
Before we move on, we need to set the note property of the categories view controller in the prepare(for:sender:) method of the NoteViewController class. Open NoteViewController.swift and navigate to the prepare(for:sender:) method. Instead of setting the managedObjectContext property, which we deleted a few moments ago, we set the note property. That's it.
NoteViewController.swift
override func prepare(for segue: UIStoryboardSegue, sender: Any?) {
    guard let identifier = segue.identifier else { return }

    switch identifier {
    case Segue.Categories:
        guard let destination = segue.destination as? CategoriesViewController else {
            return
        }

        // Configure Destination
        destination.note = note
    default:
        break
    }
}
Head back to CategoriesViewController.swift. To show the user the current category of the note, we highlight it in the table view by changing the text color of the name label of the category table view cell. In configure(_:at:), we set the text color of the name label based on the value of the note's category.
CategoriesViewController.swift
func configure(_ cell: CategoryTableViewCell, at indexPath: IndexPath) {
    // Fetch Note
    let category = fetchedResultsController.object(at: indexPath)

    // Configure Cell
    cell.nameLabel.text = category.name

    if note?.category == category {
        cell.nameLabel.textColor = .bitterSweet
    } else {
        cell.nameLabel.textColor = .black
    }
}
What's most interesting to us is what happens when the user taps a category in the table view. We ask the fetched results controller for the category that corresponds with the value of indexPath, we set the category property of the note, and we pop the categories view controller from the navigation stack.
CategoriesViewController.swift
func tableView(_ tableView: UITableView, didSelectRowAt indexPath: IndexPath) {
    tableView.deselectRow(at: indexPath, animated: true)

    // Fetch Category
    let category = fetchedResultsController.object(at: indexPath)

    // Update Note
    note?.category = category

    // Pop View Controller From Navigation Stack
    let _ = navigationController?.popViewController(animated: true)
}
As I mentioned earlier, updating the category of a note is as simple as updating the title or contents of a note. But there's a bit of magic that happens behind the scenes.
Remember that the category relationship has an inverse relationship, notes. The inverse relationship belongs to the Category entity. By setting the category of the note, the inverse relationship is automatically updated by Core Data. This is something we get for free.
It implies that it doesn't matter which side of the relationship you update. The result is identical. That's important to understand and remember.
Assigning a Note to a Category
Even though the application doesn't have the ability to assign a note to a category, I'd like to show you how you can assign a note to a category. Remember that a category can have many notes. We cannot simply set the notes property of the category to add a note to a category. That won't work.
The notes property of a category is of type NSSet?. You may be wondering how to best add a note to that set. The set isn't mutable. Fortunately, Xcode has you covered.
Earlier in the series, I explained that Xcode generates some code for us. It automatically generates an NSManagedObject subclass for every entity if you check Class Definition in the Codegen section of the Data Model Inspector.
But Xcode does more than generating a class definition. It also generates convenience methods for adding managed objects to a To-Many relationship. The format of these convenience methods is easy to remember. For the notes relationship, for example, it is:
addToNotes(_:)to add a note- and
removeFromNotes(_:)to remove a note
That's easy enough to remember. Even though it may seem as if Xcode generates two of these convenience methods, it actually generates four.
Take a look at the autocompletion suggestions. We can pass in a note, but we can also pass in a set of managed objects. That's very convenient.


Long story short, we can add a note to a category by passing the note as an argument of the addToNotes(_:) method. It's that simple.
And remember that we only need to set one side of the relationship. The other side is automatically updated for us. To make it easy on ourselves, we set the category property of the note. Run the application to try it out.
It seems to work, but the note view controller doesn't update the value of the category label. This isn't surprising since we haven't put any code in place that updates the category label when the note of the note view controller is modified.
Updating the Note View Controller
If you've watched the previous episodes, you probably know what we need to do. We need to add the note view controller as an observer of the NSManagedObjectContextObjectsDidChange notification.
In viewDidLoad(), we invoke a helper method, setupNotificationHandling().
NoteViewController.swift
override func viewDidLoad() {
    super.viewDidLoad()

    title = "Edit Note"

    setupView()

    setupNotificationHandling()
}
In this method, we add the note view controller as an observer of the NSManagedObjectContextObjectsDidChange notification. When the note view controller receives such a notification, the managedObjectContextObjectsDidChange(_:) method is invoked.
NoteViewController.swift
// MARK: - Helper Methods

private func setupNotificationHandling() {
    let notificationCenter = NotificationCenter.default
    notificationCenter.addObserver(self,
                                   selector: #selector(managedObjectContextObjectsDidChange(_:)),
                                   name: Notification.Name.NSManagedObjectContextObjectsDidChange,
                                   object: note?.managedObjectContext)
}
In this method, we make sure that the userInfo dictionary of the notification isn't equal to nil and that it contains a value for the NSUpdatedObjectsKey key. We then use a fancy line of code to make sure the note of the note view controller is one of the managed objects that was updated. We filter the updates set of managed objects and, if the resulting set contains any managed objects, we invoke updateCategoryLabel(), another helper method.
NoteViewController.swift
// MARK: - Notification Handling

@objc private func managedObjectContextObjectsDidChange(_ notification: Notification) {
    guard let userInfo = notification.userInfo else { return }
    guard let updates = userInfo[NSUpdatedObjectsKey] as? Set<NSManagedObject> else { return }

    if (updates.filter { return $0 == note }).count > 0 {
        updateCategoryLabel()
    }
}
As the name implies, in updateCategoryLabel() we update the category label.
NoteViewController.swift
private func updateCategoryLabel() {
    // Configure Category Label
    categoryLabel.text = note?.category?.name ?? "No Category"
}
You may be wondering why we didn't invoke setupCategoryLabel() instead. That's a personal choice. I prefer to keep method names descriptive and I usually only invoke methods related to setup once. Some of these methods have an update counterpart that's in charge of updating. That's merely a personal choice.
Run the application again and modify the category of a note to make sure everything is working as expected.