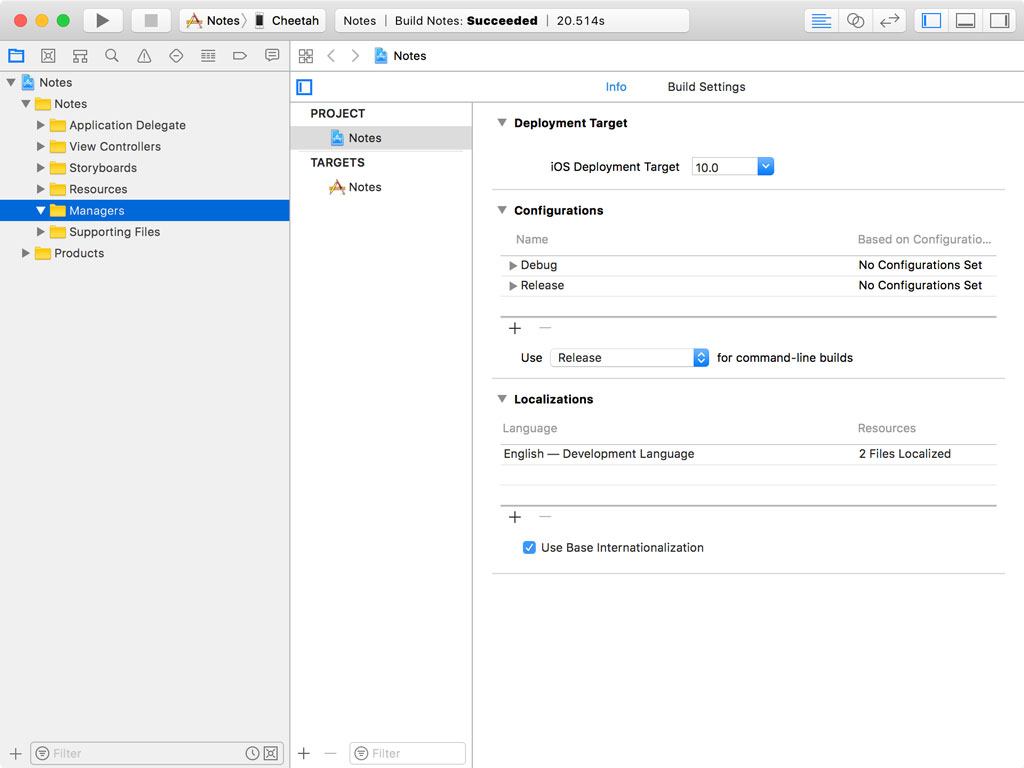
It's time to write some code. Had we checked the Use Core Data checkbox during the setup of the project, Xcode would have put the code for the Core Data stack in the application delegate. This is something I don't like and we won't be cluttering the application delegate with the setup of the Core Data stack.
Creating the Core Data Manager
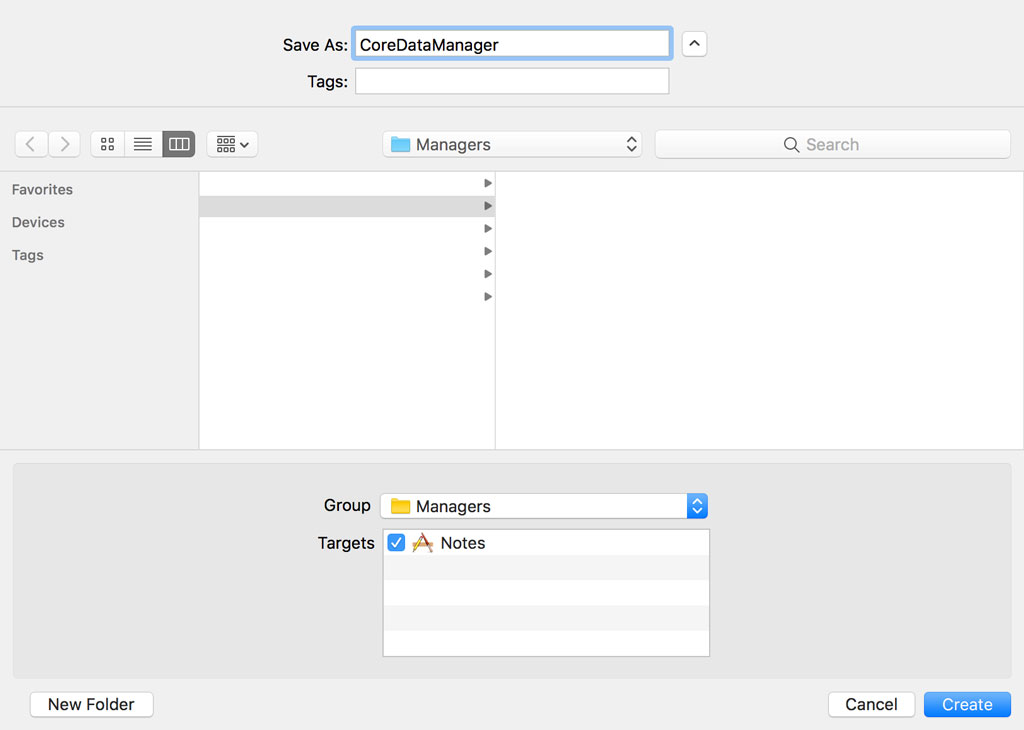
Instead, we're going to create a separate class responsible for setting up and managing the Core Data stack. Create a new group and name it Managers.
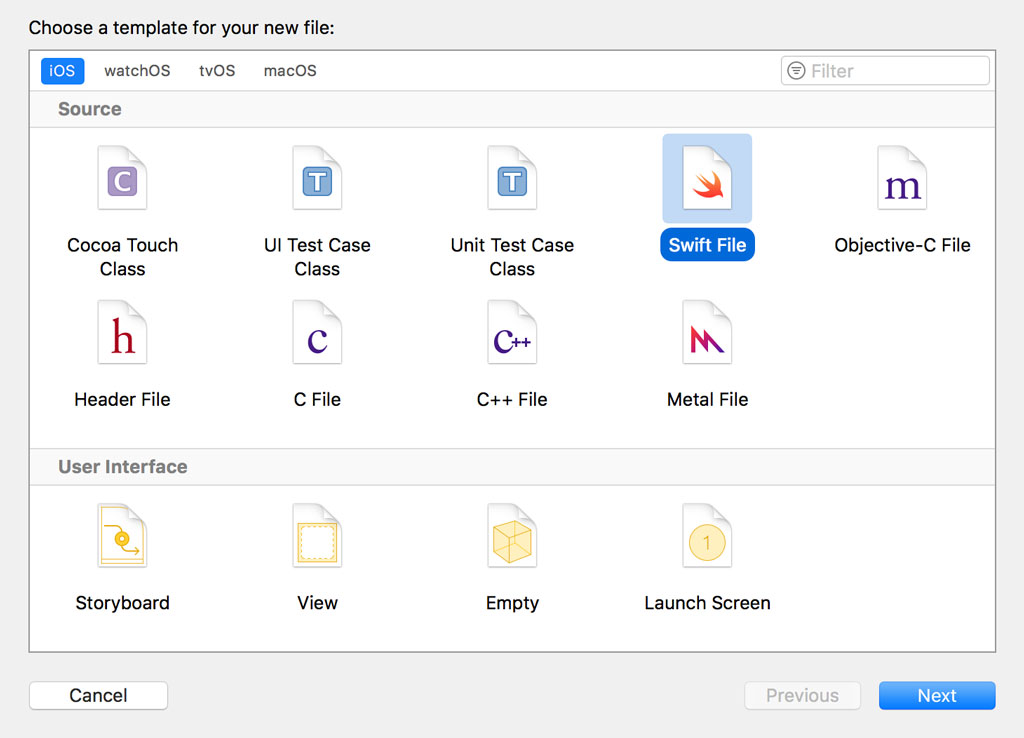
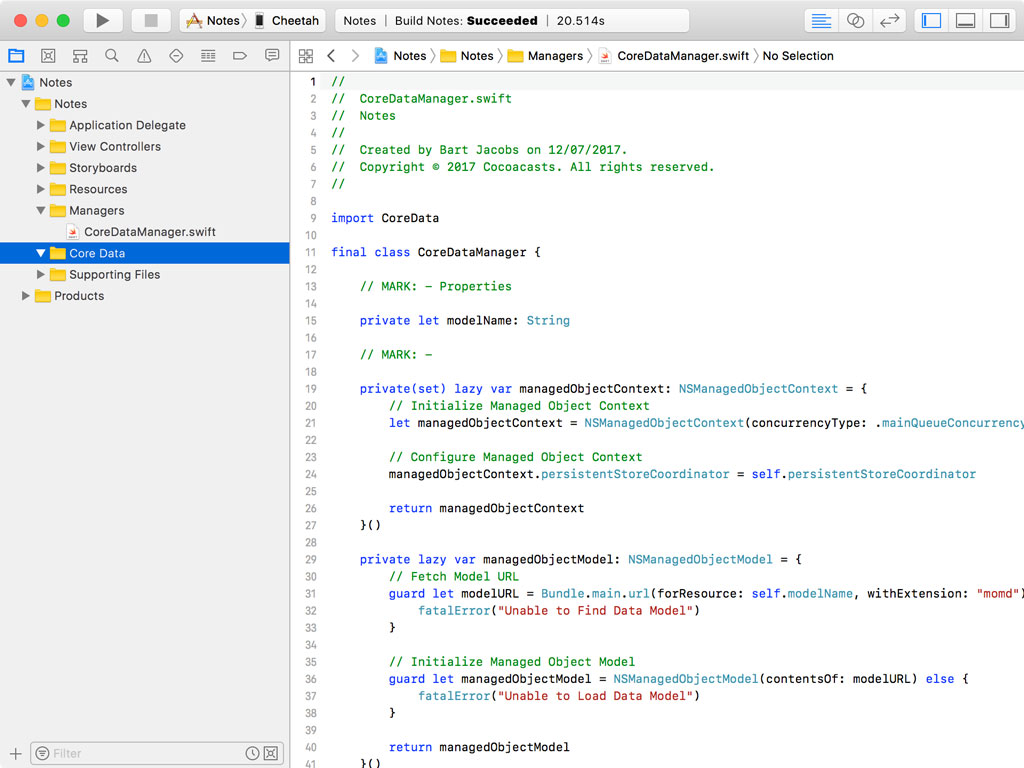
Create a new Swift file in the Managers group and name the file CoreDataManager.swift. The CoreDataManager class will be in charge of the application's Core Data stack.
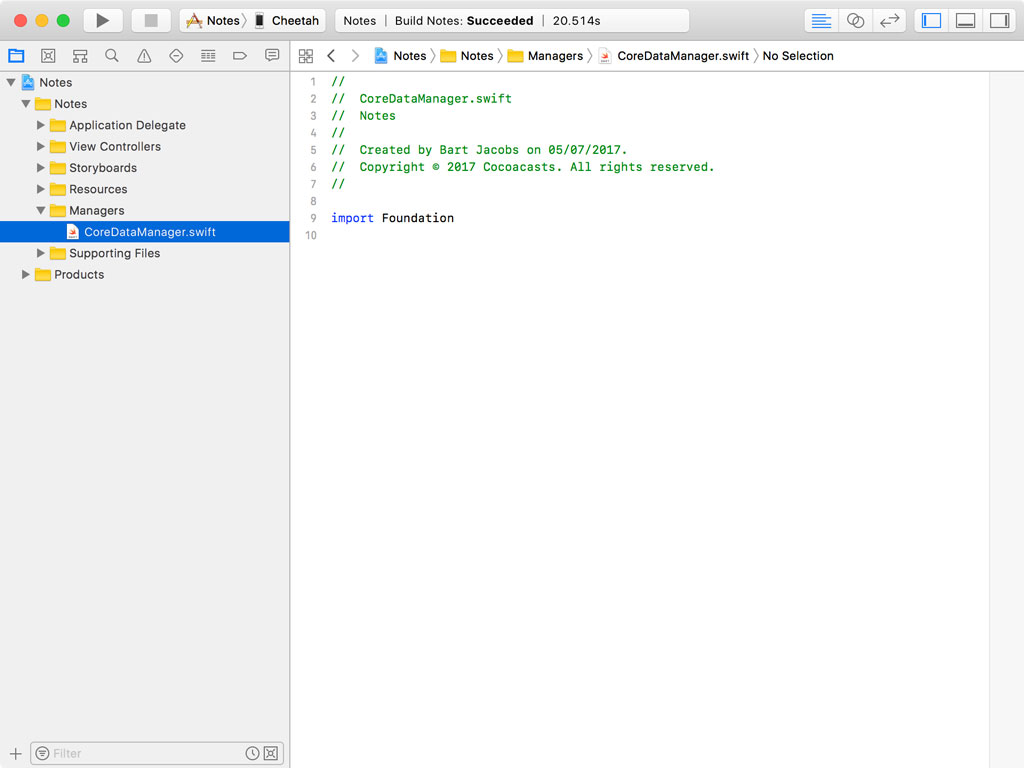
Replace the import statement for the Foundation framework with an import statement for the Core Data framework.
import CoreData
It's now time to define the CoreDataManager class. Note that we mark the CoreDataManager class as final because it isn't intended to be subclassed.
import CoreData

final class CoreDataManager {

}
We keep the implementation straightforward. The only information we pass to the Core Data manager is the name of the data model. We first create a property for the name of the data model. The property is of type String.
import CoreData

final class CoreDataManager {

    // MARK: - Properties

    private let modelName: String

}
The designated initializer of the class accepts the name of the data model as an argument.
import CoreData

final class CoreDataManager {

    // MARK: - Properties

    private let modelName: String

    // MARK: - Initialization

    init(modelName: String) {
        self.modelName = modelName
    }

}
Remember that we need to instantiate three objects to set up the Core Data stack:
- a managed object model
- a managed object context
- and a persistent store coordinator
Let's start by creating a lazy property for each of these objects. The properties are marked private. But notice that we only mark the setter of the managedObjectContext property private. The managed object context of the Core Data manager should be accessible by other objects that need access to the Core Data stack. Remember that the managed object context is the object we will be working with most frequently. It's the workhorse of the Core Data stack.
private(set) lazy var managedObjectContext: NSManagedObjectContext = {}()

private lazy var managedObjectModel: NSManagedObjectModel = {}()

private lazy var persistentStoreCoordinator: NSPersistentStoreCoordinator = {}()
Managed Object Context
Let's start with the implementation of the managedObjectContext property. We initialize an instance of the NSManagedObjectContext class by invoking its designated initializer, init(concurrencyType:). This initializer accepts an argument of type NSManagedObjectContextConcurrencyType. We pass in mainQueueConcurrencyType, which means the managed object context is associated with the main queue of the application. We learn more about threading later in this series. Don't worry about it for now.
// Initialize Managed Object Context
let managedObjectContext = NSManagedObjectContext(concurrencyType: .mainQueueConcurrencyType)
Earlier in this series, I briefly mentioned parent and child managed object contexts. A parent managed object context keeps a reference to the persistent store coordinator of the Core Data stack. That means we need to set the persistentStoreCoordinator property of the managed object context.
// Configure Managed Object Context
managedObjectContext.persistentStoreCoordinator = self.persistentStoreCoordinator
And we return the managed object context from the closure.
private(set) lazy var managedObjectContext: NSManagedObjectContext = {
    // Initialize Managed Object Context
    let managedObjectContext = NSManagedObjectContext(concurrencyType: .mainQueueConcurrencyType)

    // Configure Managed Object Context
    managedObjectContext.persistentStoreCoordinator = self.persistentStoreCoordinator

    return managedObjectContext
}()
Managed Object Model
Initializing the managed object model is easy. We ask the application bundle for the URL of the data model and we use the URL to instantiate an instance of the NSManagedObjectModel class.
// Fetch Model URL
guard let modelURL = Bundle.main.url(forResource: self.modelName, withExtension: "momd") else {
    fatalError("Unable to Find Data Model")
}

// Initialize Managed Object Model
guard let managedObjectModel = NSManagedObjectModel(contentsOf: modelURL) else {
    fatalError("Unable to Load Data Model")
}
We return the managed object model from the closure.
private lazy var managedObjectModel: NSManagedObjectModel = {
    // Fetch Model URL
    guard let modelURL = Bundle.main.url(forResource: self.modelName, withExtension: "momd") else {
        fatalError("Unable to Find Data Model")
    }

    // Initialize Managed Object Model
    guard let managedObjectModel = NSManagedObjectModel(contentsOf: modelURL) else {
        fatalError("Unable to Load Data Model")
    }

    return managedObjectModel
}()
We throw a fatal error if the application is unable to find the data model in the application bundle or if we're unable to instantiate the managed object model. Why do we do that? This should never happen in production. If the data model isn't present in the application bundle or the application is unable to load the data model from the application bundle, we have bigger problems to worry about.
Notice that we ask the application bundle for the URL of a resource with an momd extension. This is the compiled version of the data model. We discuss the data model in more detail later in this series.
Persistent Store Coordinator
The last piece of the puzzle is the persistent store coordinator. This is a bit more complicated. We first instantiate an instance of the NSPersistentStoreCoordinator class using the managed object model. But that's only the first step.
// Initialize Persistent Store Coordinator
let persistentStoreCoordinator = NSPersistentStoreCoordinator(managedObjectModel: self.managedObjectModel)
The Core Data stack is only functional once a persistent store is added to the persistent store coordinator. We start by creating the URL for a persistent store. There are several locations for storing a persistent store. In this example, we store the persistent store in the Documents directory of the application's sandbox. But you could also store it in the Library directory.
We append sqlite to the name of the data model because we're going to use a SQLite database as the persistent store. Remember that Core Data supports SQLite databases out of the box.
// Helpers
let fileManager = FileManager.default
let storeName = "\(self.modelName).sqlite"

// URL Documents Directory
let documentsDirectoryURL = fileManager.urls(for: .documentDirectory, in: .userDomainMask)[0]

// URL Persistent Store
let persistentStoreURL = documentsDirectoryURL.appendingPathComponent(storeName)
Because adding a persistent store is an operation that can fail, we need to perform it in a do-catch statement. To add a persistent store we invoke addPersistentStore(ofType:configurationName:at:options:) on the persistent store coordinator. That's quite a mouthful.
This method accepts four arguments:
- the type of the persistent store, SQLite in this example
- an optional configuration
- the location of the persistent store
- and an optional dictionary of options
do {
    // Add Persistent Store
    try persistentStoreCoordinator.addPersistentStore(ofType: NSSQLiteStoreType, configurationName: nil, at: persistentStoreURL, options: nil)

} catch {}
The second parameter, the configuration, isn't important for this discussion. The fourth argument, the options dictionary, is something we discuss later in this series.
If the persistent store coordinator cannot find a persistent store at the location we specified, it creates one for us. If a persistent store already exists at the specified location, it's added to the persistent store coordinator. This means that the persistent store is automatically created the first time a user launches your application. The second time, Core Data looks for the persistent store, finds it at the specified location, and adds it to the persistent store coordinator. The framework handles this for us.
We return the persistent store coordinator from the closure.
private lazy var persistentStoreCoordinator: NSPersistentStoreCoordinator = {
    // Initialize Persistent Store Coordinator
    let persistentStoreCoordinator = NSPersistentStoreCoordinator(managedObjectModel: self.managedObjectModel)

    // Helpers
    let fileManager = FileManager.default
    let storeName = "\(self.modelName).sqlite"

    // URL Documents Directory
    let documentsDirectoryURL = fileManager.urls(for: .documentDirectory, in: .userDomainMask)[0]

    // URL Persistent Store
    let persistentStoreURL = documentsDirectoryURL.appendingPathComponent(storeName)

    do {
        // Add Persistent Store
        try persistentStoreCoordinator.addPersistentStore(ofType: NSSQLiteStoreType, configurationName: nil, at: persistentStoreURL, options: nil)

    } catch {
        fatalError("Unable to Add Persistent Store")
    }

    return persistentStoreCoordinator
}()
We now have a working Core Data stack, but we're currently assuming that everything is working fine all the time. Later in this series, we make the Core Data manager more robust. Right now we just want to set up a Core Data stack to make sure we have something to work with.
Adding a Data Model
Before we can take the Core Data manager for a spin, we need to add a data model to the project. Create a new group for the data model and name it Core Data.
Create a new file and choose the Data Model template from the iOS > Core Data section.
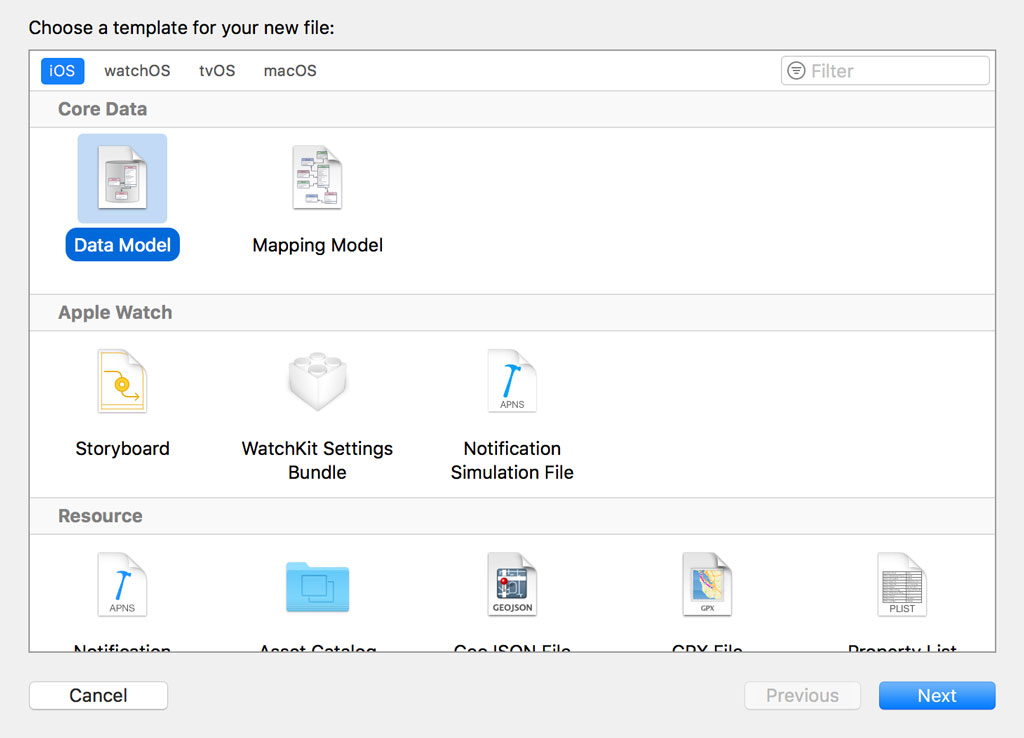
Name the data model Notes and click Create.
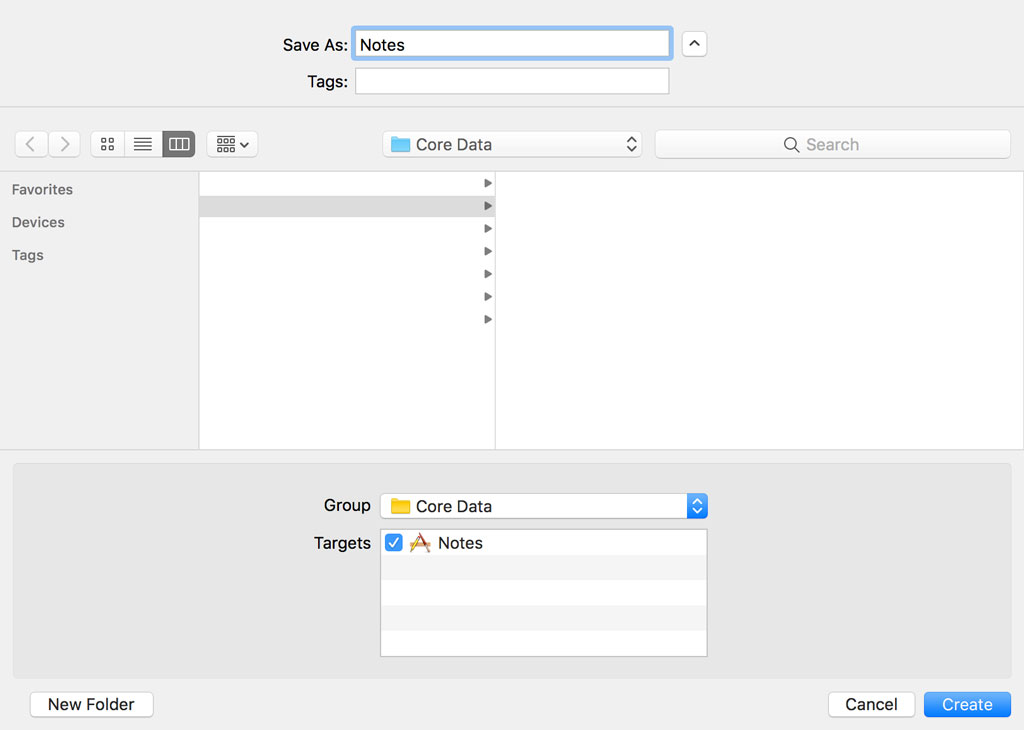
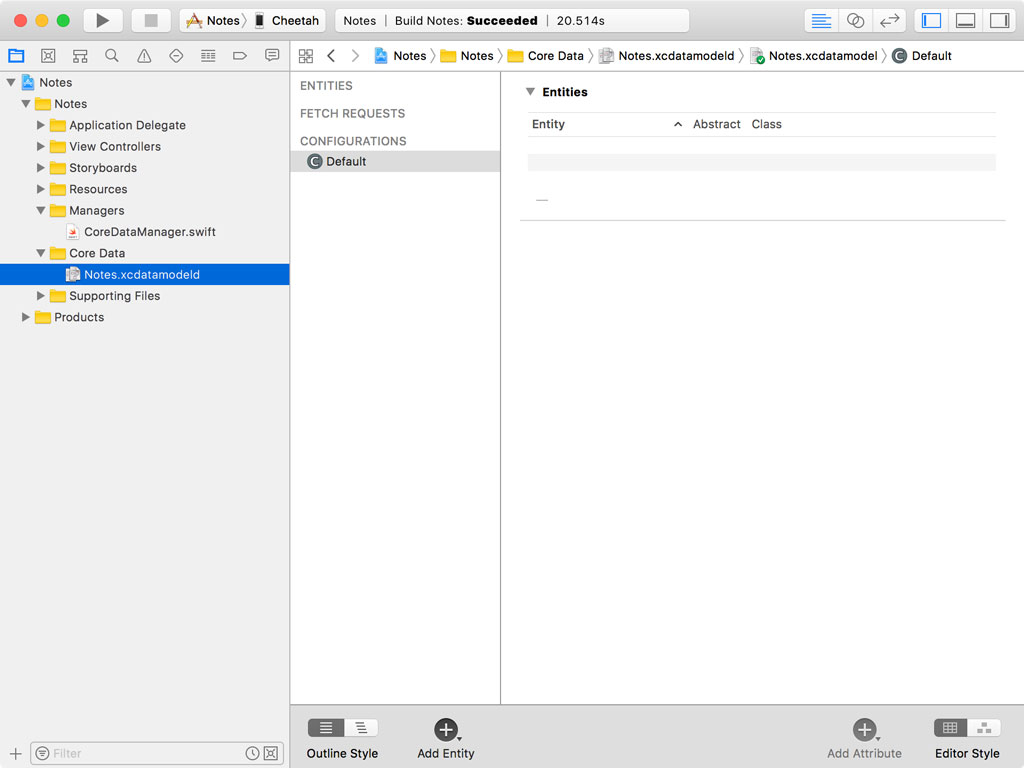
Notice that the extension of the data model is xcdatamodeld. This is different from the extension we used earlier in the managedObjectModel property. The xcdatamodeld file isn't included in the compiled application. The xcdatamodeld file is compiled into an momd file and it's the latter that's included in the compiled application. Only what is absolutely essential is included in the momd file.
Setting Up the Core Data Stack
Open AppDelegate.swift and instantiate an instance of the CoreDataManager class in the application(_:didFinishLaunchingWithOptions:) method. We print the value of the managedObjectContext property to the console to make sure the Core Data stack was successfully set up.
import UIKit

@UIApplicationMain
class AppDelegate: UIResponder, UIApplicationDelegate {

    // MARK: - Properties

    var window: UIWindow?

    // MARK: - Application Life Cycle

    func application(_ application: UIApplication, didFinishLaunchingWithOptions launchOptions: [UIApplicationLaunchOptionsKey: Any]?) -> Bool {
        let coreDataManager = CoreDataManager(modelName: "Notes")
        print(coreDataManager.managedObjectContext)
        return true
    }

}
Build and run the application and inspect the output in the console. The output should looks something like this.
<NSManagedObjectContext: 0x6180001cdd40>
Great. That seems to work. In the next episode, we use dependency injection to pass the Core Data manager from the application delegate to the root view controller.