The application we're building wouldn't be very useful if it didn't include the ability to edit notes. Would it? If the user taps a note in the notes view controller, they should be able to modify the title and contents of the note.
Before We Start
I've already created the NoteViewController class for this purpose. The note view controller is responsible for updating notes. We could have used the AddNoteViewController class for this, but I usually create separate view controllers for adding and updating records. That's merely a personal choice.
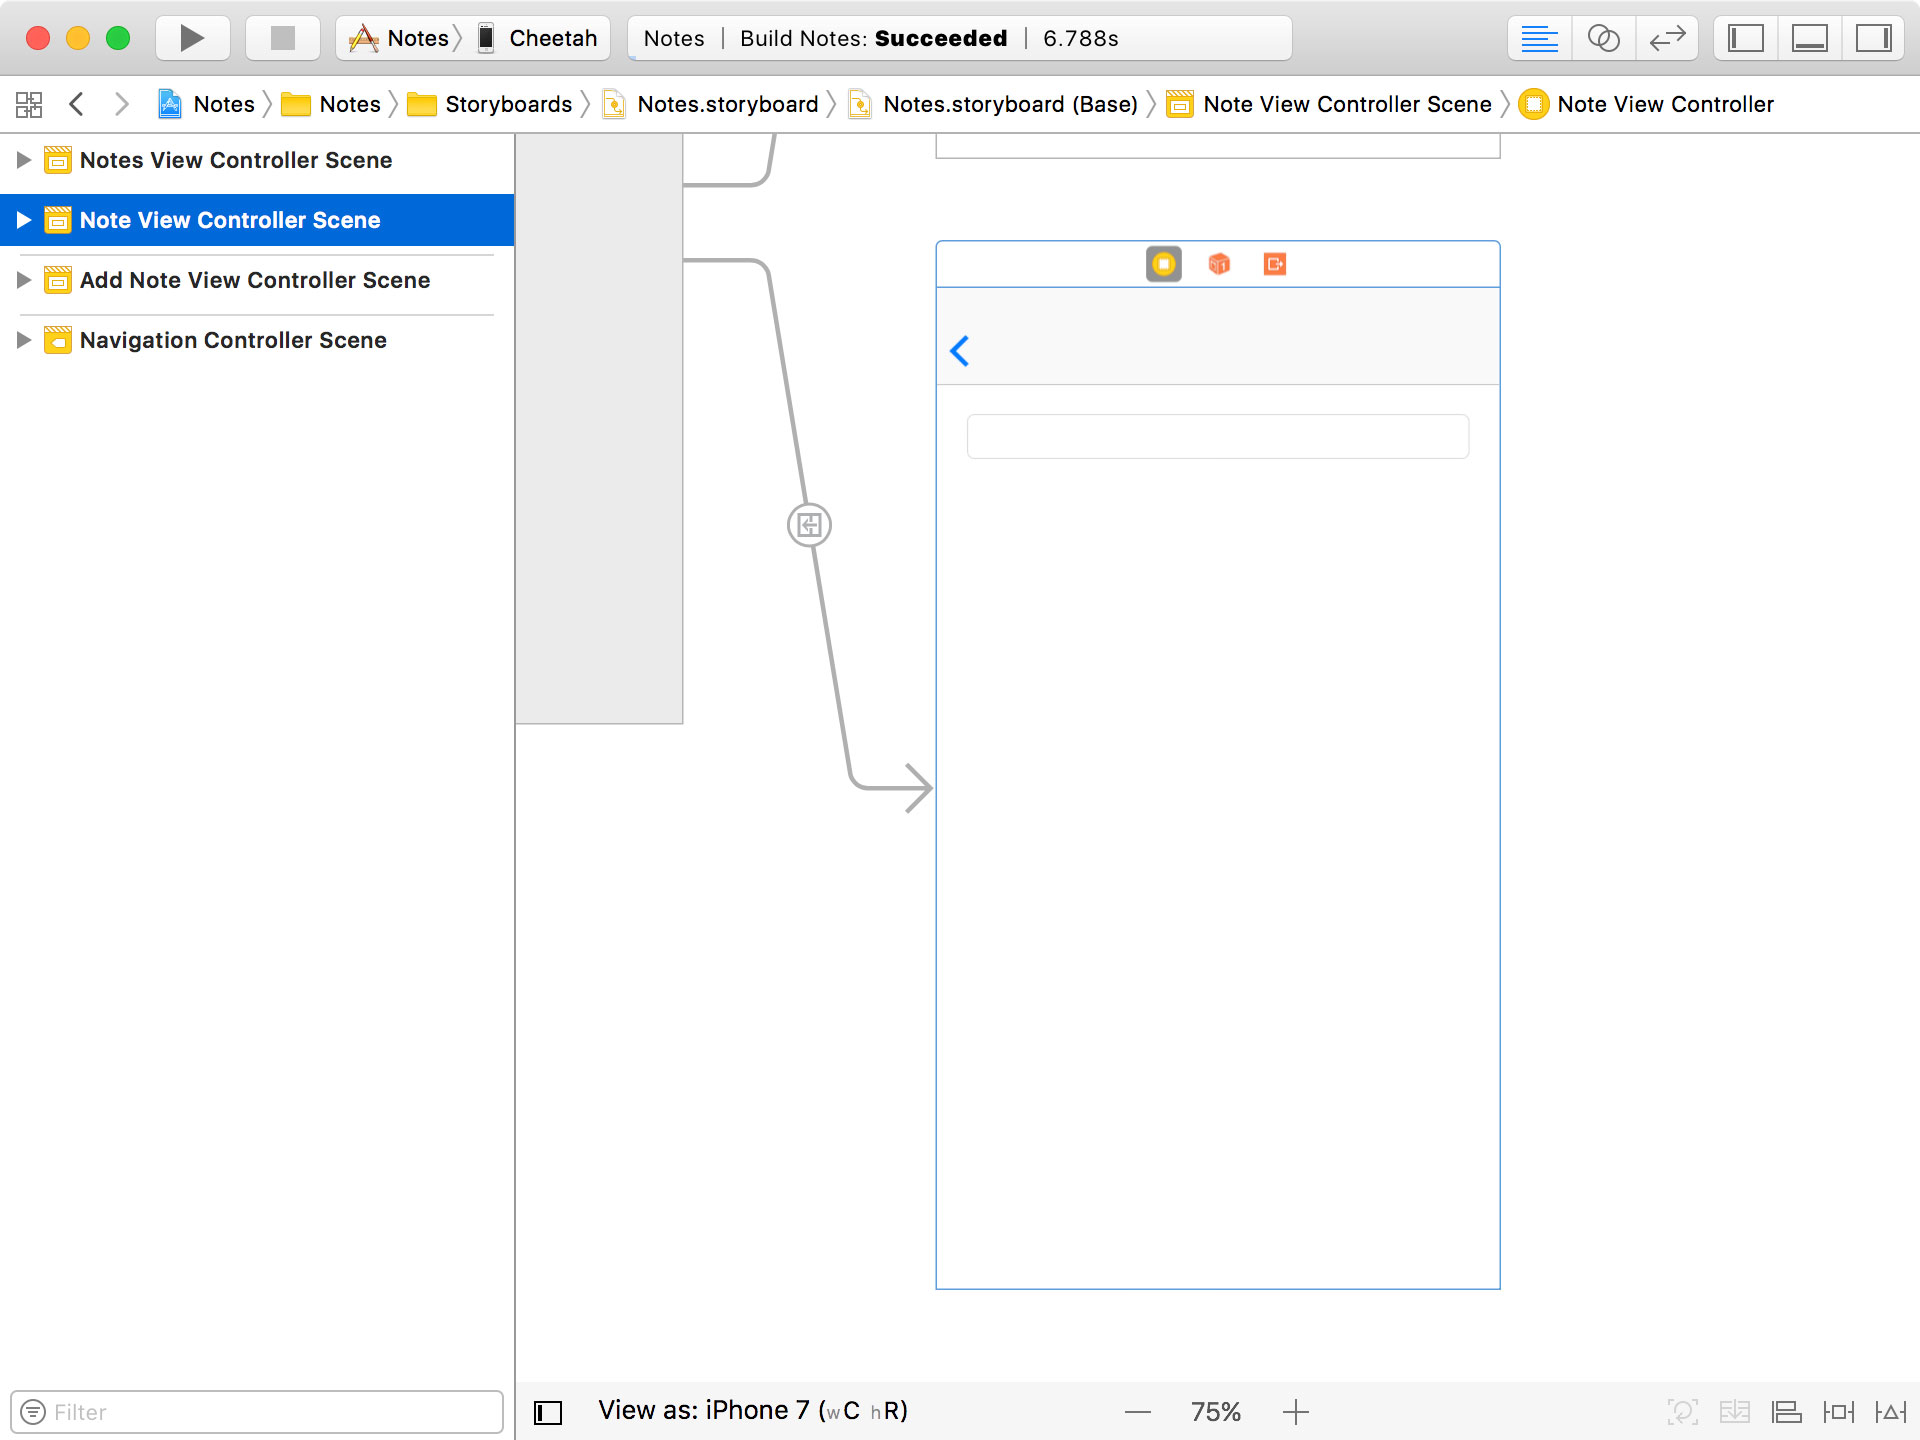
Unsurprisingly, the user interface of the NoteViewController class is very similar to that of the AddNoteViewController class. There's a text field for the title of the note and a text view for the contents of the note.
Passing a Note
The first step we need to take is pass the note the user wants to update to the note view controller. Open NoteViewController.swift and declare a property, note, of type Note?. We could use an implicitly unwrapped optional, but I prefer to play it safe by using an optional. In general, I avoid implicitly unwrapped optionals whenever possible with the exception of outlets.
NoteViewController.swift
import UIKit

class NoteViewController: UIViewController {

    // MARK: - Properties

    @IBOutlet var titleTextField: UITextField!
    @IBOutlet var contentsTextView: UITextView!

    // MARK: -

    var note: Note?

    ...

}
I hope it's clear why we need to use an optional. Every stored property of a class or struct needs to have a valid value by the time the instance is created. This leaves us no option but to use an optional.
Open NotesViewController.swift. We pass the note from the notes view controller to the note view controller in the prepare(for:sender:) method of the notes view controller. We make sure the destination view controller is an instance of the NoteViewController class, fetch the note that corresponds with the currently selected row of the table view, and pass the note to the note view controller.
NotesViewController.swift
override func prepare(for segue: UIStoryboardSegue, sender: Any?) {
    guard let identifier = segue.identifier else { return }

    switch identifier {
    case Segue.AddNote:
        ...
    case Segue.Note:
        guard let destination = segue.destination as? NoteViewController else {
            return
        }

        guard let indexPath = tableView.indexPathForSelectedRow, let note = notes?[indexPath.row] else {
            return
        }

        // Configure Destination
        destination.note = note
    default:
        break
    }
}
Populating the Note View Controller
It's time to revisit NoteViewController.swift. We need to populate the user interface of the note view controller with the contents of the note. In viewDidLoad(), we invoke setupView(), a helper method.
NoteViewController.swift
override func viewDidLoad() {
    super.viewDidLoad()

    title = "Edit Note"

    setupView()
}
In setupView(), we invoke two other helper methods:
setupTitleTextField()- and
setupContentsTextView()
NoteViewController.swift
private func setupView() {
    setupTitleTextField()
    setupContentsTextView()
}
In these helper methods, we set the text field and the text view with the data of the note.
NoteViewController.swift
private func setupTitleTextField() {
    // Configure Title Text Field
    titleTextField.text = note?.title
}

private func setupContentsTextView() {
    // Configure Contents Text View
    contentsTextView.text = note?.contents
}
Updating a Note
Updating the note is easy. We don't even need a save button. We simply update the note in the viewWillDisappear(_:) method of the note view controller. Not having a save button is a very nice feature from a user's perspective. The user has the impression that every change they make is automatically saved. And that's what happens behind the scenes.
NoteViewController.swift
override func viewWillDisappear(_ animated: Bool) {
    super.viewWillDisappear(animated)

    guard let note = note else { return }

    // Update Title
    if let title = titleTextField.text, !title.isEmpty && note.title != title {
        note.title = title
    }

    // Update Contents
    if note.contents != contentsTextView.text {
        note.contents = contentsTextView.text
    }

    // Update Updated At
    if note.isUpdated {
        note.updatedAt = Date()
    }
}
But notice that we only update the updatedAt property if the note has been updated. The isUpdated property is a property of the NSManagedObject class that tells us if the managed object has been updated.
It's important that we check if the title text field isn't empty before updating the note record. We need to make sure the note has a title since the title property is a required property.
Updating the Table View
That's it. Run the application to give it a try. Even though we don't see any problems, the table view isn't updated when a note is modified. And the same is true for newly added notes.
There are several options to solve this. We could perform a fetch request every time the notes view controller is the active view controller but that's a waste of resources. There's a much better solution that leverages the Core Data framework. Notifications.
Every managed object context broadcasts several notifications to notify interested objects about itself. These notifications are:
NSManagedObjectContextWillSaveNSManagedObjectContextDidSave- and
NSManagedObjectContextObjectsDidChange
The names of these notifications are self-explanatory. The notification we're interested in is the NSManagedObjectContextObjectsDidChange notification. This notification is sent by the managed object context every time a managed object has changed. Let me show you how this works.
Listening for Notifications
In the viewDidLoad() method of the notes view controller, we invoke a helper method, setupNotificationHandling().
NotesViewController.swift
override func viewDidLoad() {
    super.viewDidLoad()

    title = "Notes"

    setupView()
    fetchNotes()
    setupNotificationHandling()
}
In this helper method, we add the notes view controller as an observer of the NSManagedObjectContextObjectsDidChange notification.
NotesViewController.swift
private func setupNotificationHandling() {
    let notificationCenter = NotificationCenter.default
    notificationCenter.addObserver(self,
                                   selector: #selector(managedObjectContextObjectsDidChange(_:)),
                                   name: Notification.Name.NSManagedObjectContextObjectsDidChange,
                                   object: coreDataManager.managedObjectContext)
}
Notice that the last argument of the method is the managed object context of the Core Data manager. If you're developing an application that uses multiple managed object contexts, you need to make sure you only observe the managed object context the object is interested in. This is very important, not only from a performance perspective, but also in the context of threading. That'll become clear later in this series. Remember for now that you should only observe the managed object context the object is interested in.
The implementation of the managedObjectContextObjectsDidChange(_:) method is where the magic happens.
NotesViewController.swift
// MARK: - Notification Handling

@objc private func managedObjectContextObjectsDidChange(_ notification: Notification) {

}
The notification object has a property, userInfo, a dictionary. This dictionary contains the managed objects that were inserted into the managed object context, deleted from the managed object context, and it also contains he managed objects that were updated. Because we are interested in the contents of the userInfo dictionary, we immediately return if userInfo doesn't have a value.
NotesViewController.swift
guard let userInfo = notification.userInfo else { return }
The object property of the notification is the managed object context that sent the notification.
We first declare a helper variable, notesDidChange, of type Bool. The value of notesDidChange tells us whether or not we need to update the user interface of the notes view controller.
NotesViewController.swift
// Helpers
var notesDidChange = false
Next, we extract the managed objects from the userInfo dictionary. The keys we're interested in are:
NSInsertedObjectsKeyNSUpdatedObjectsKeyNSDeletedObjectsKey
NotesViewController.swift
if let inserts = userInfo[NSInsertedObjectsKey] as? Set<NSManagedObject> {

}

if let updates = userInfo[NSUpdatedObjectsKey] as? Set<NSManagedObject> {

}

if let deletes = userInfo[NSDeletedObjectsKey] as? Set<NSManagedObject> {

}
The value of each of these keys is a set of NSManagedObject instances. Let's start with the inserted managed objects. We loop over the inserted managed objects and, if they're Note instances, we add them to the array of notes. We also set notesDidChange to true because we need to update the user interface.
NotesViewController.swift
if let inserts = userInfo[NSInsertedObjectsKey] as? Set<NSManagedObject> {
    for insert in inserts {
        if let note = insert as? Note {
            notes?.append(note)
            notesDidChange = true
        }
    }
}
We apply the same logic for updated managed objects. The only difference is that we don't add them to the array of notes because they're already part of the array. But we do update the notesDidChange variable because we need to update the user interface of the notes view controller.
NotesViewController.swift
if let updates = userInfo[NSUpdatedObjectsKey] as? Set<NSManagedObject> {
    for update in updates {
        if let _ = update as? Note {
            notesDidChange = true
        }
    }
}
The logic for deleted managed objects is similar to that for inserted managed objects. Instead of inserting the managed object, we remove it from the array of notes.
NotesViewController.swift
if let deletes = userInfo[NSDeletedObjectsKey] as? Set<NSManagedObject> {
    for delete in deletes {
        if let note = delete as? Note {
            if let index = notes?.index(of: note) {
                notes?.remove(at: index)
                notesDidChange = true
            }
        }
    }
}
We obtain the index of the note in the array of notes and use that index to remove it from the array. We set notesDidChange to true to notify the notes view controller that the user interface needs to be updated.
If notesDidChange is set to true, we need to perform three additional steps. First, we sort the array of notes based on the value of the updatedAt property. Second, we update the table view. And third, we update the view by invoking updateView(). This is important for insertions and deletions. We need to show the message label if the last note was deleted and we need to show the table view if the first note was inserted.
NotesViewController.swift
if notesDidChange {
    // Sort Notes
    notes?.sort(by: { $0.updatedAtAsDate > $1.updatedAtAsDate })

    // Update Table View
    tableView.reloadData()

    // Update View
    updateView()
}
This is the implementation of the managedObjectContextObjectsDidChange(_:) method.
NotesViewController.swift
// MARK: - Notification Handling

@objc private func managedObjectContextObjectsDidChange(_ notification: Notification) {
    guard let userInfo = notification.userInfo else { return }

    // Helpers
    var notesDidChange = false

    if let inserts = userInfo[NSInsertedObjectsKey] as? Set<NSManagedObject> {
        for insert in inserts {
            if let note = insert as? Note {
                notes?.append(note)
                notesDidChange = true
            }
        }
    }

    if let updates = userInfo[NSUpdatedObjectsKey] as? Set<NSManagedObject> {
        for update in updates {
            if let _ = update as? Note {
                notesDidChange = true
            }
        }
    }

    if let deletes = userInfo[NSDeletedObjectsKey] as? Set<NSManagedObject> {
        for delete in deletes {
            if let note = delete as? Note {
                if let index = notes?.index(of: note) {
                    notes?.remove(at: index)
                    notesDidChange = true
                }
            }
        }
    }

    if notesDidChange {
        // Sort Notes
        notes?.sort(by: { $0.updatedAtAsDate > $1.updatedAtAsDate })

        // Update Table View
        tableView.reloadData()

        // Update View
        updateView()
    }
}
Run the application again to see the result. Any changes made to a note are immediately visible in the table view. If we have multiple notes, the note that was last updated appears at the top. In the next episode, we add the ability to delete notes. This is surprisingly easy.